

Spinach and Ricotta Dumplings
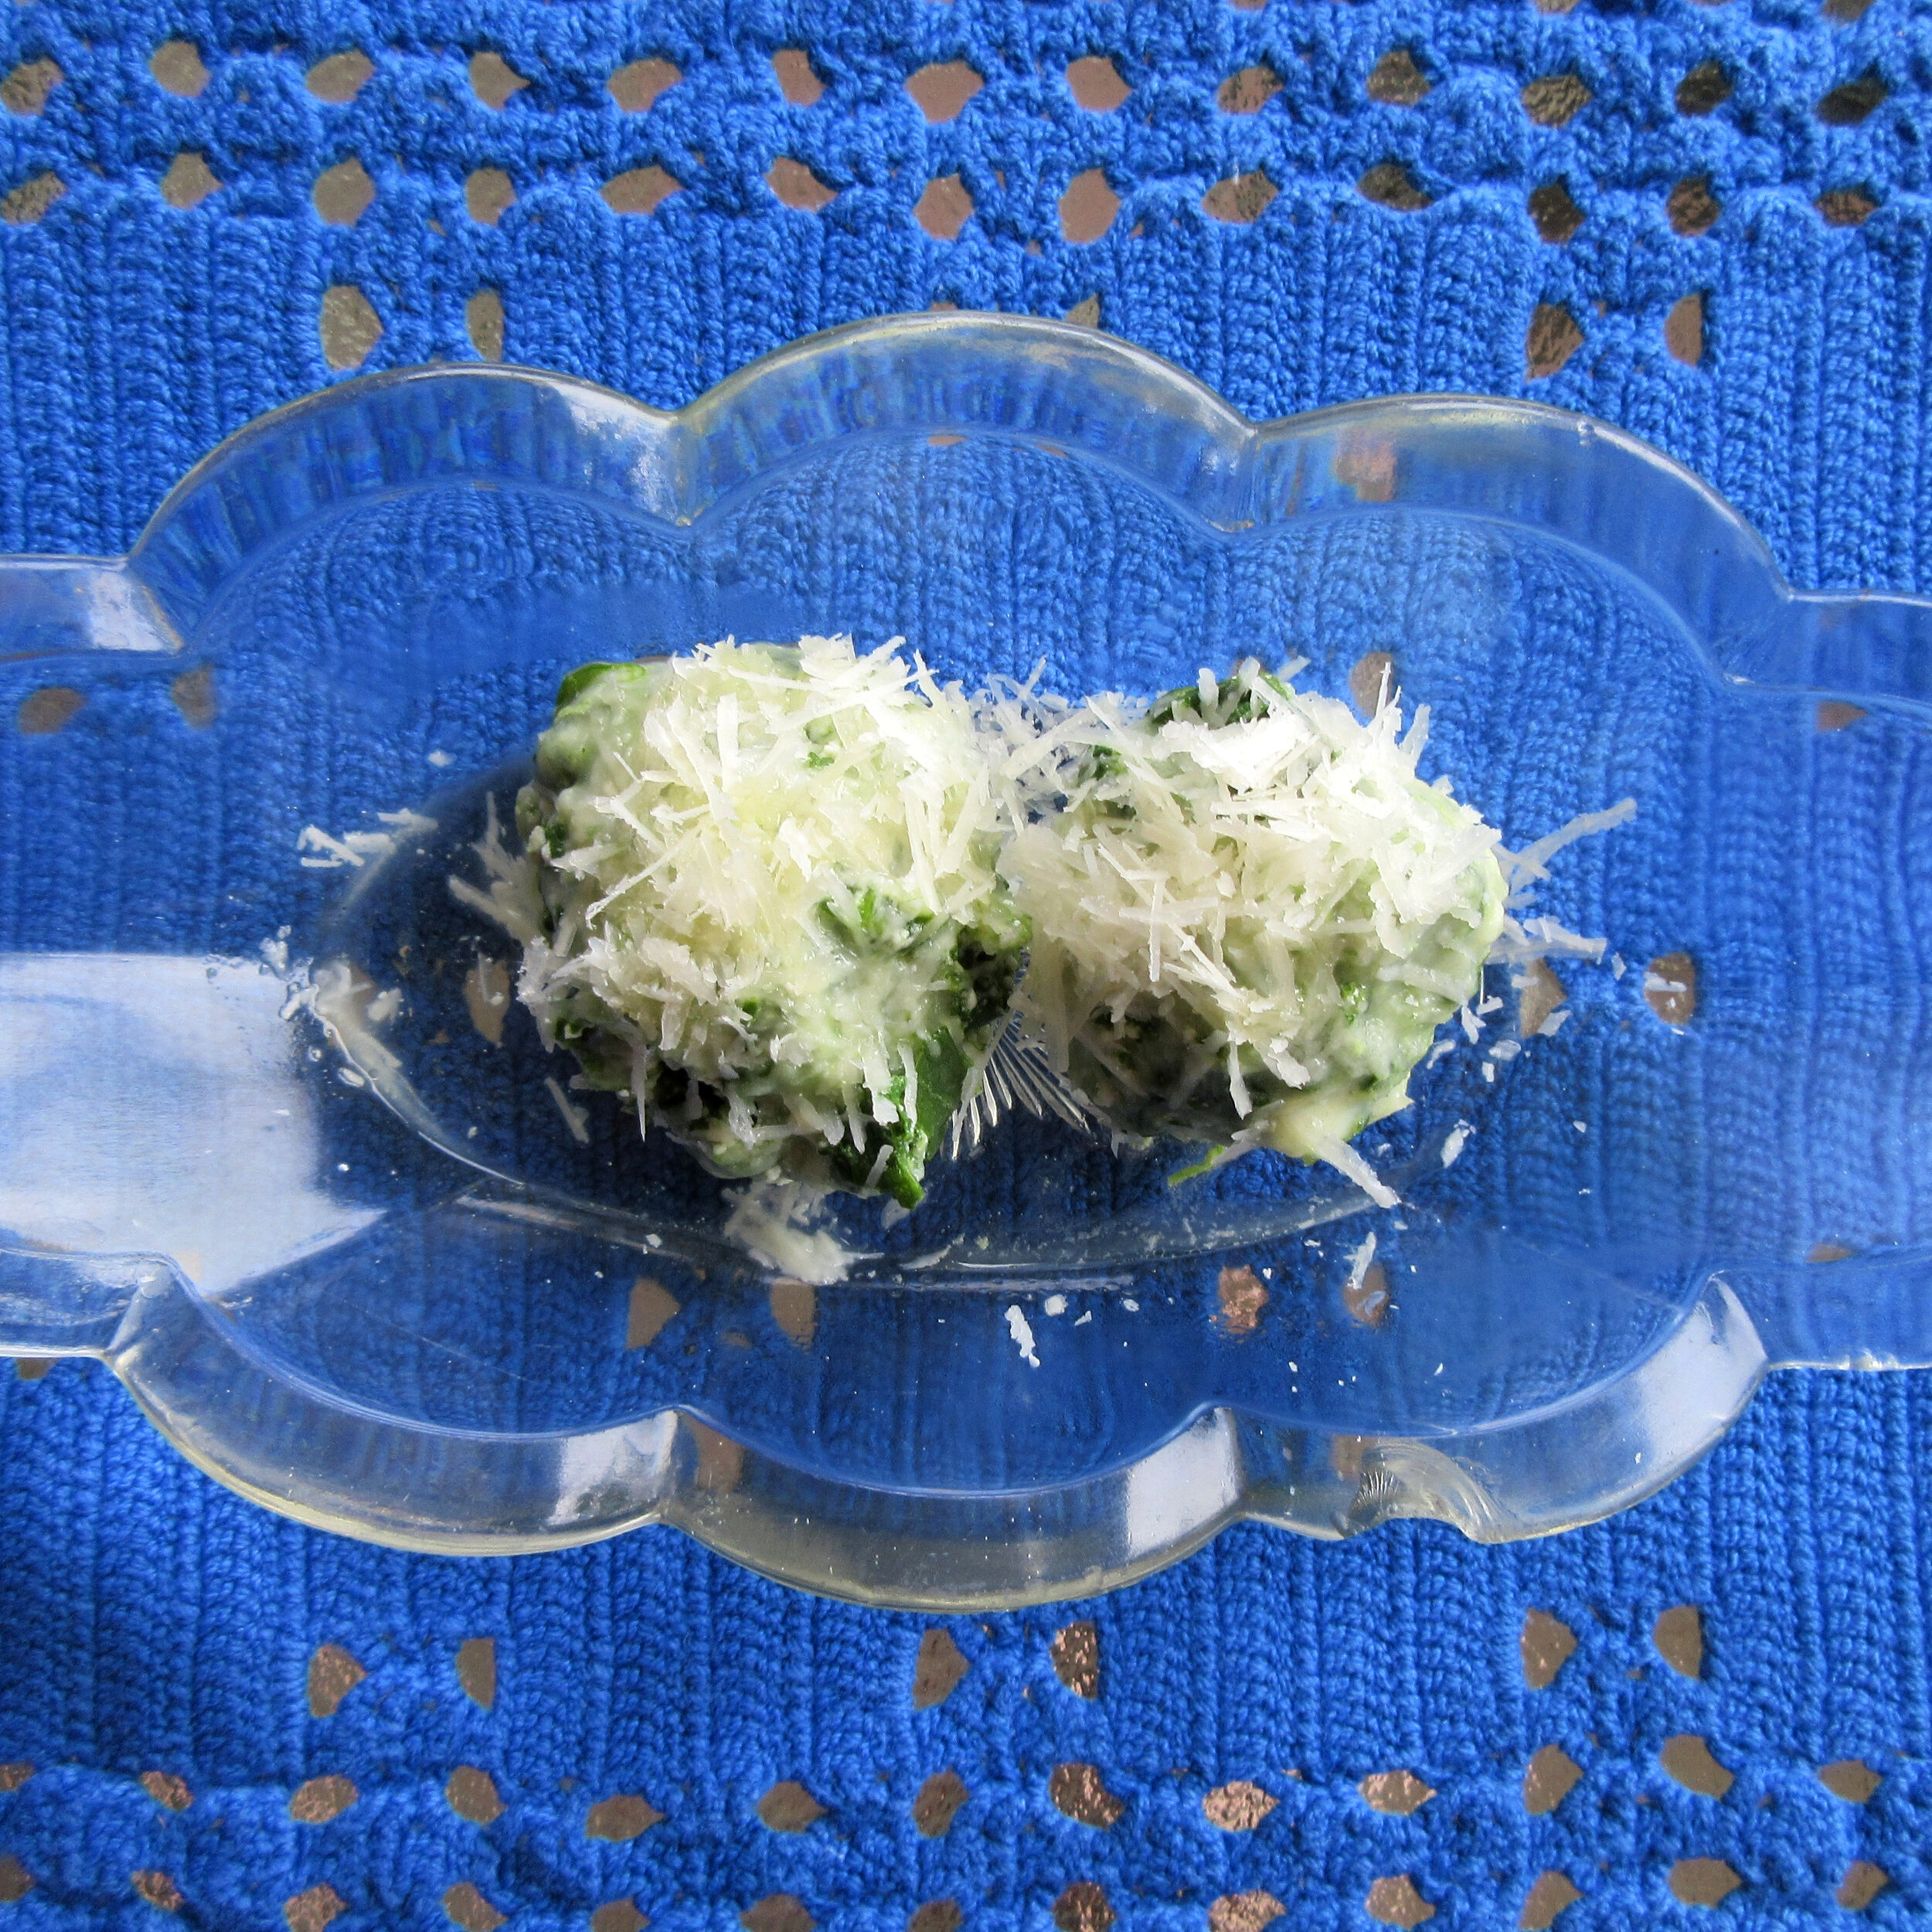
Spinach and Ricotta Dumplings is found in The New York Times Cook Book from 1961 and it’s a recipe that I had to make twice to end up with something edible. I had to veer from the original cooking method and I recommend adding some additional ingredients to amp up the flavour. The recipe gives the instruction to “shape into small balls” and since small could mean many sizes, I decided to make my dumplings the size of a Timbit.
That’s where the rambling nature of this blog post begins. I realized that most people who read my blog don’t live in Canada and might not know what a Timbit is. I started there, which led to explaining what Tim Hortons is, which led to writing about the first Tim Horton’s restaurant ever in my hometown of Hamilton, Ontario. And then...since measuring something in Timbits is a very Canadian measurement, at the end I have a look at some very Canadian measurements on COVID-19 social distancing signs in Hamilton and Toronto. I’d love to hear what the COVID-19 signs are like in your part of the world, so please leave a comment!

You’ll find this recipe in:
The New York Times Cook Book
By Craig Clariborne
New York, 1961
Original Recipe
SPINACH AND RICOTTA DUMPLINGS
4 servings
1 pound spinach, chopped
¾ pound ricotta or cottage cheese
½ teaspoon salt
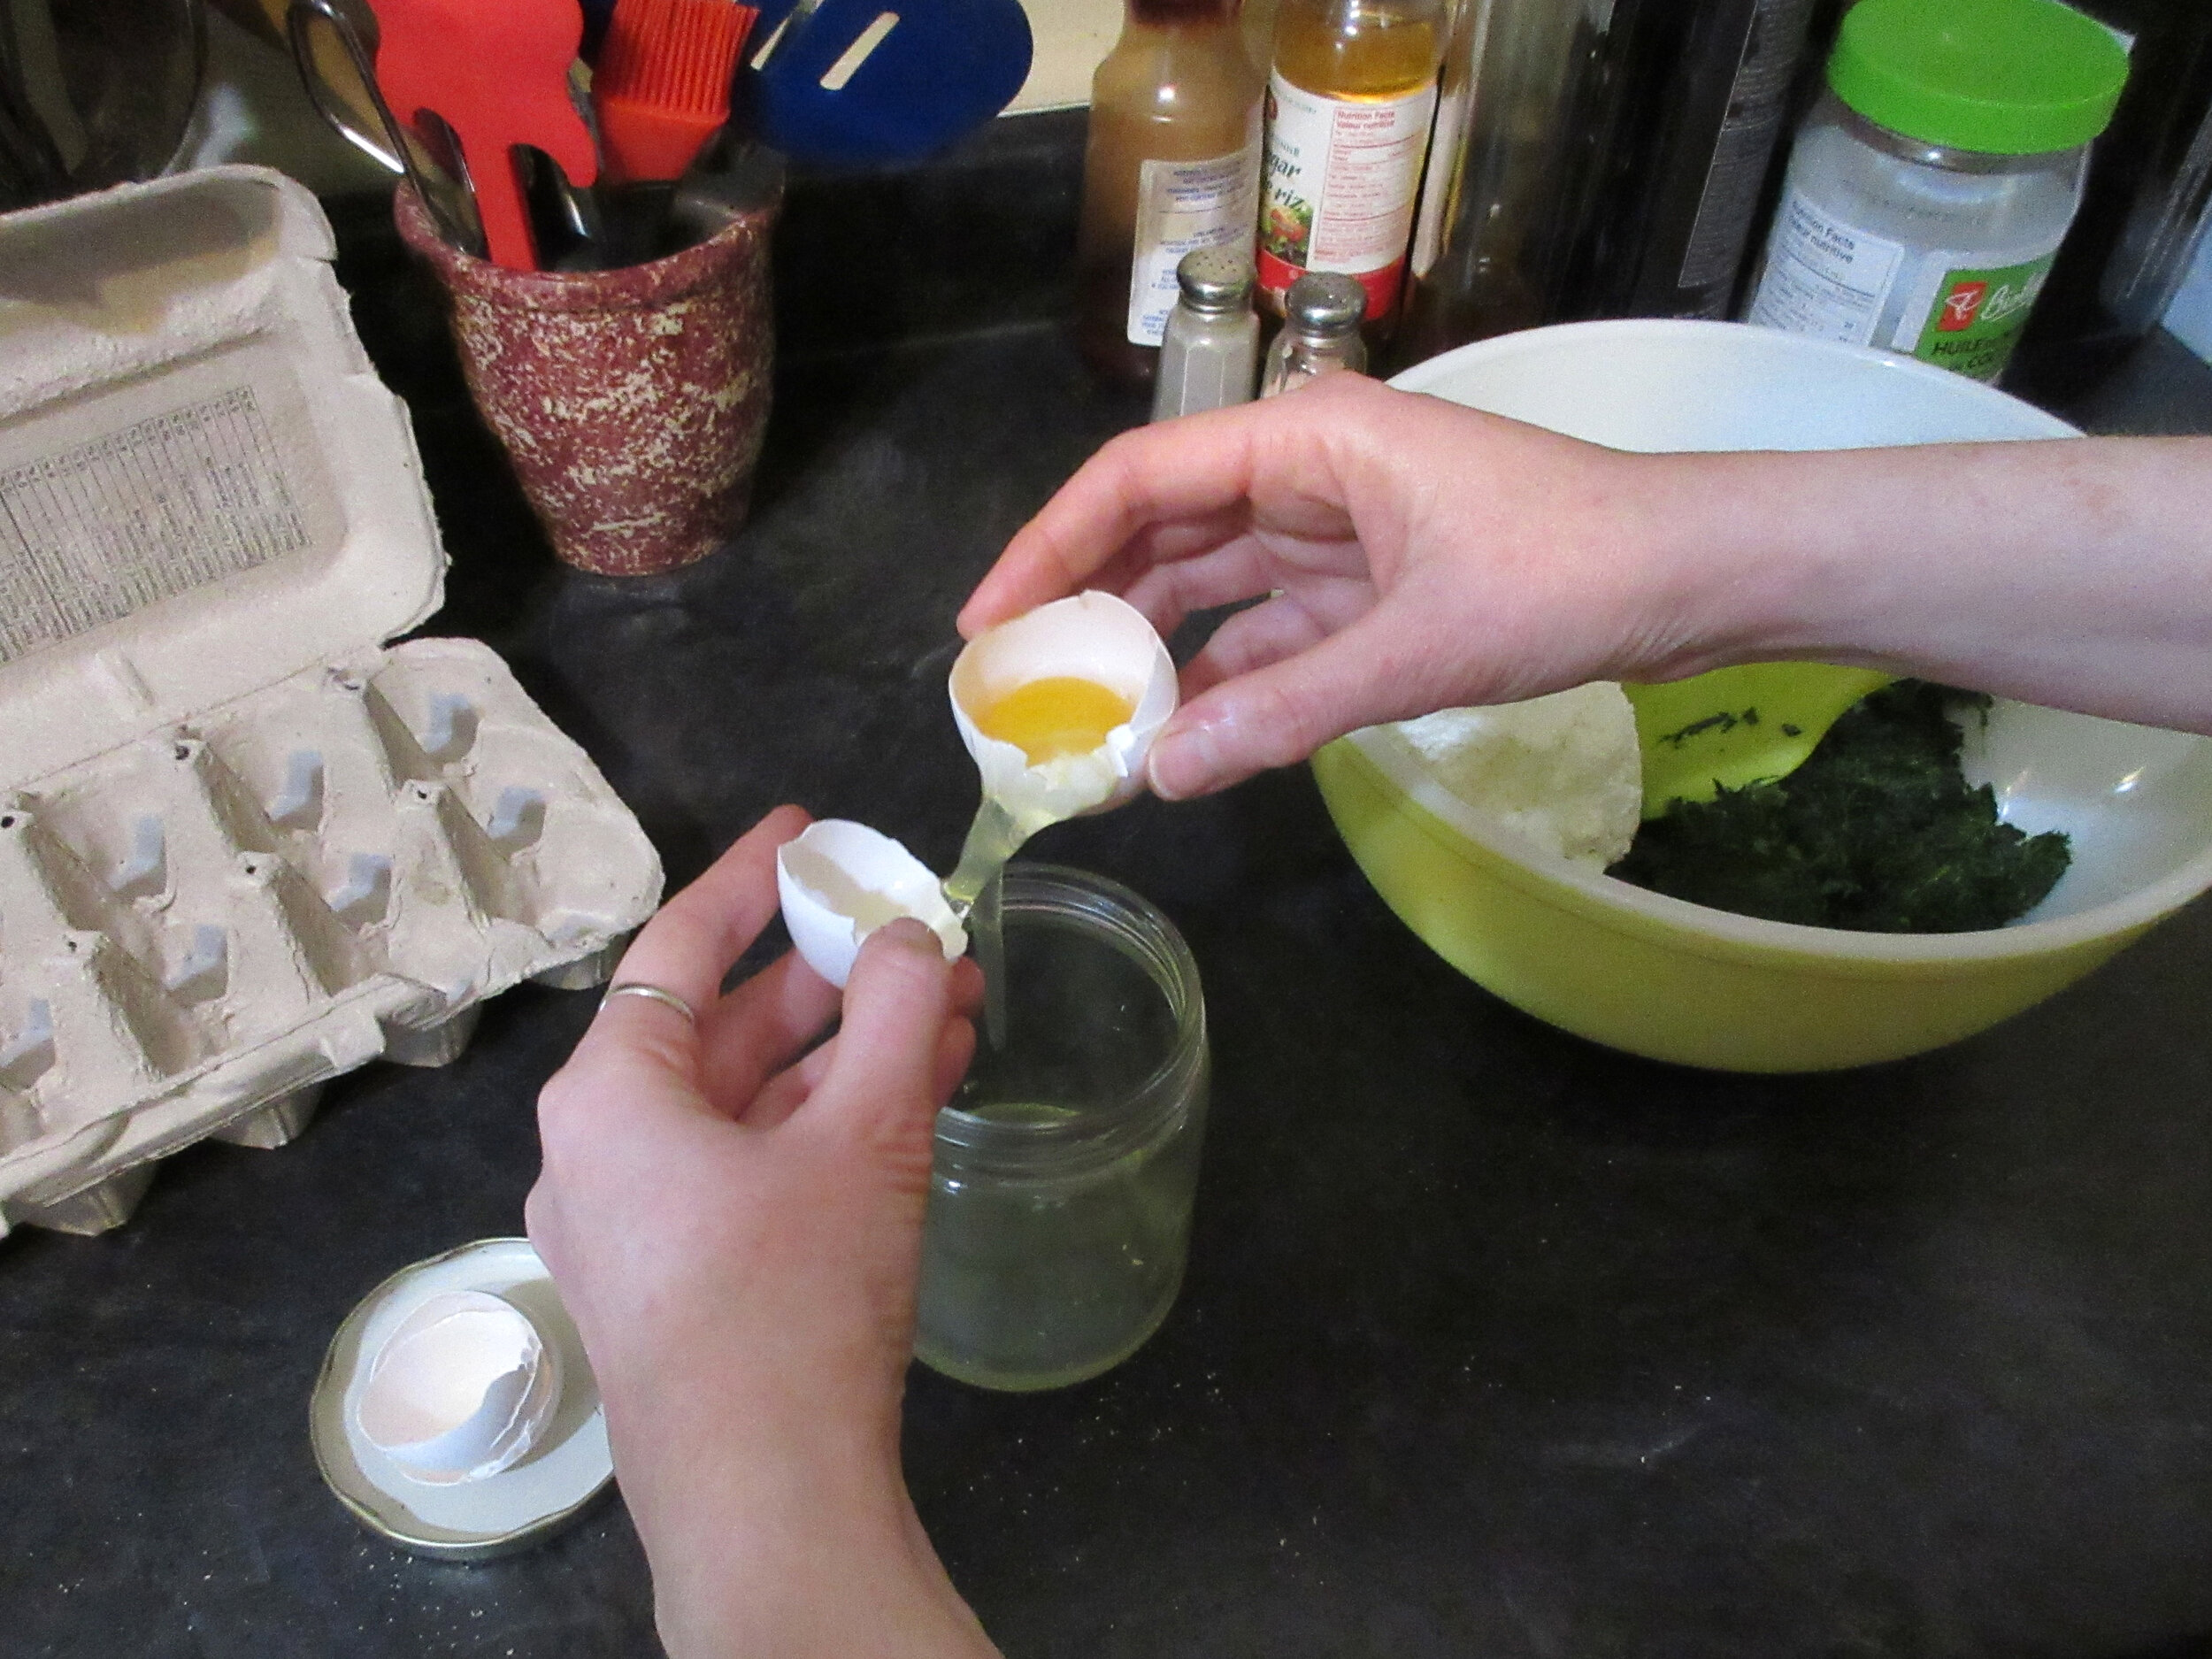
2 egg yolks
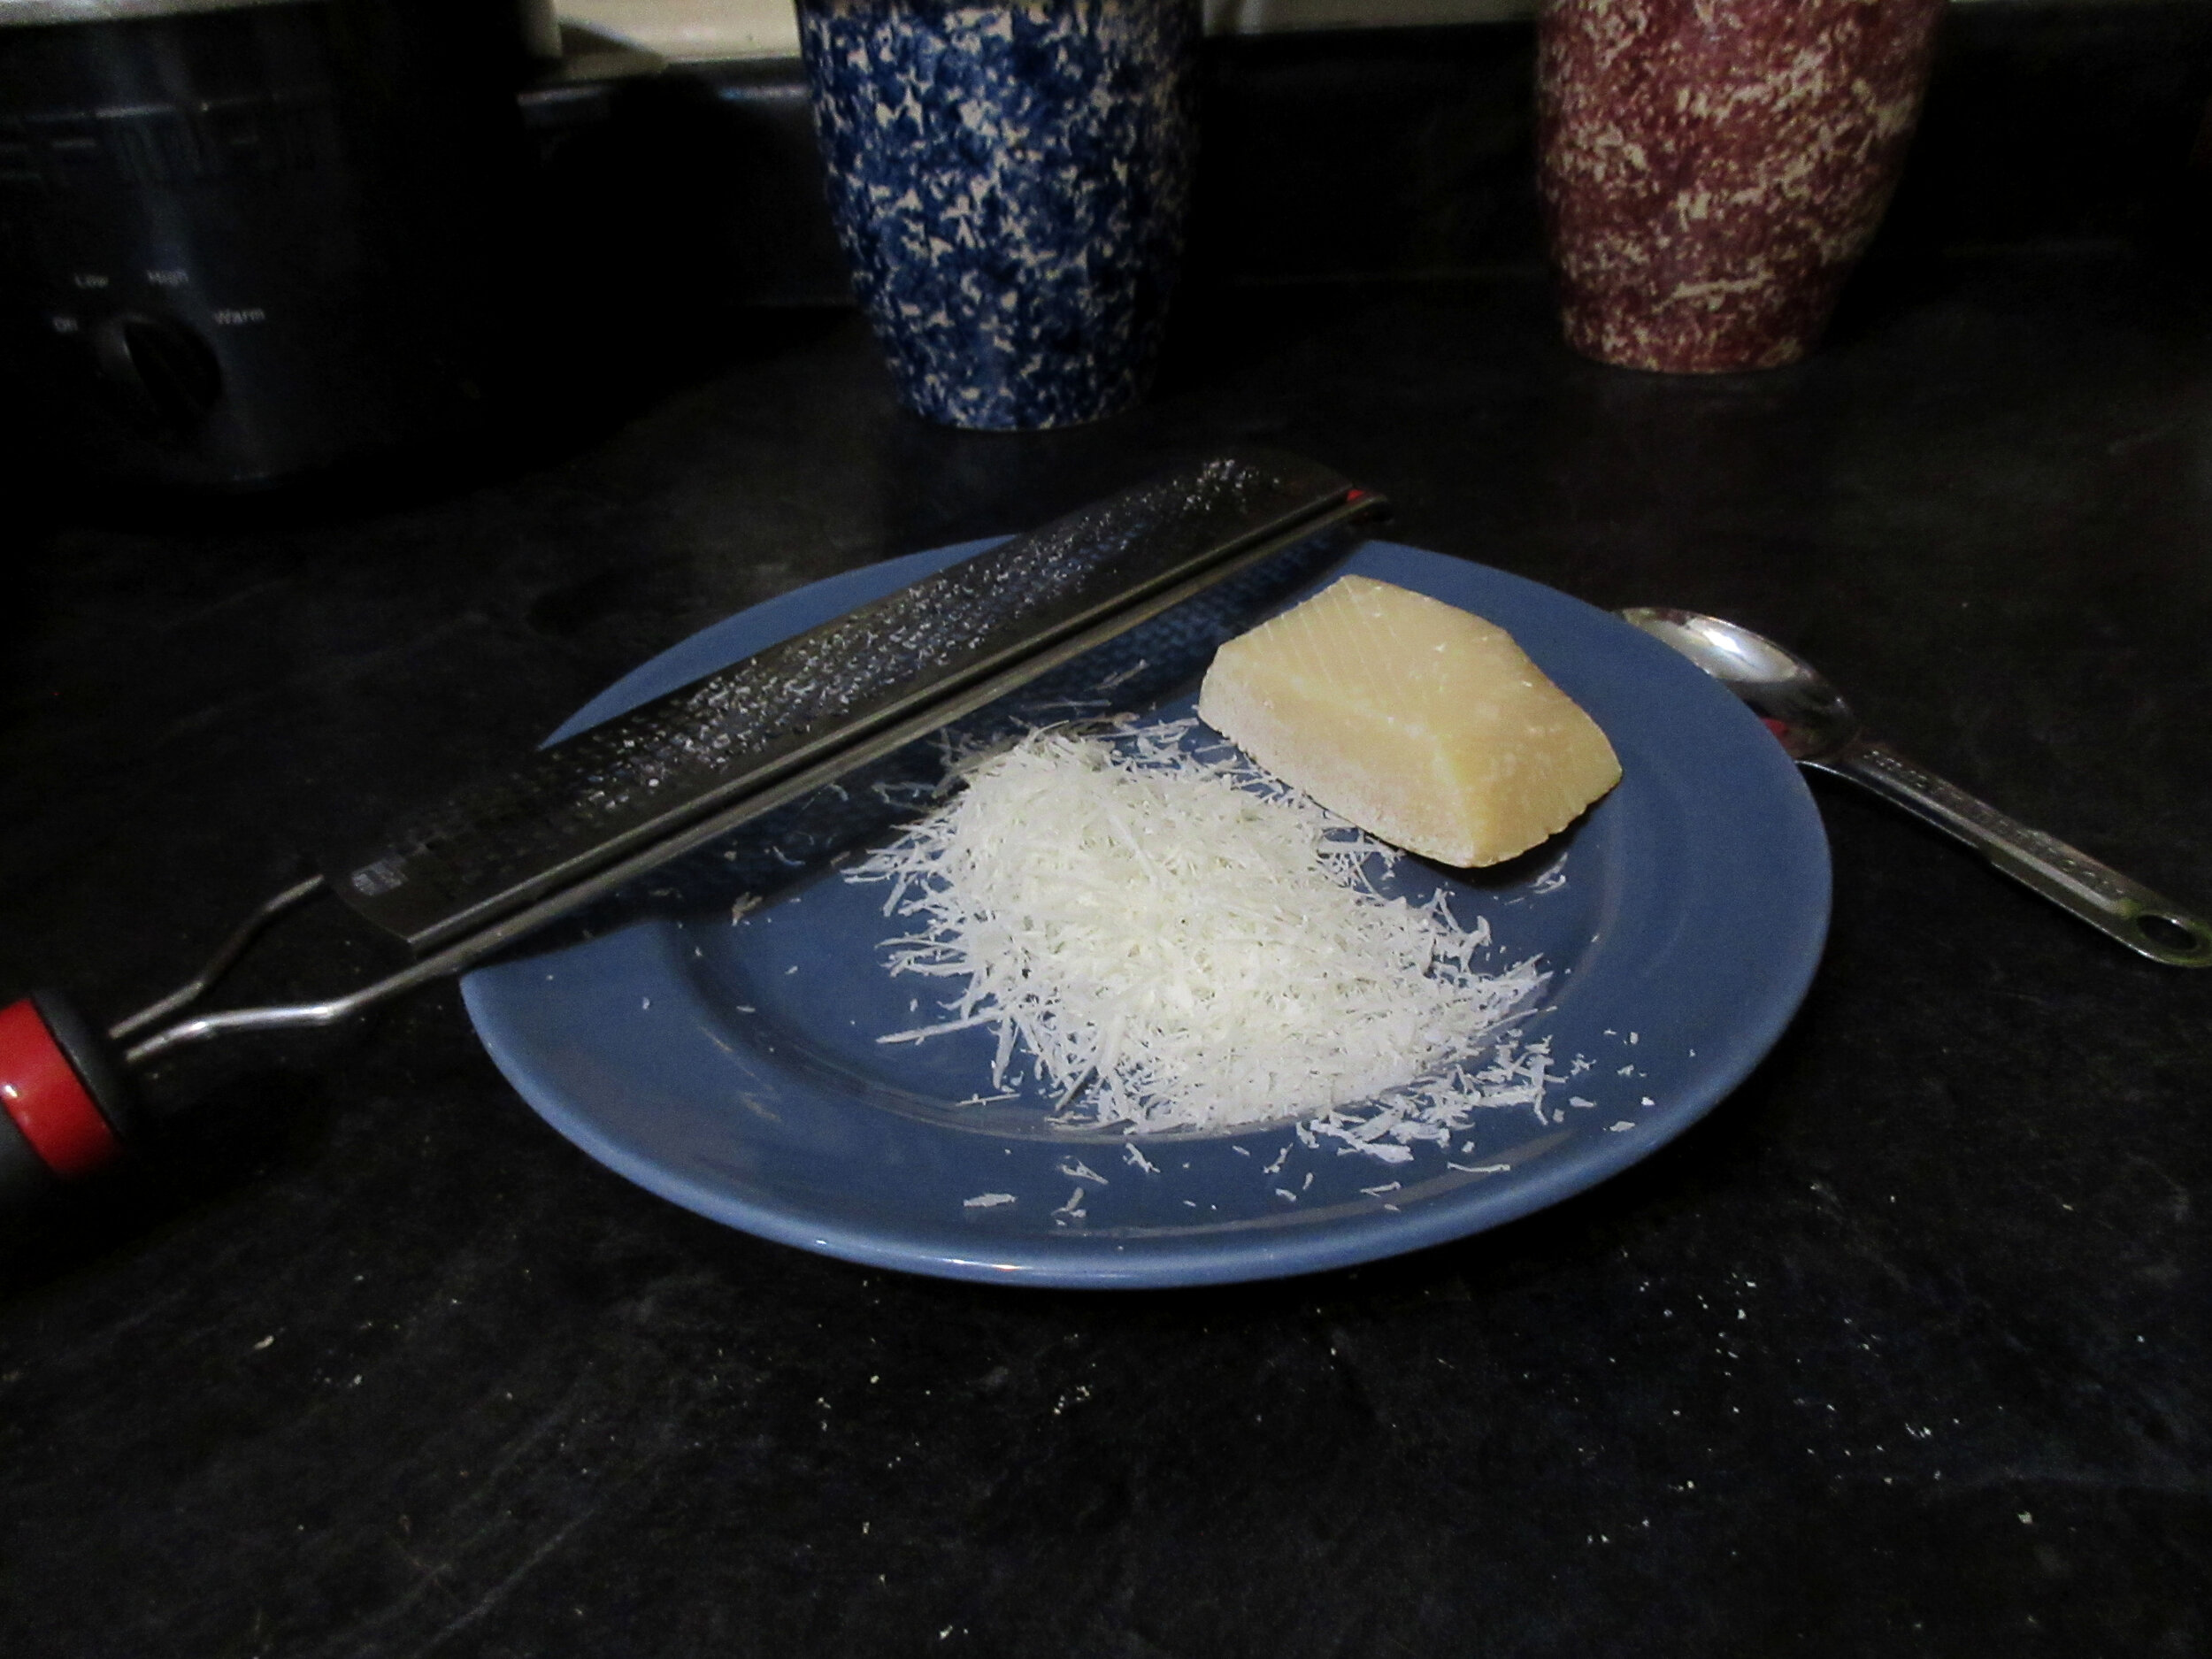
5 tablespoons grated Parmesan cheese
Flour
¼ cup butter, melted
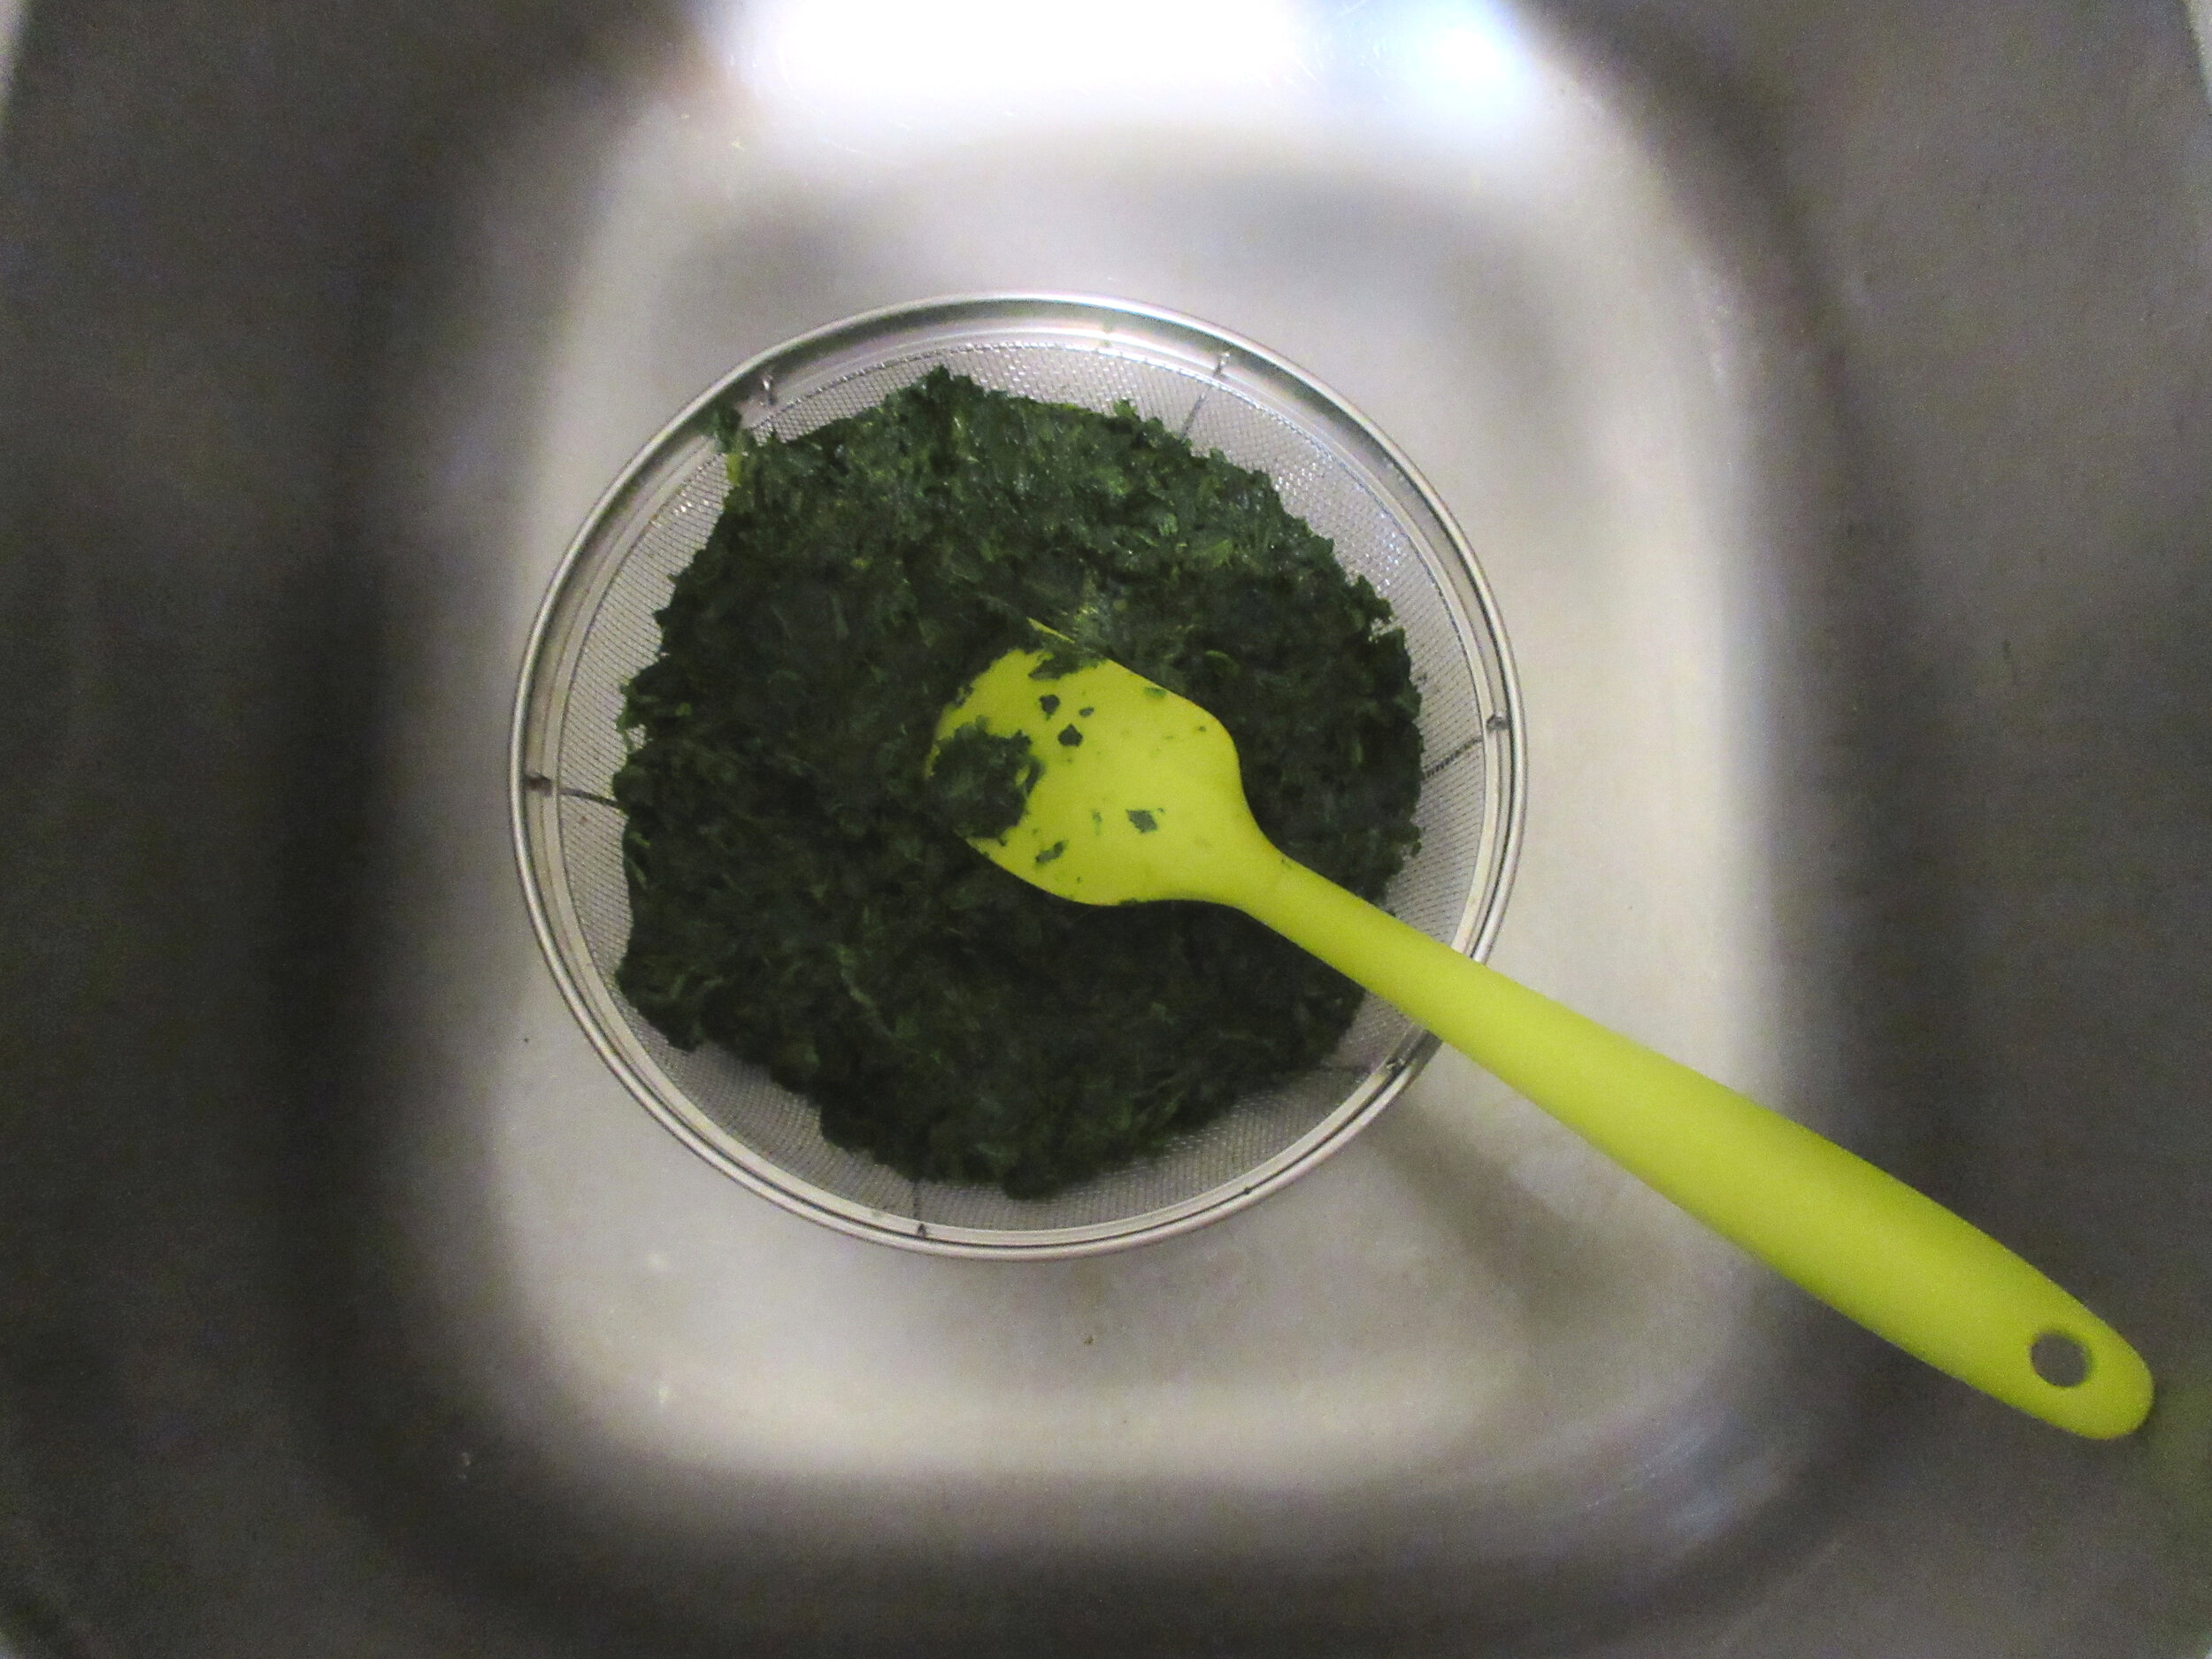
1. Cook the spinach until just tender. Drain well and press through a sieve.
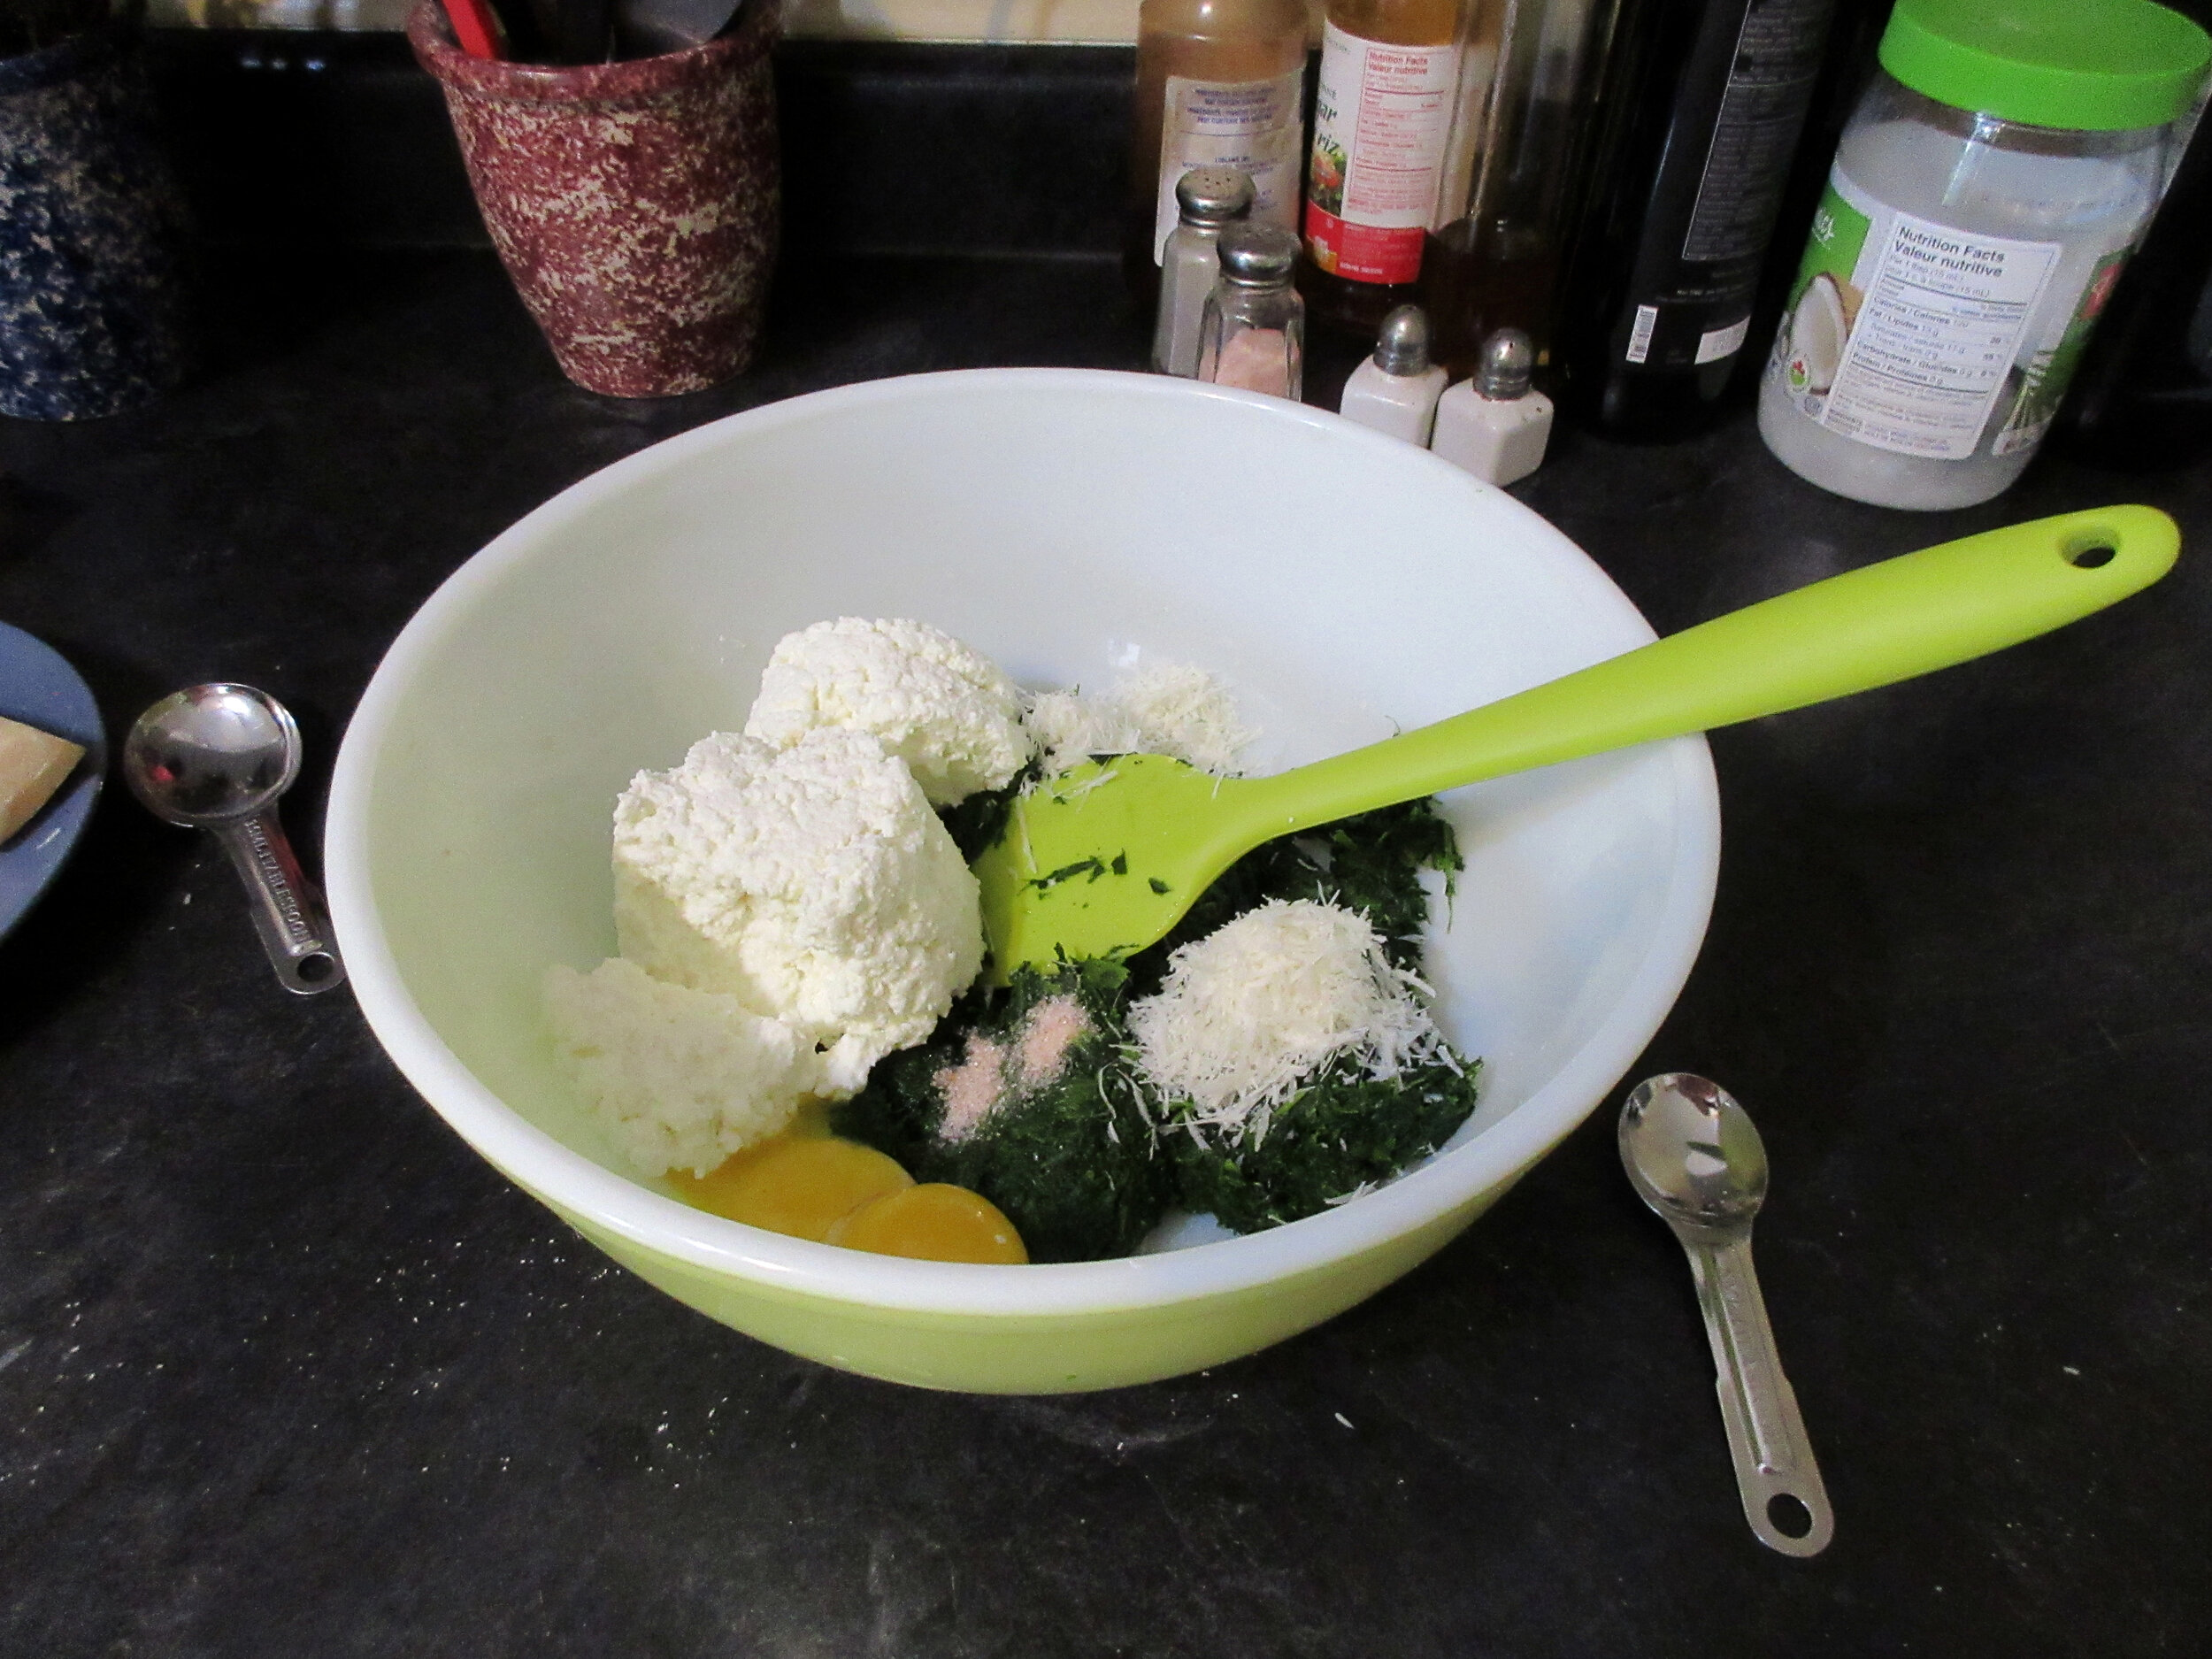
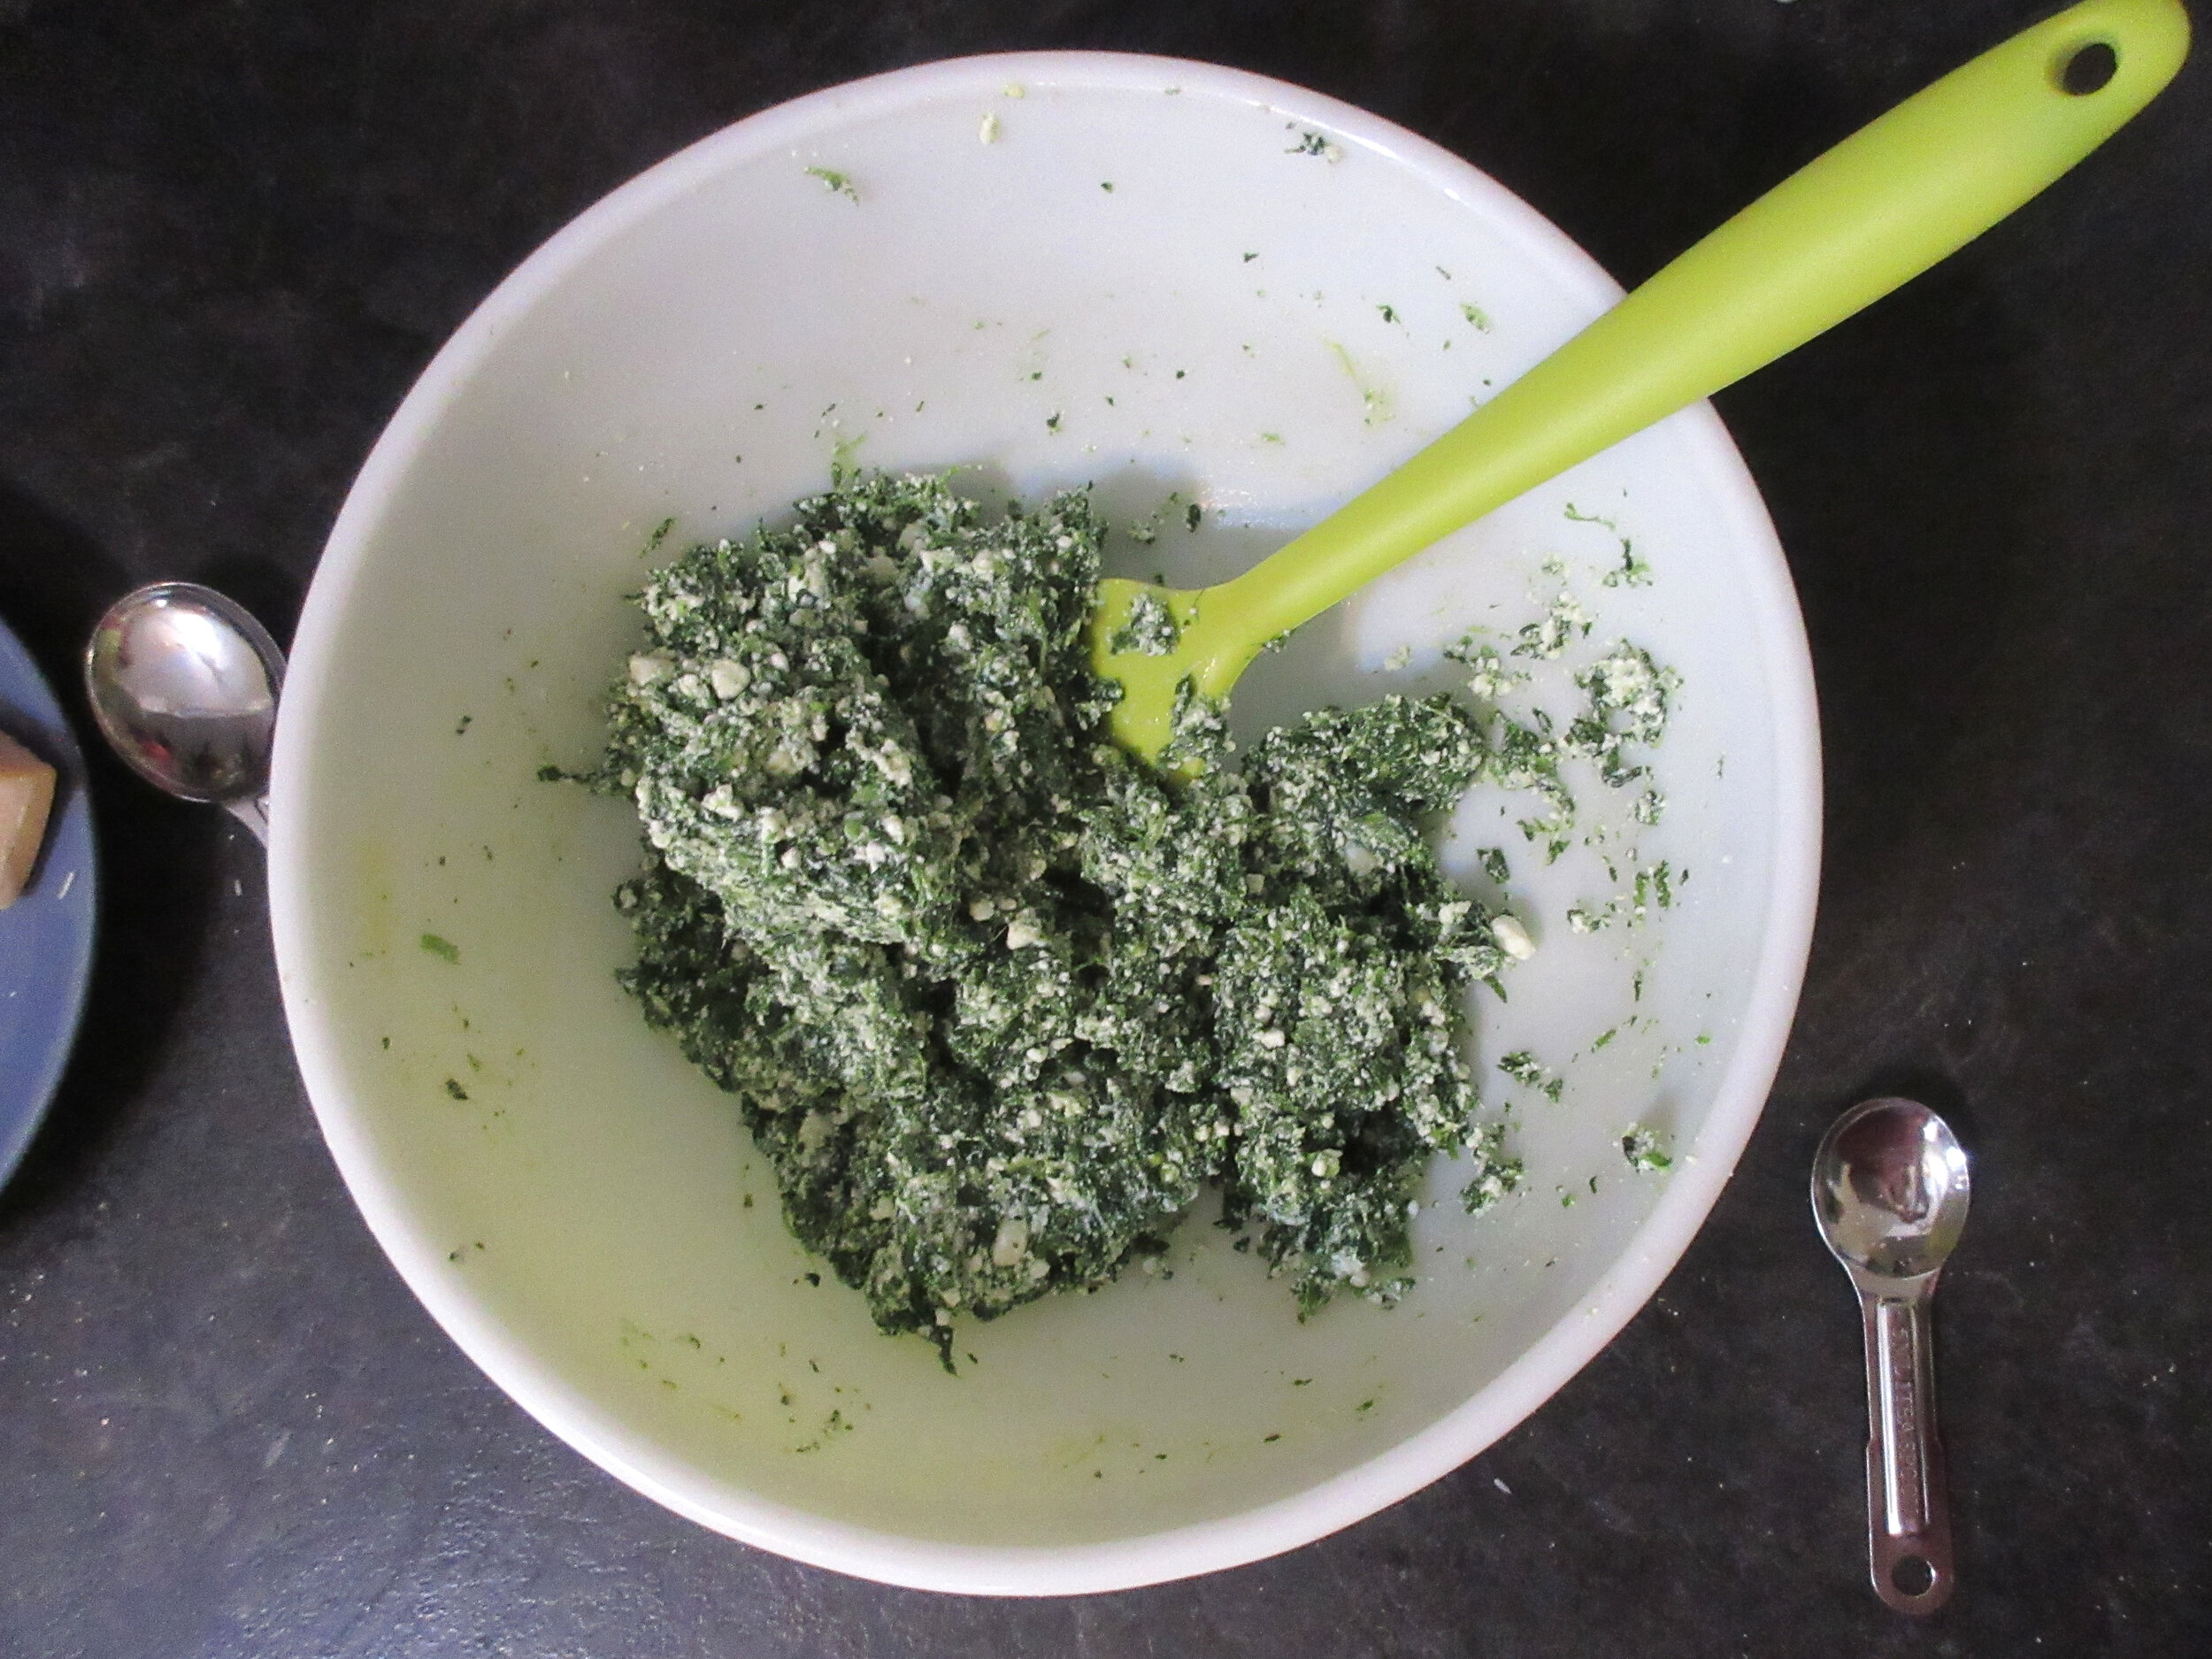
2. Mix the spinach, ricotta cheese, salt, egg yolks and three tablespoons of the Parmesan cheese.
3. Drop the mixture from a spoon into flour and shape into small balls. Cook in a deep kettle of simmering water about five minutes. Remove with a perforated spoon to a hot platter. (Julia’s warning – this cooking method didn’t turn out well for me! See my recipe below.)
4. Sprinkle the dumplings with butter and the remaining Parmesan cheese.
My recipe:
1 lb spinach, chopped – 454 g
1 ½ cups ricotta cheese – 340 g
½ teaspoon salt
2 egg yolks
3 tbsp grated Parmesan cheese, and more for serving
Flour (about ¼ cup)
Butter for frying
Optional suggestion: add finely chopped onions, garlic or black pepper for more flavour
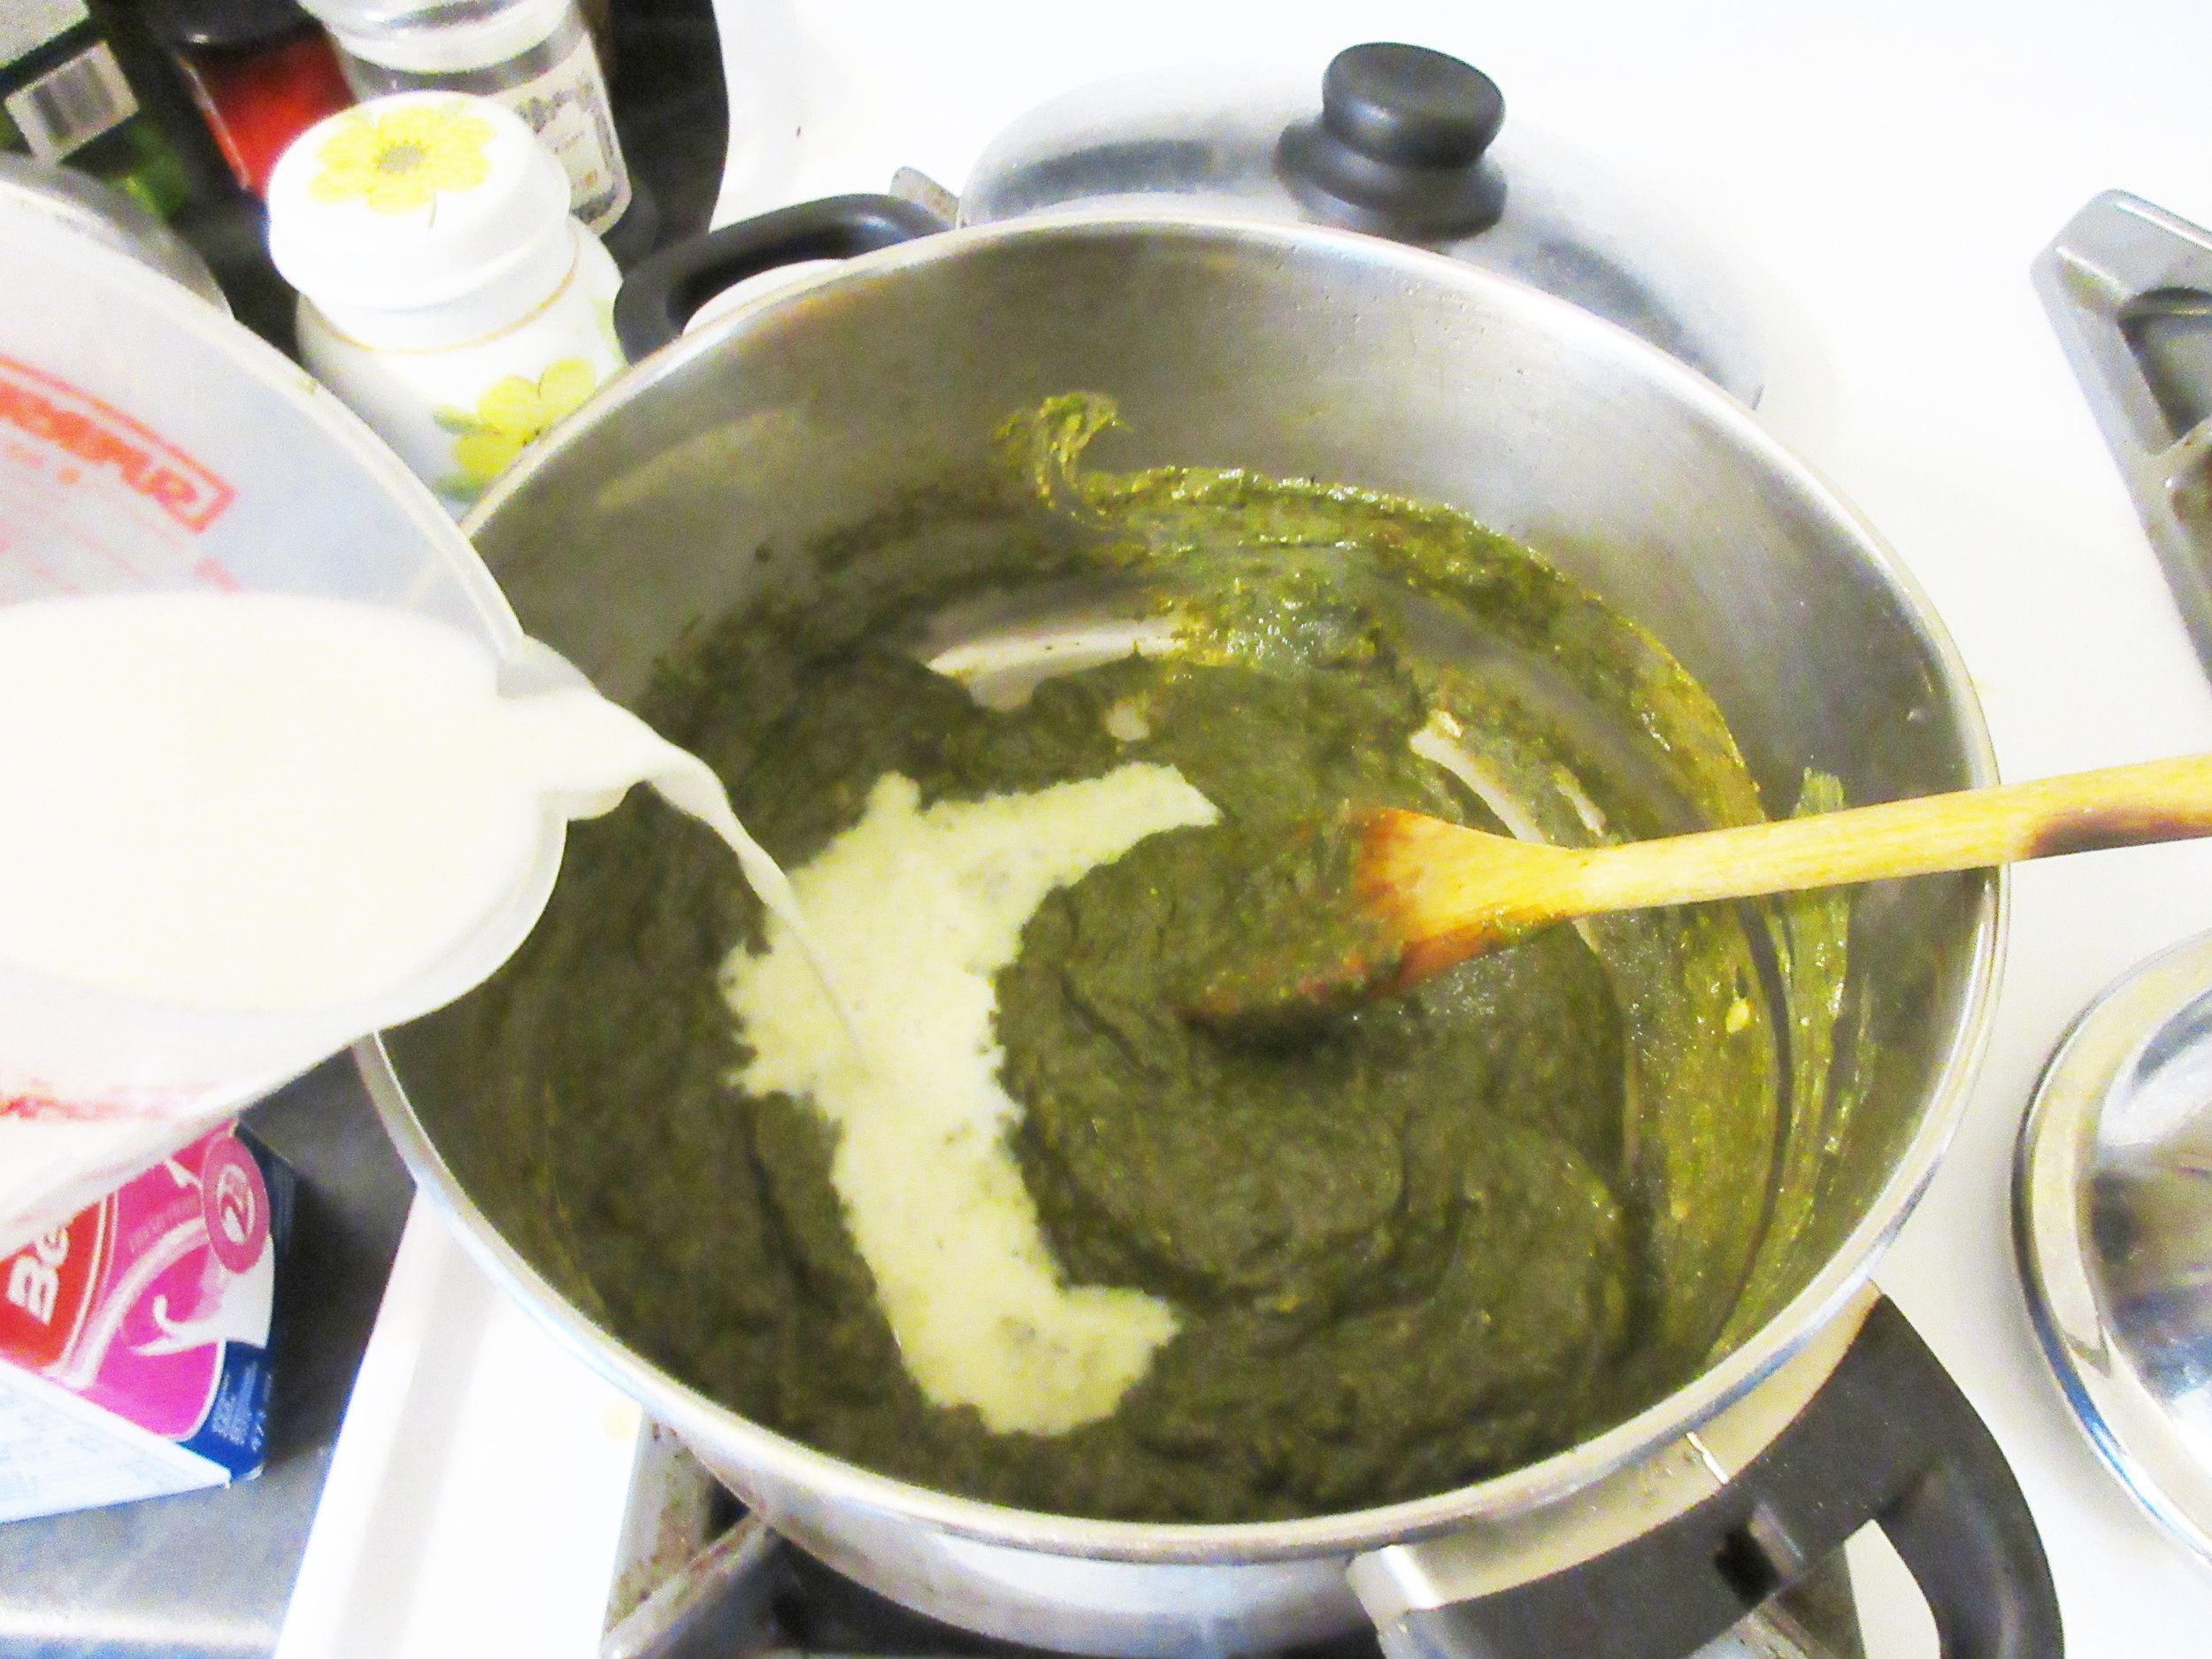
1. Steam the spinach in water until just tender, or open a package of chopped frozen spinach (I used a 500g package). Press the spinach through a sieve with a spatula or wooden spoon until you’ve removed all the water.
2. Mix the spinach, ricotta cheese, salt, egg yolks and the Parmesan cheese. You may also choose to add onions, garlic and/or black pepper.
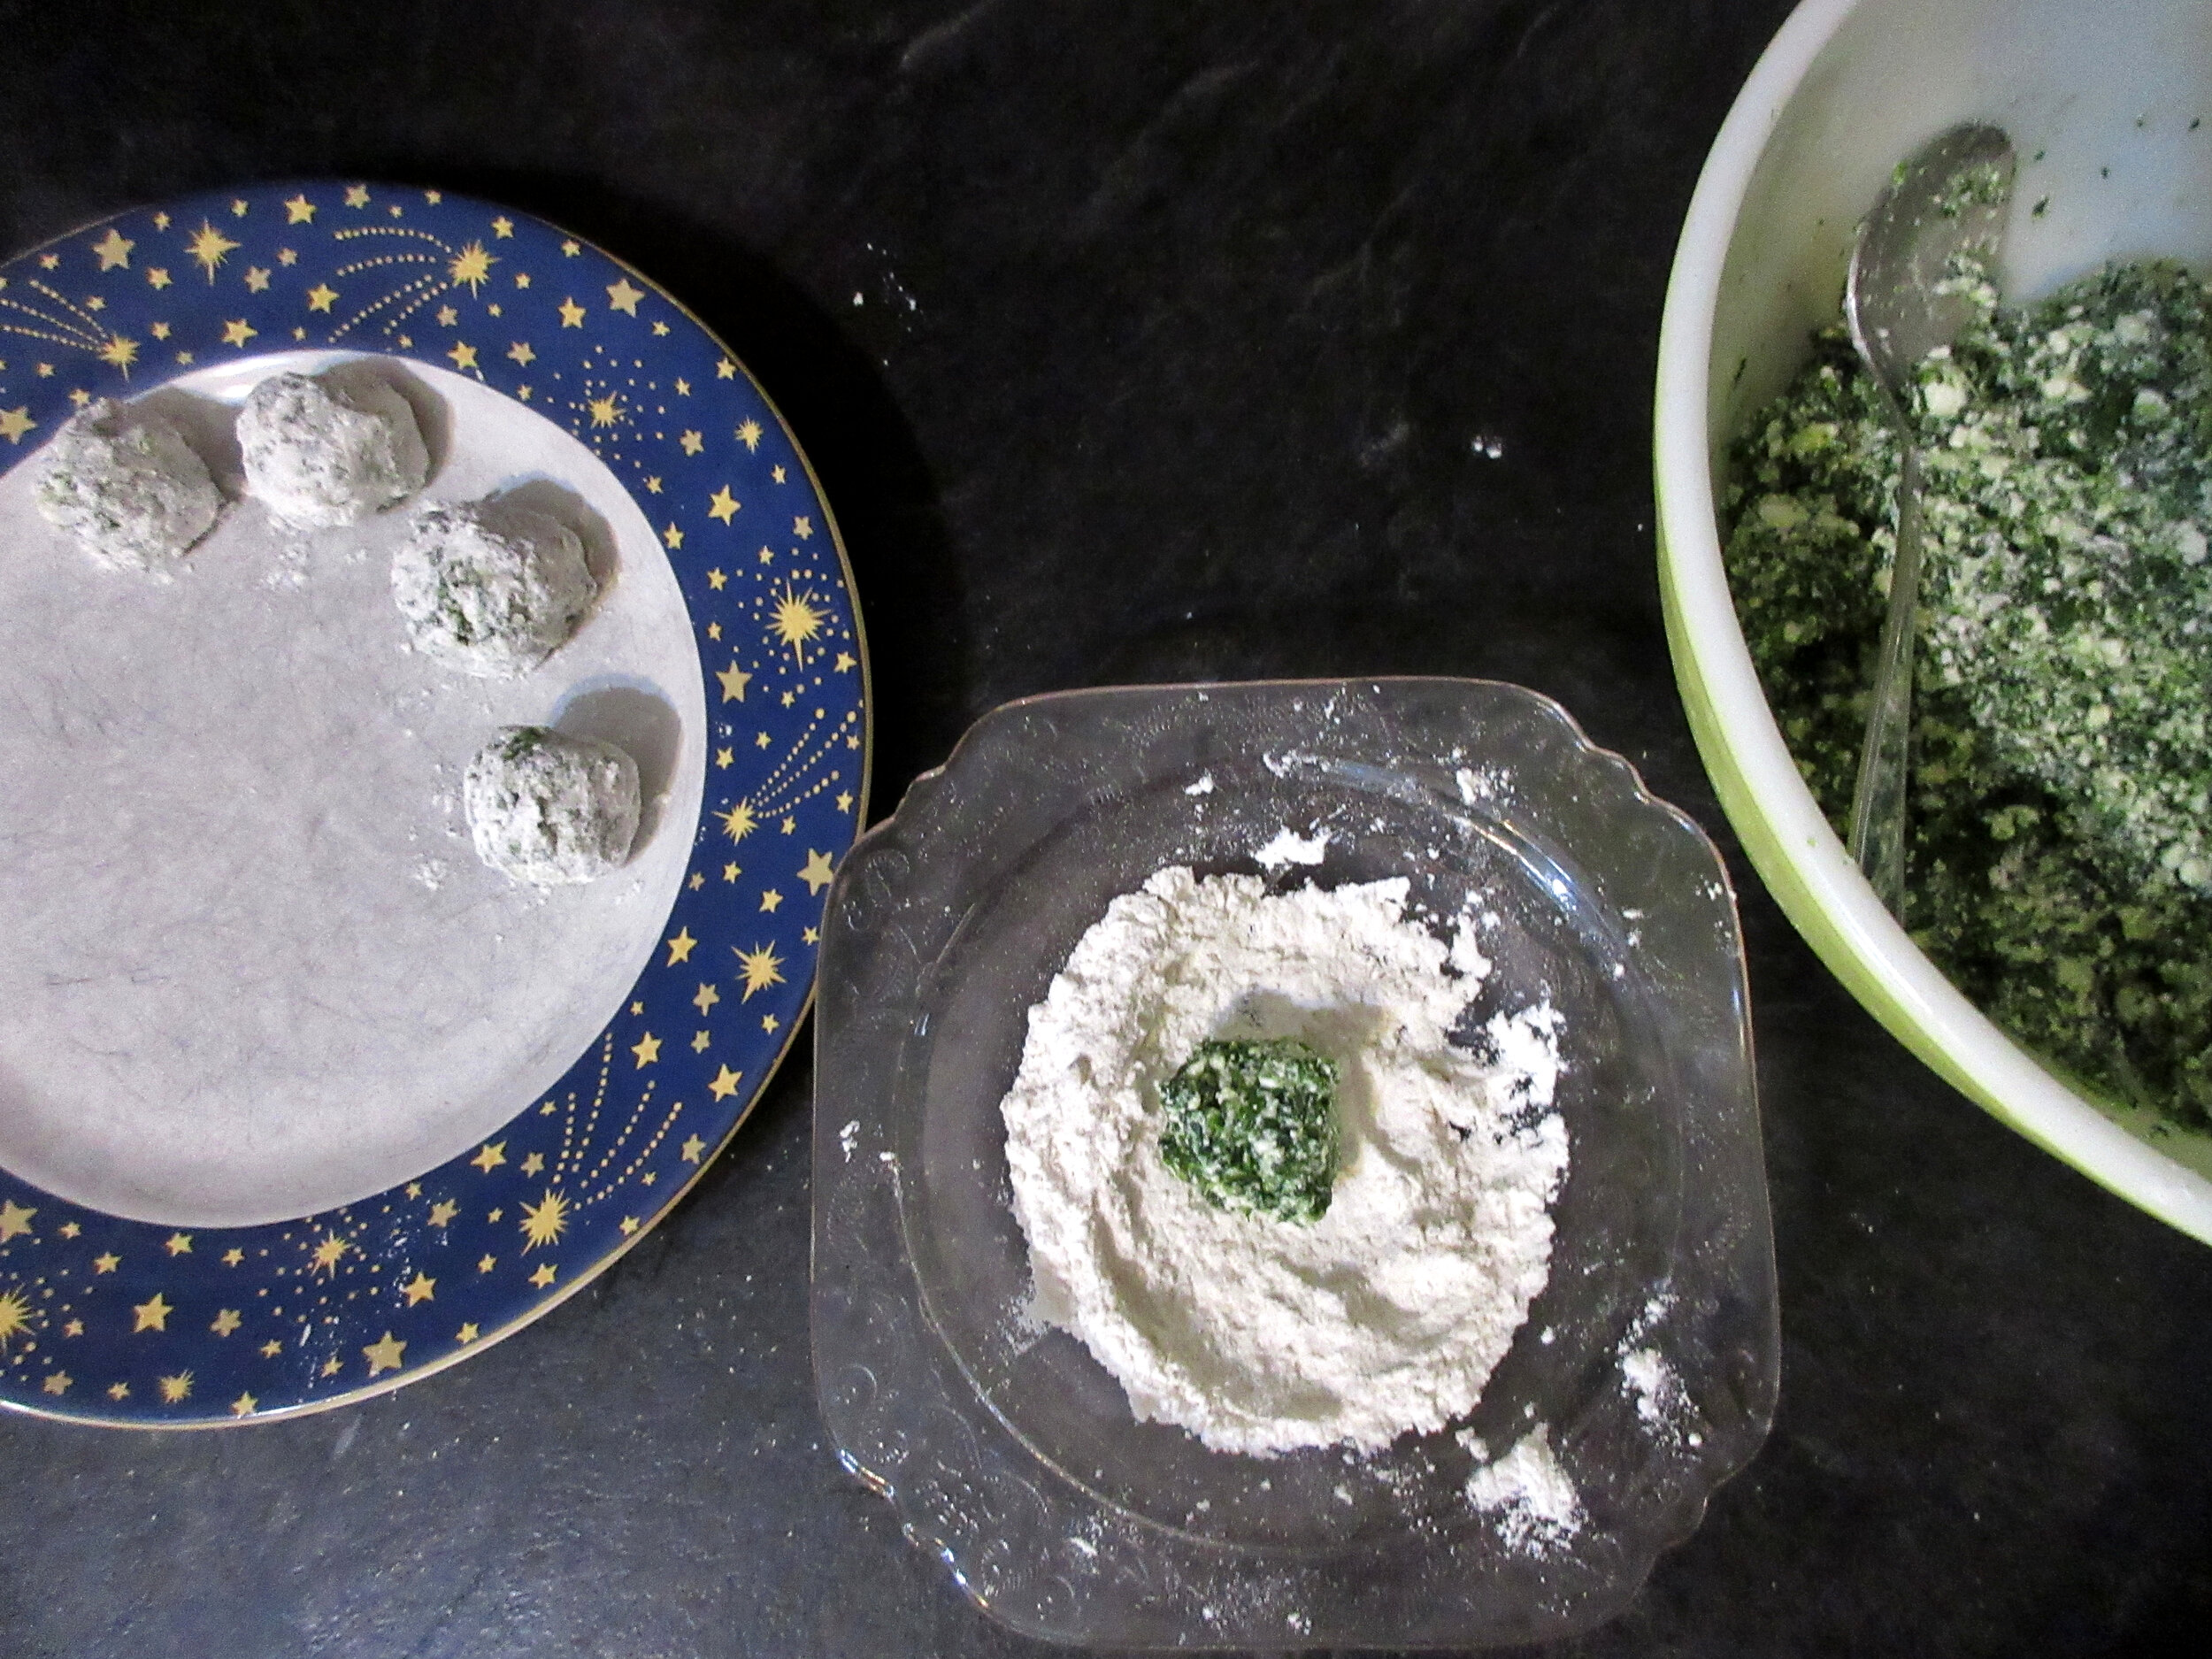
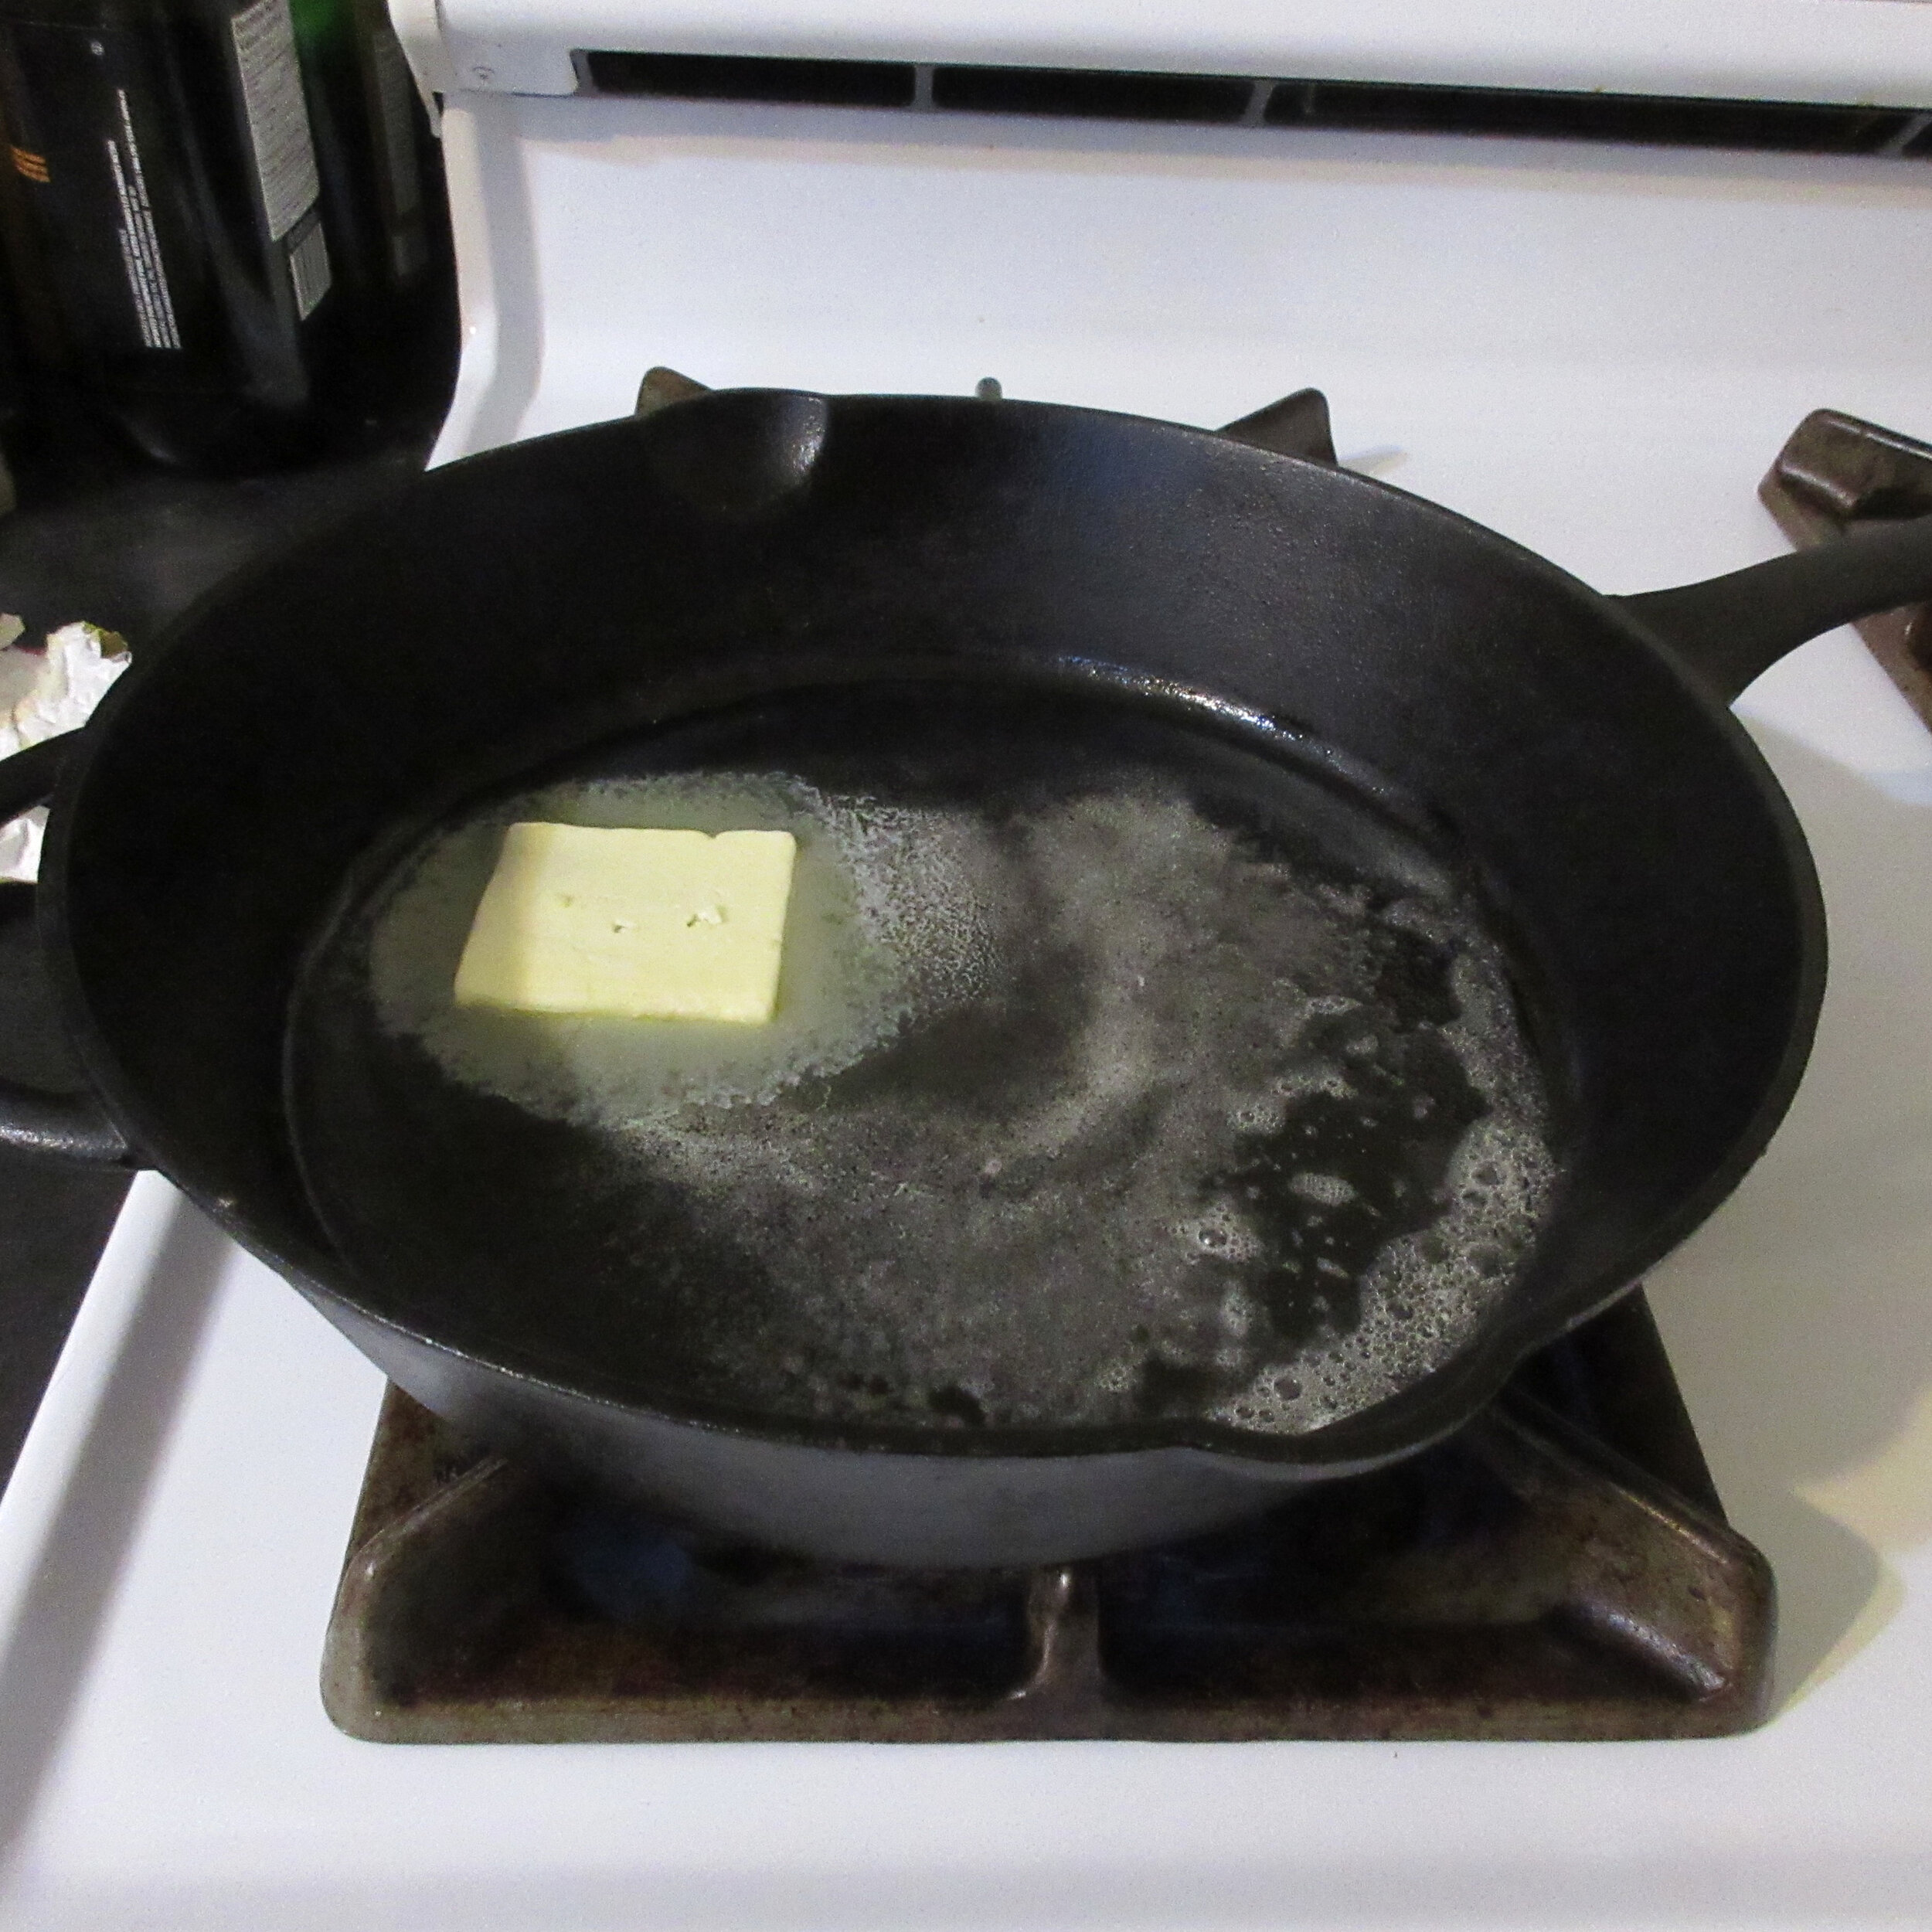
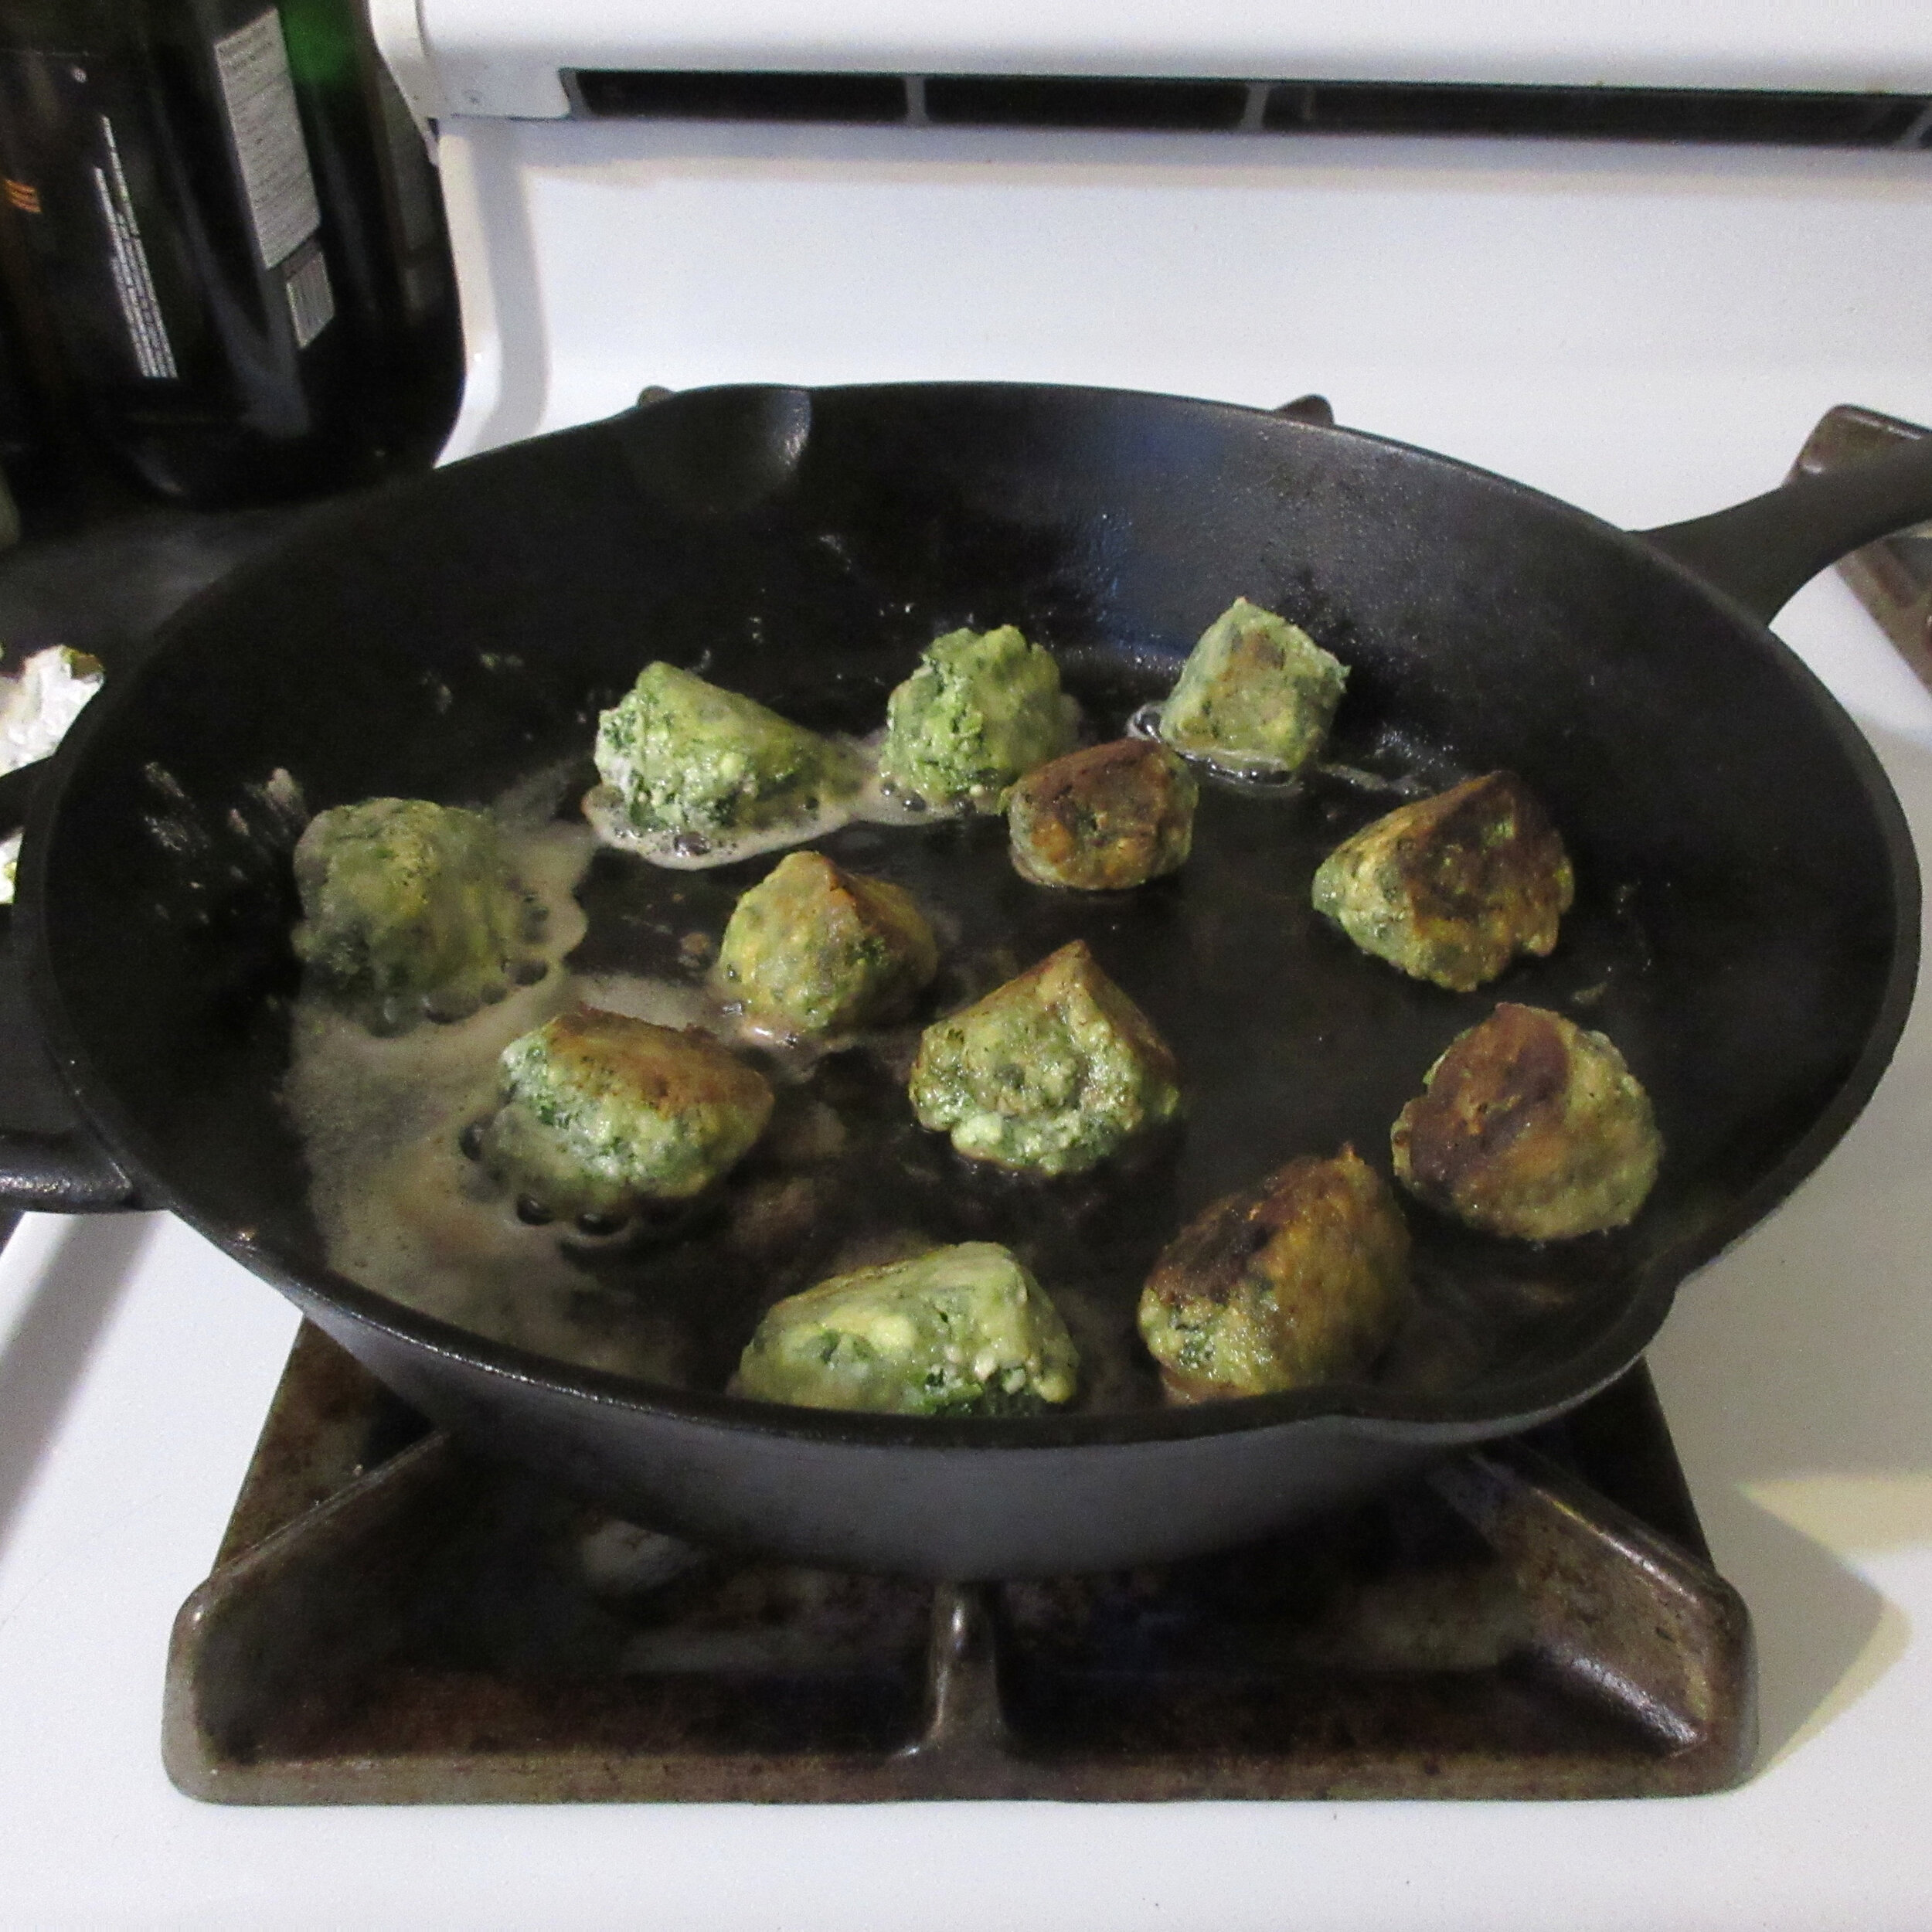
3. Form the mixture into small balls and roll in flour. Melt butter in a frying pan and fry the dumplings until browned on all sides. Sprinkle with Parmesan cheese before serving.
This recipe makes a bit more than 30 Timbit-sized dumplings (3-4 cm or 1¼ – 1½ inches in diameter)
My Review
I made this recipe twice before creating this blog post and my first experience can be summed up by my friend Charlene’s reaction when she popped by for a backyard socially-distanced visit later the same day. I regaled her with the process of making Spinach and Ricotta Dumplings and when I got to point where I told her that I put the dumplings in a pot of boiling water to cook, she exclaimed, “OH NO! What is holding them together?!?”
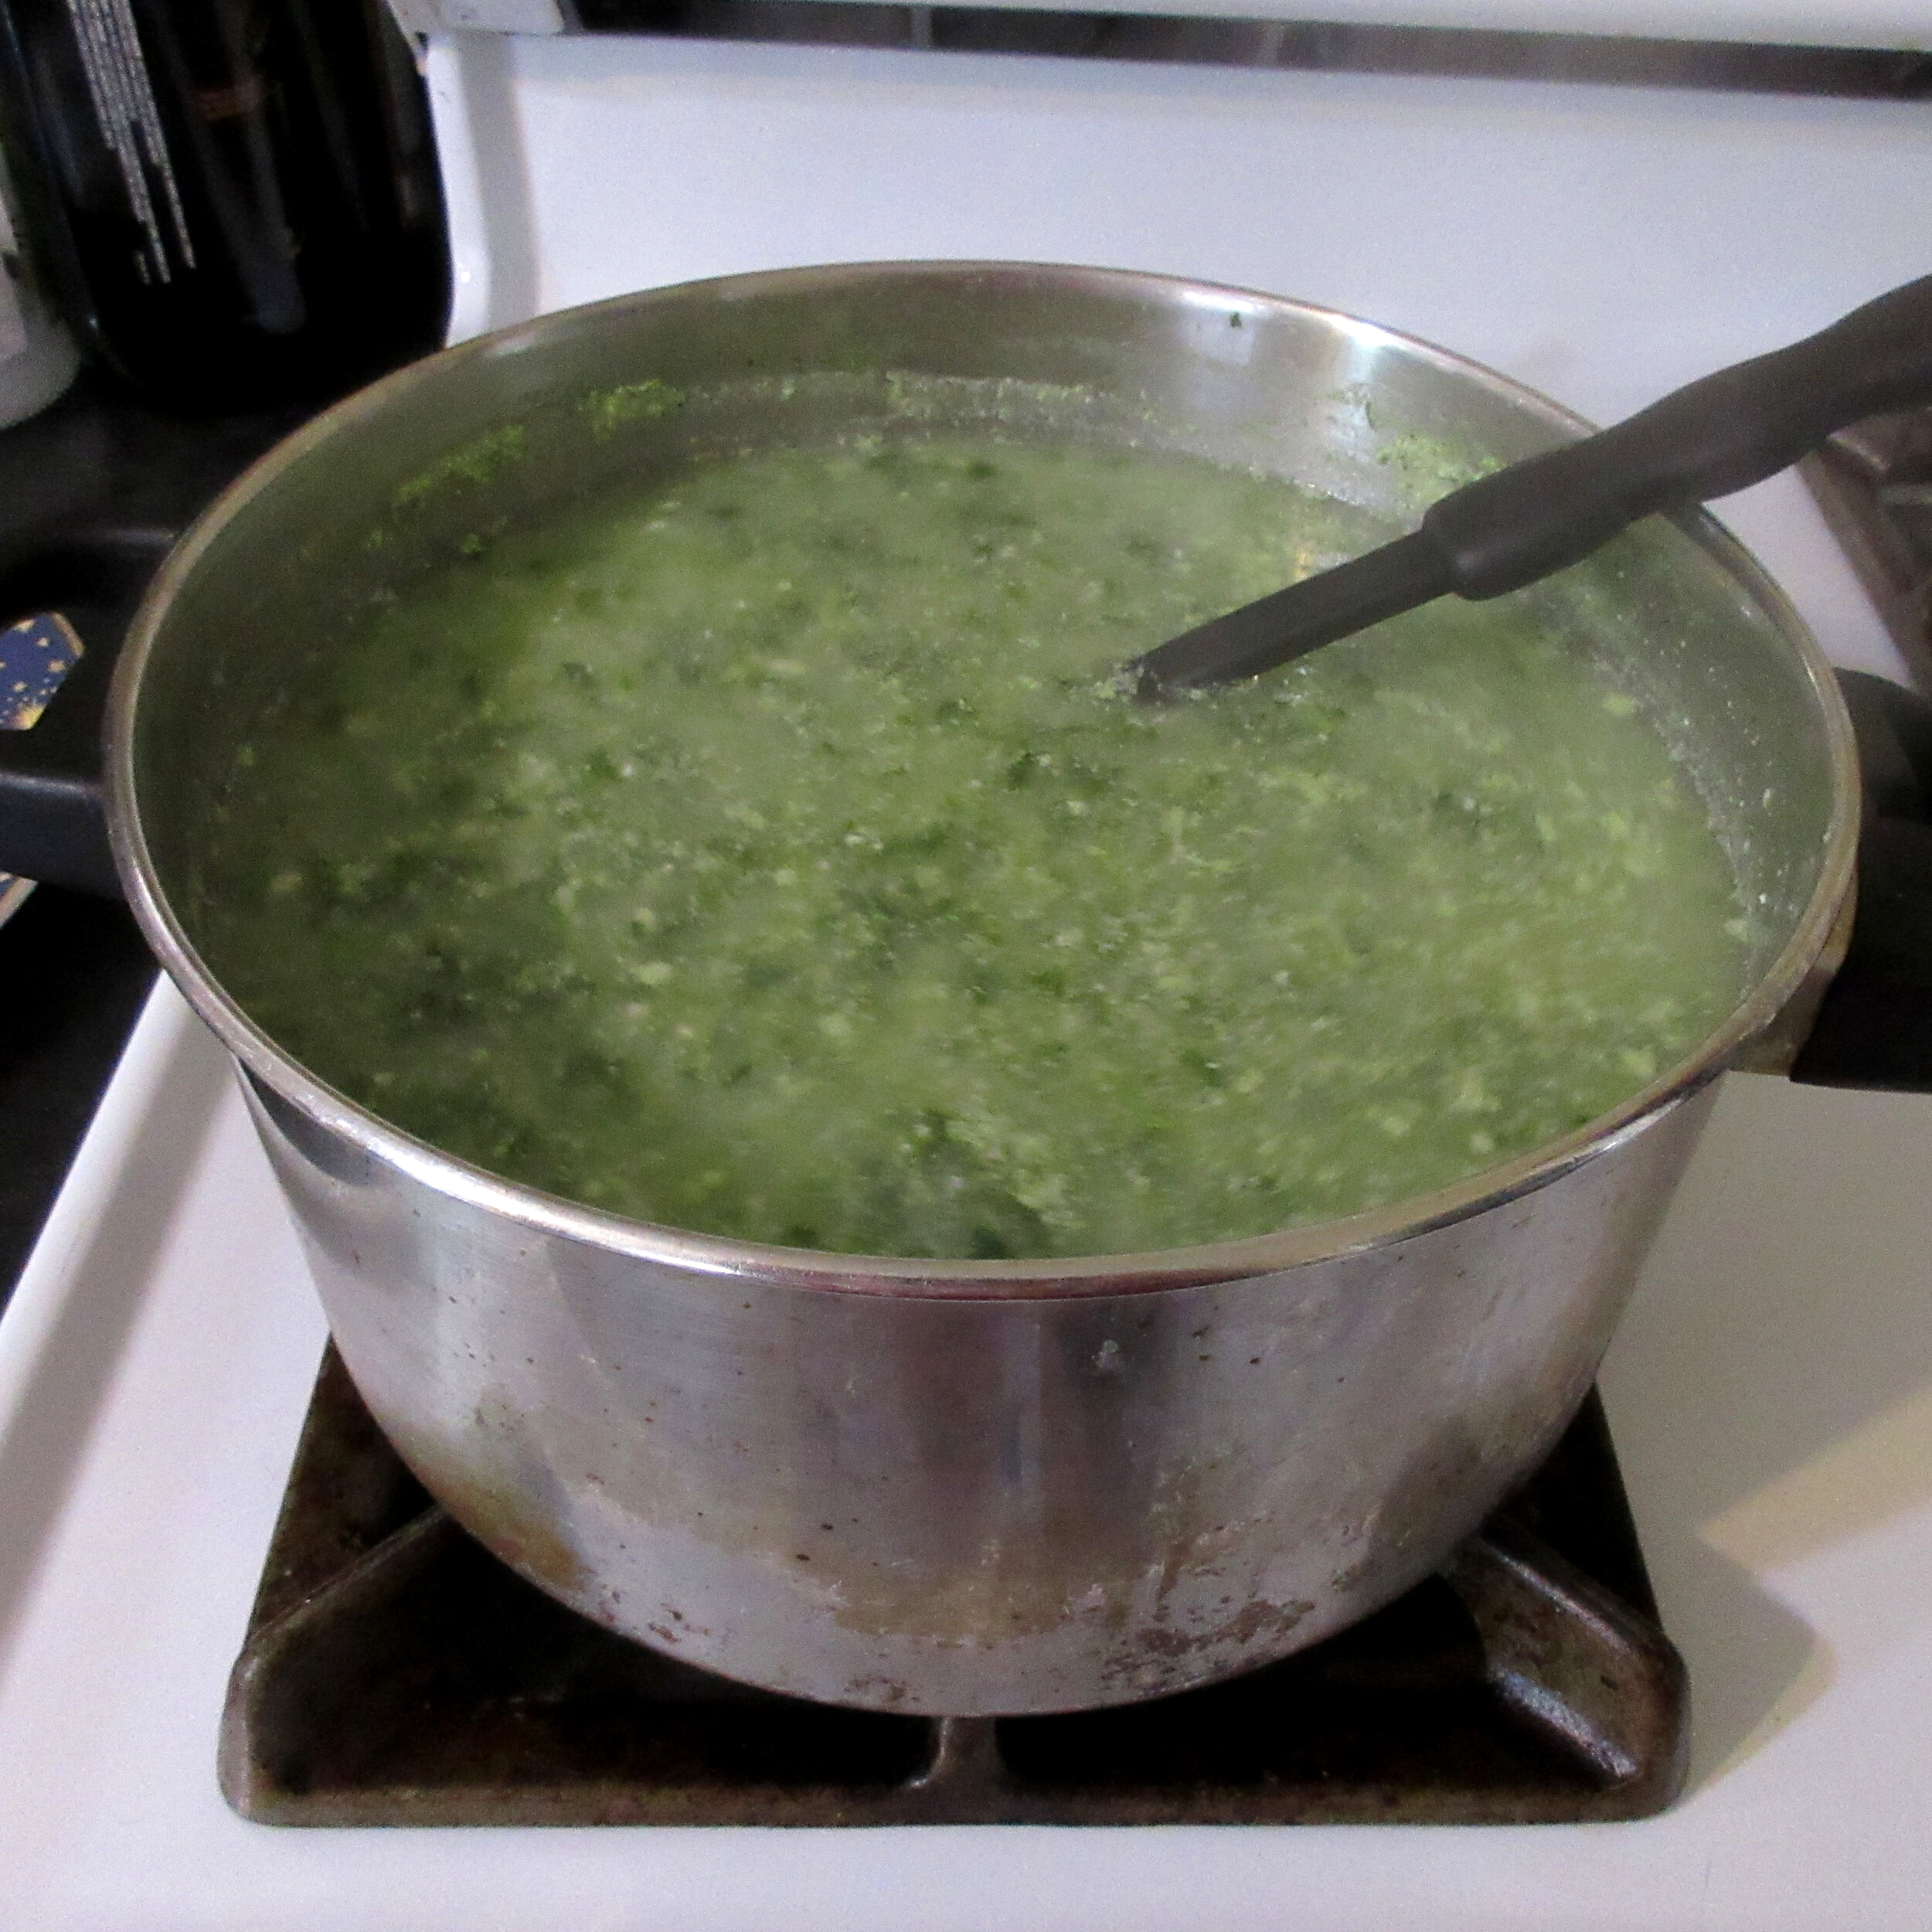
The answer: not much! Two out of 34 dumplings made it through the boiling process and I was also left with Spinach and Ricotta Soup (don’t worry, I ended up draining it and I used the spinach and ricotta to make a delicious pasta sauce later). Have a look at my pictures below to see the 2 miracle dumplings and the pot of soup.
Steve and I both ate one of the surviving dumplings and neither of us were a fan. The flour on the outside created a congealed glutinous layer after being boiled that just tasted like flour paste. Flour paste and spinach were the dominant flavours. You couldn’t really taste the cheese at all.
There are many things that could have gone wrong. Is there a secret tactic not mentioned in the recipe that will make all the difference? Should I have used fresh spinach instead of frozen? The recipe instructs us to “shape into small balls” and I decided to use the very Canadian measurement of making them Timbit-sized (keep reading for more on Timbits), which is roughly 3-4 cm or 1¼ – 1½ inches in diameter. Maybe if I had made them smaller, they would have survived being boiled?
Instead of dancing with the devil and trying to boil my second batch of dumplings, I decided to go with frying them. The original recipe suggests pouring melted butter on them before serving, so I figured that I could just include the butter by frying the dumplings in it. The dumplings were delicate and I had to turn them very gently, but they all survived being fried!
Steve and I both agreed that the fried Spinach and Ricotta Dumplings could use something else for more flavour, so I suggest adding some finely chopped onion, garlic or black pepper. I found that they had more flavour as leftovers than when they were freshly fried, but a little something extra would have made them much tastier.
Let’s get into some Canadiana…
As I’ve already mentioned, when the dumpling recipe instructed us to “shape into small balls”, my first instinct was to make the balls Timbit-sized (how Canadian of me). Afterwards, I took a moment to think about my readers and realized that most of you don’t live in Canada and might not have any idea what I’m talking about!
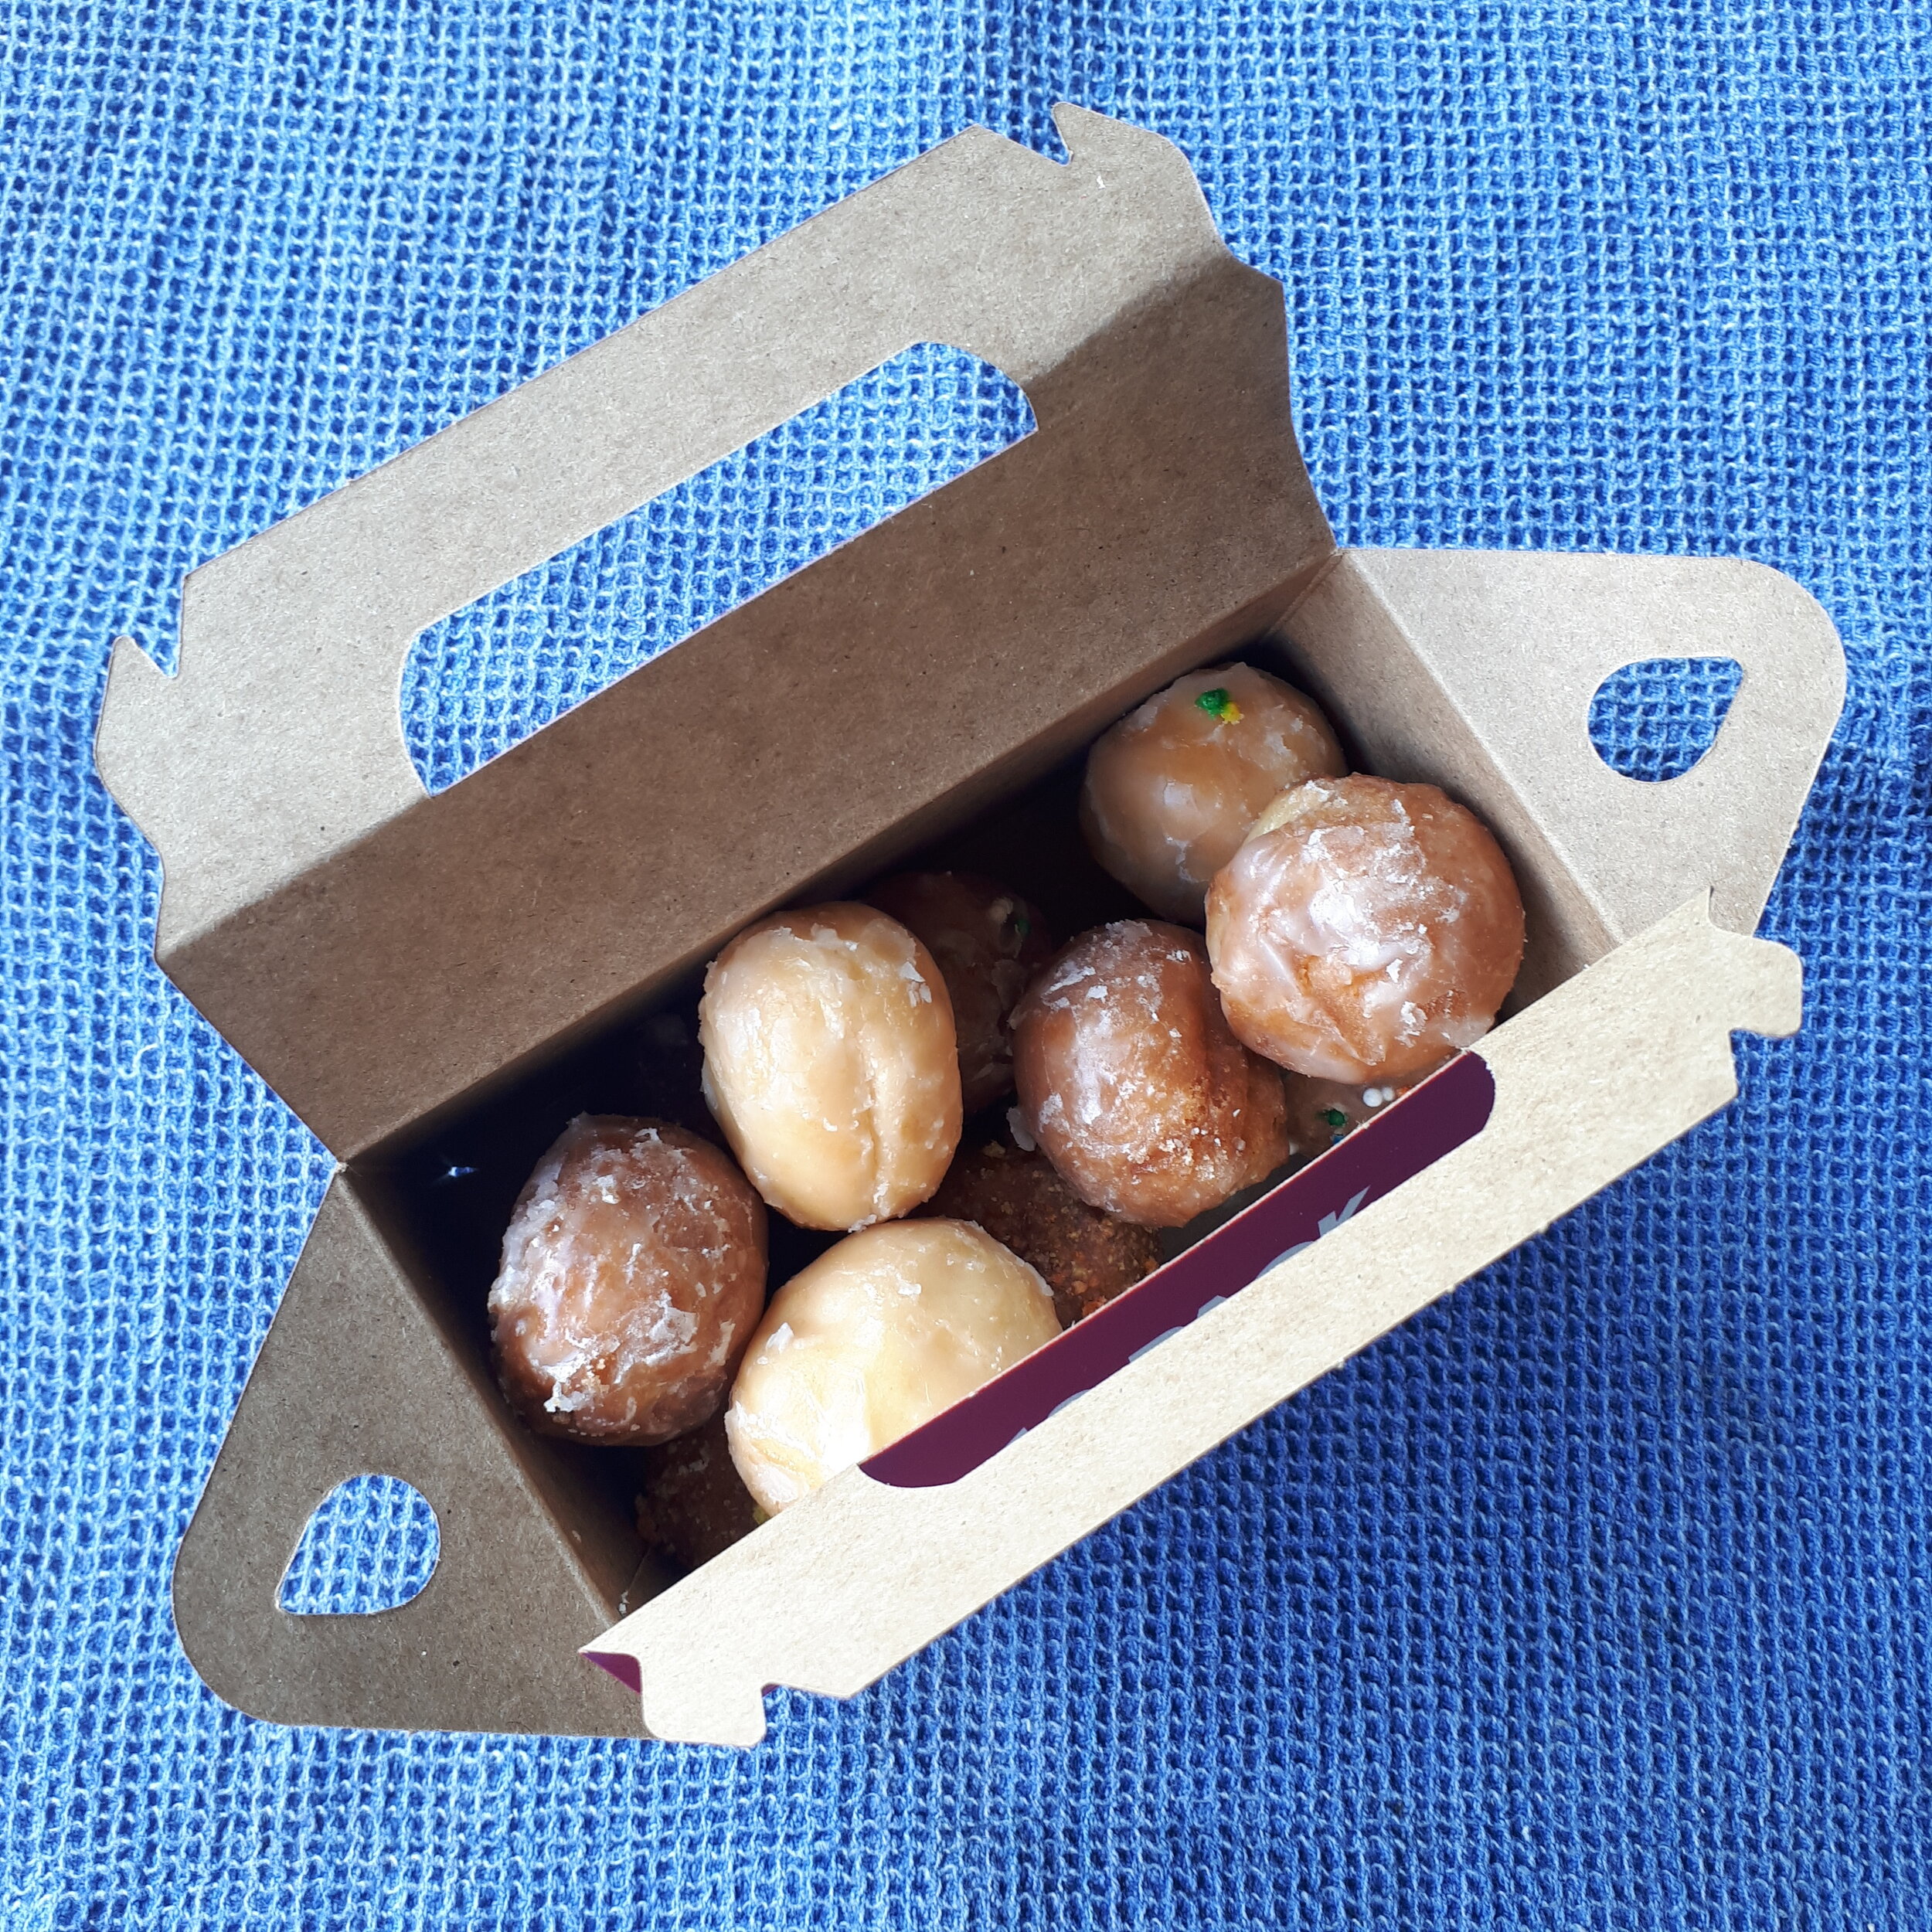
You might call Timbits “Donut Holes” where you live, but I can tell you that not one Canadian will call them that. They are Timbits. However, what they actually are...is doughnut holes: a bite-sized doughnut fashioned out of the center piece cut out of the doughnut ring. The size varies a bit, but Timbits are roughly 3-4 cm or 1¼ – 1½ inches in diameter.
Timbits are called Timbits because they are served at Tim Hortons, which is THE most prevalent coffee and doughnut shop in Canada. Tim Hortons restaurants are everywhere, especially in Ontario. I know of several instances where there are two Tim Hortons directly across the street from one another, but both restaurants are busy. In Hamilton, Ontario, I could walk to 15 different Tim Hortons restaurants that are located 2 km (1 ¼ miles) or less from my house.
I took the opportunity to grab a 10 Pack of Timbits to photograph for you, and I decided to venture a little bit farther than 2 km from my house to get them. That’s because about 4 km (2 ½ miles) away from where I live is the location of the very first Tim Hortons restaurant!


The First Tim Horton’s restaurant is here in my hometown of Hamilton, Ontario at 65 Ottawa Street North and it was opened on May 17, 1964 by Tim Horton and his business partner Jim Charade. Tim Horton was a professional hockey player in the National Hockey League, who played for the Toronto Maple Leafs from 1952 – 1970. At the end of his career, he played for the New York Rangers, Pittsburgh Penguins and Buffalo Sabres before his untimely death from a car accident in 1974.
During Tim Horton’s career, compensation for hockey players in the NHL was not nearly as lucrative as it is today, so the coffee & doughnut shop was opened to supplement his income in the off-season. He had launched less-successful business ventures (a burger restaurant and a car dealership) before this restaurant, but he struck gold with this concept! This photograph shows what the first Tim Horton’s restaurant on Ottawa Street in Hamilton looked like in its early years (photo courtesy of Hamilton Public Library - Local History & Archives).

When I went there to buy the Timbits, I snapped some photos of what the First Tim Horton’s restaurant looks like today. Out front, there’s a statue of Tim Horton shooting a hockey puck in his Toronto Maple Leafs jersey. Tim was into current events and wore a face mask to protect patrons visiting his restaurant in case he was an asymptomatic carrier of COVID-19.
If you ever visit the Tim Hortons on Ottawa Street North in Hamilton, you can order yourself some food and also check out a small museum on the second floor. BUT If you’re reading this when COVID-19 is still a concern, you may not be able to go up to the second floor to see the museum displays (that part of the restaurant was closed when I was there).


Since I can’t get up to the museum on the top floor these days, here’s a couple of previously-taken pictures of the replica 1960s Tim Horton’s counter you’ll find up there. I had one picture of it that I took of it when my nephew was visiting. I asked around and Mark Osbaldeston had a photo of the other end of the counter that he so nicely shared with all of us. If you have a look at the menu, you’ll notice that a dozen doughnuts cost $1.25, but there’s no Timbits on the menu. That’s because Timbits were introduced in 1976.
The counter is not all you’ll see if you visit the museum space. There is also a display wall with uniforms, packaging, marketing materials and other artifacts & ephemera. Fun fact: you may have noticed that I’ve been writing both Tim Horton’s and Tim Hortons, depending on the time period. The apostrophe was dropped from the restaurant name in the 1990s. Although Tim Horton’s is grammatically correct in English, the apostrophe was deemed to violate Quebec’s French language laws for signs and the restaurant name is Tim Hortons for everyone now.


Since I used the very Canadian measurement of a Timbit in this recipe, I thought I’d end off with some other very Canadian measurements used in this time of COVID-19. Let’s have a look at some public social distancing signs.


Officially, Canadians use the metric system, but in actuality, we use a very strange mixture of metric & imperial. I took the first picture last night when I went for a walk last night here in Hamilton (along with my shadow self-portrait). The City of Hamilton described the recommended space between you and a stranger as both 2m or 6 feet. Considering how people measure distance here, it really is necessary to list both metric and imperial.
The City of Toronto took the opportunity to get creative with their social distancing signs and two of the signs that I’ve seen are on par with Timbits on the Canadiana-measurement scale! Picture #2 below was taken by Genevieve earlier in the year when all parks were closed and social distancing was measured on this sign as 2m or about the length of a hockey stick. Canadian.
I took the 3rd picture at one of Toronto’s beaches, which have just been opened. This social distancing sign measures the correct space as 6 feet, 2m or the length of 3 Canada Geese. Canada Geese are very very commonly found in my part of Canada in the area of the Great Lakes and using Canada Geese to describe staying away from someone is quite apt. When they are mating and are rearing their young, it isn’t unexpected for a Canada Goose to aggressively charge a person while hissing. Likely, the worst that will happen is that they’ll pinch you with their bill, but wise people keep their distance from Canada Geese when they are in family mode. Canadian.
Maggie sent me the 4th picture from the City of Toronto. These are the signs that have been posted at Toronto’s off-leash dog parks and the distance between people is described as 6 feet, 2m or “the length of three happy dogs”. This is by far the cutest social distancing measurement that I’ve come across, but also the least accurate!
Are there interesting COVID-19 social distancing signs in your part of the world? Leave a comment and describe what’s happening in your neck of the woods - I’d love to hear about it.

ReadThe New York Times Cook Book:
Carrot Fritters
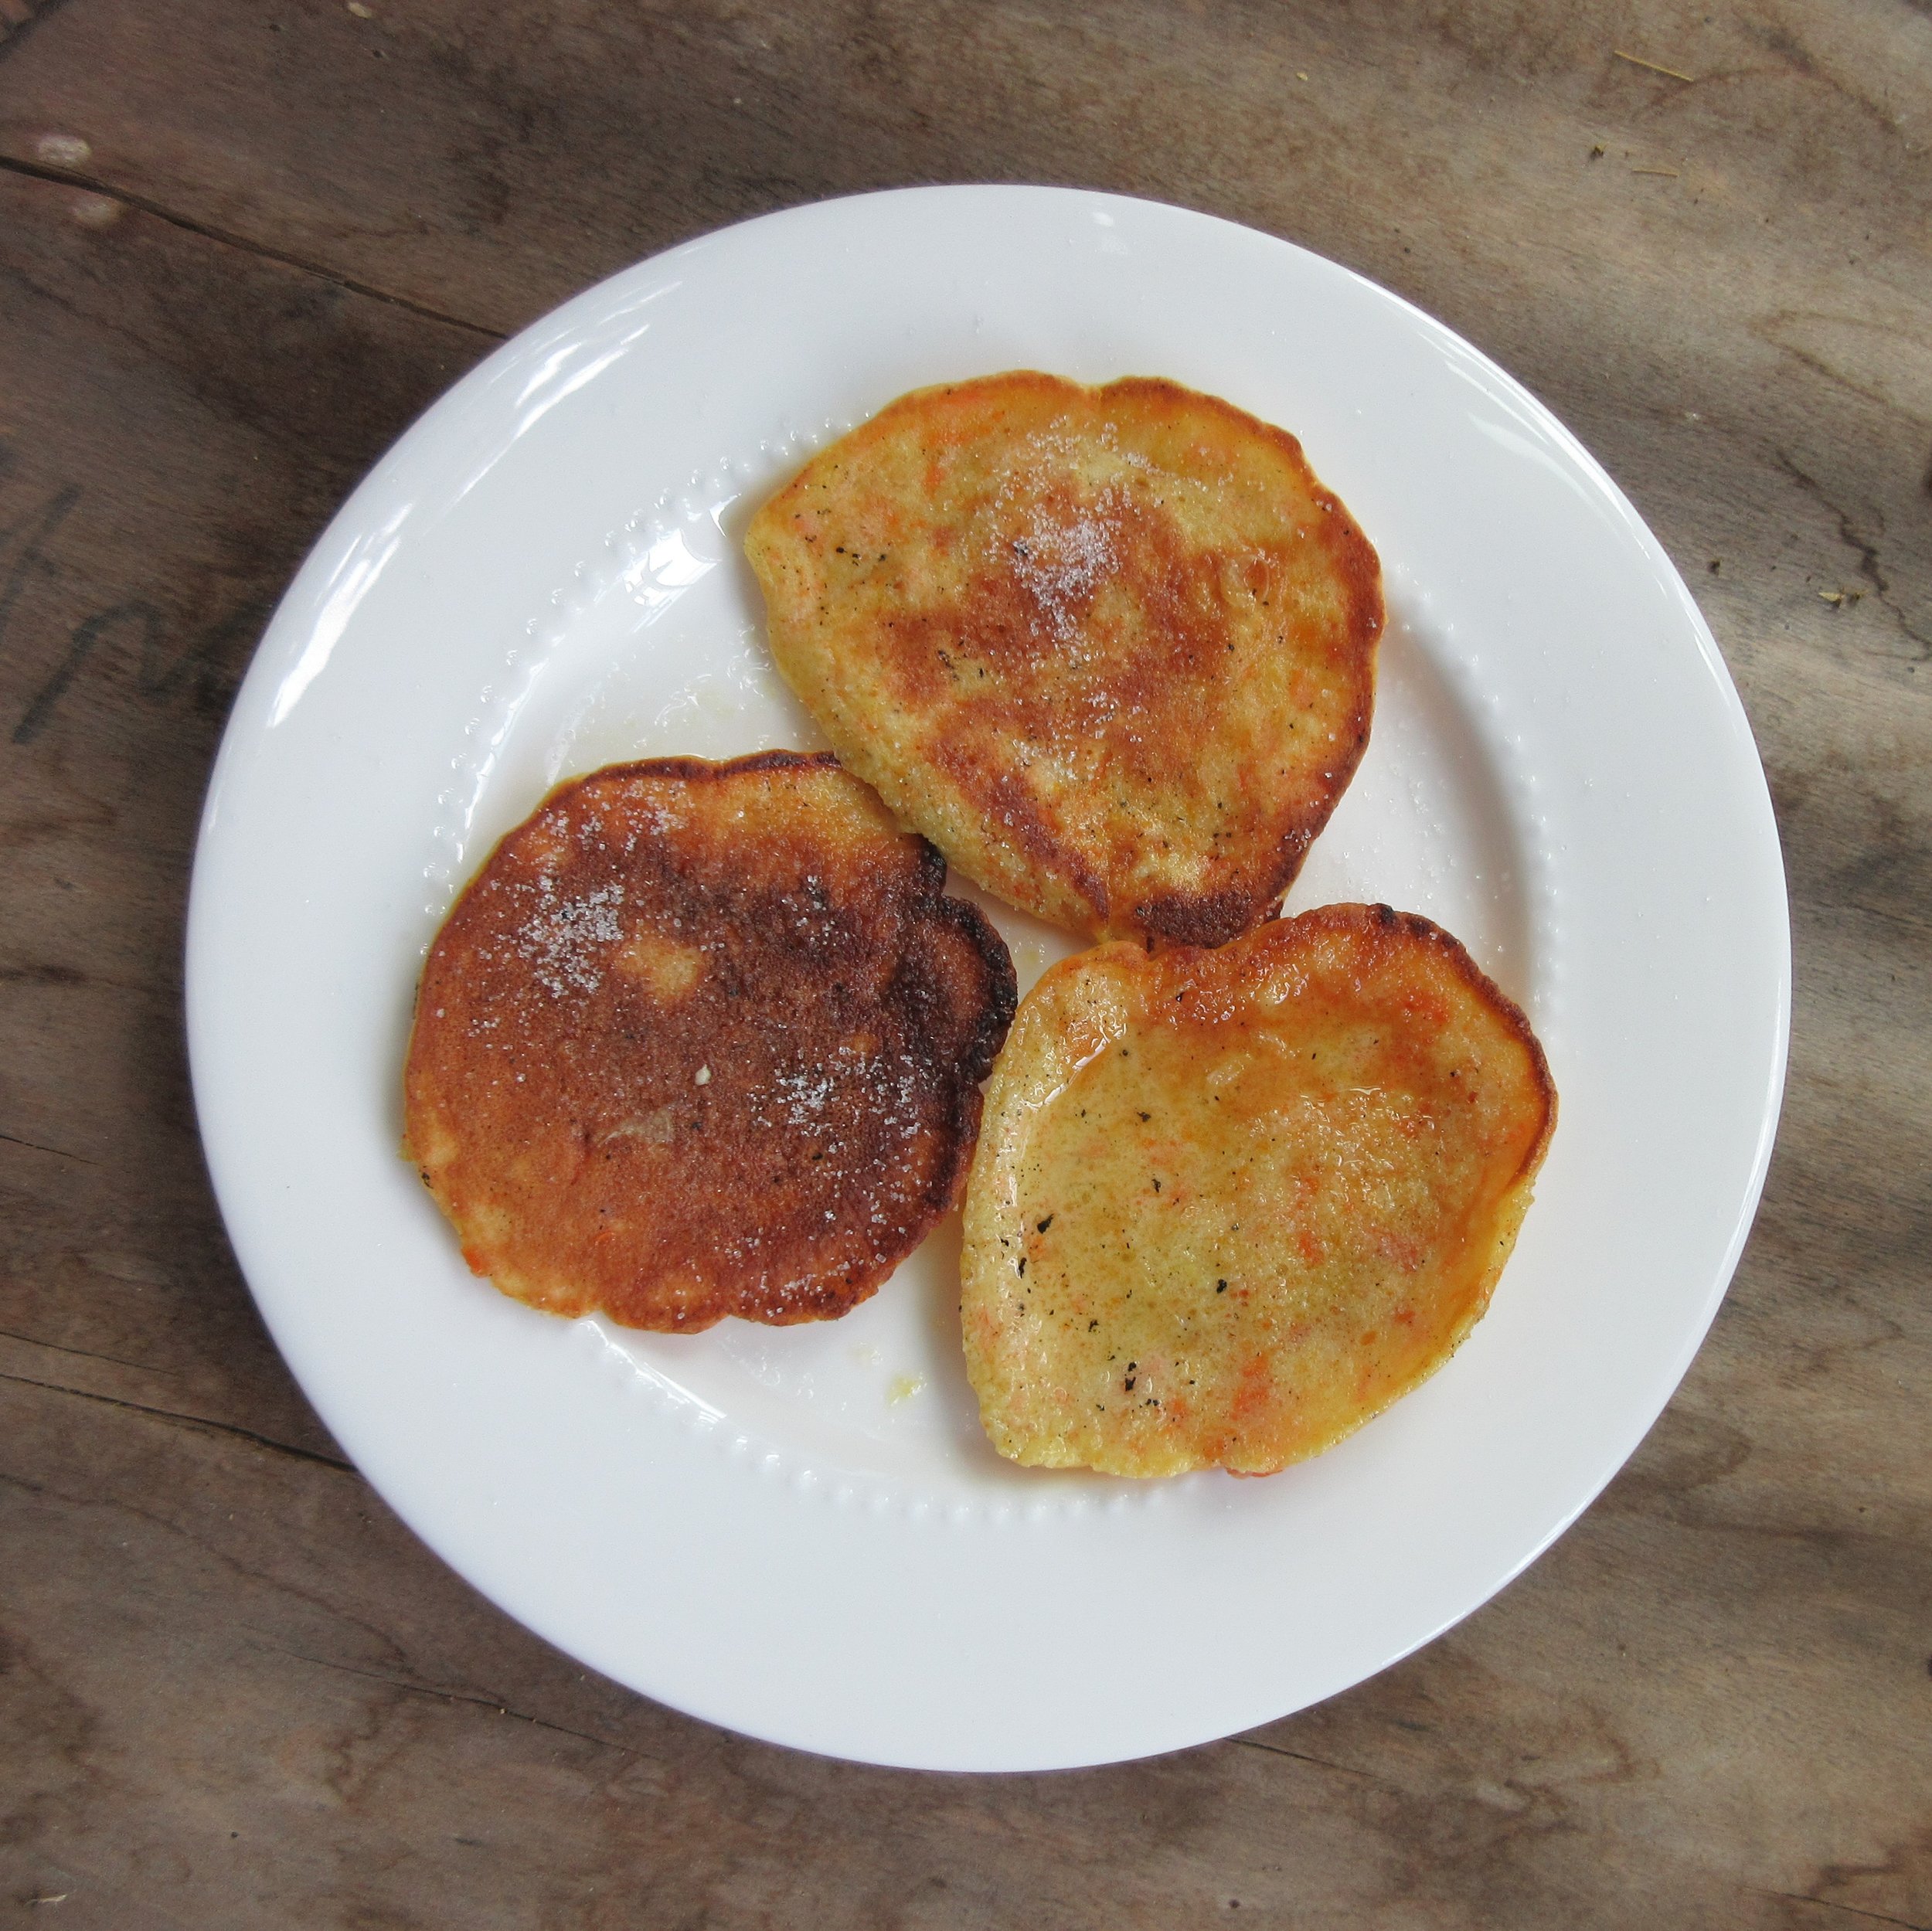
Carrot Fritters are very delicious, but they taste like oranges, not carrots. I think sneaky parents of picky eaters could puree the carrots very smoothly, call them Orange Pancakes and use this recipe to get some vegetables into their kids.
I made this recipe from the 1787 The Lady’s Assistant for Regulating and Supplying the Table at a recipe testing day at Nelles Manor Museum in Grimsby, Ontario. I’ll be teaching 3 open hearth cooking classes on July 28 & 30 at Nelles Manor and as of today, there are still tickets available for all three classes. Contact Nelles Manor at info@nellesmanor.ca or 289 – 235 – 7755 to reserve your spots

You’ll find this recipe in:
The Lady’s Assistant for Regulating and Supplying the Table
By: Mrs. Charlotte Mason
London, 1787
Original Recipe:
Carrot Fritters.
TAKE two or three boiled carrots, beat them with a ſpoon till they are a ſmooth pulp; put to every carrot two or three eggs, a little nutmeg, to three carrots put a handful of flour; wet them with cream, milk or ſack; add to them as much ſugar as will ſweeten them; beat them well half an hour, and fry them in boiling lard; ſqueeze over them a Seville orange, and ſhake some fine ſugar over them.


My Recipe:
2 carrots
5 eggs
½ tsp nutmeg
½ cup white sugar – 60 g
½ cup milk – or cream, or sack (sherry) – 120 mL
¾ cup flour – 110 g
Butter or oil
1 orange (or orange juice)
white sugar (for sprinkling on top of the fritters)
1) Peel and chop the carrots and boil in a pot of water until very soft. Mash them in a bowl once they are cool.
2) Add the eggs, nutmeg and white sugar to the carrots. Next add your liquid (milk, cream or sack/sherry) and the flour. Whisk everything together. Juice the orange if you’re using fresh juice instead of purchased orange juice.
3) Fry the fritters in a frying pan in butter or oil. Once they’re fried on both sides, remove to a plate, spoon some orange juice on top and sprinkle the fritters with sugar.

Carrot Fritters are very delicious, but they taste like oranges, not carrots. I think sneaky parents of picky eaters could puree the carrots very smoothly, call them Orange Pancakes and use this recipe to get some vegetables into their kids.
If you’re a regular reader of my blog, you may have noticed a change in location from the kitchen in my house. I was lucky enough to spend a day preparing food at Nelles Manor Museum in Grimsby, Ontario and these Carrot Fritters were extra delicious because they were fried with a wood fire in the museum’s 230-year old open hearth!
I taught 4 sold-out open hearth cooking classes at Nelles Manor last autumn, and I’ll be teaching 3 more cooking classes on July 28 & 30. As of today, there are still tickets available for all three classes. Contact Nelles Manor at info@nellesmanor.ca or 289 – 235 – 7755 to reserve your spots.
This time around, we’ll be preparing recipes from the 1780s & 1790s (when Nelles Manor was a newly-built home) and we’ll be taking full advantage of the fresh garden produce that’s seasonally available to us Canadians in late July.
Nelles Manor has also acquired some new cooking implements, so we’ll be roasting chicken breasts in a reflector oven in front of the fire. I’ve also wanted a cast iron Salamander for a while, so I’m hoping to use these classes as an excuse to treat myself to one! If I do get one, expect a beautifully seared buttered breadcrumb topping on the chicken dish we’ll be preparing.
Of course, the day that I picked to come to Nelles Manor was 31 C, which felt like 38 C (100 F) with the humidity. So you can imagine that it was not an ideal day to be standing next to a fire. I brought a lot of water, but there’s a wall of screen doors next to the historic kitchen and we placed a fan strategically to suck the hot air out of the room. It was warm and I drank all the water I brought, but the air flow made the kitchen an alright place to be. Not bad for a worse-case-scenario hot day!


On this recipe testing day, I roasted the chicken breasts and prepared the chicken dish that we’ll be making at the classes (these recipes will be a blog post after the classes happen). I also wanted to settle how we’d be frying Strawberry Fritters at the classes, so I selected this similar Carrot Fritter recipe and I tried out the two methods that you see in the pictures.
The first method is to shovel hot coals under a trivet or stand and set a frying pan on top of the trivet. Frying method #2 is to hang a frying pan from the crane in the open hearth and fry the fritters directly over the fire. The hanging frying pan at Nelles Manor isn’t quite in cooking condition, so I used it as a handle and nestled one of my frying pans inside. I found the best results came from the trivet and hot coals, so that’s what we’ll be doing at the class.

It’s easy to quickly adjust the temperature for any cooking implement hanging off an open hearth crane in two ways: you can swing the crane back and forth, further away or closer to the fire. The second way to adjust temperature is to move the pot or pan up and down using hooks of different lengths.
In this picture, you’ll see a variety of hooks that can be used to make the pan hotter or cooler. I picked up the hooks that the frying pans are hanging from at Fort George in Niagara-on-the-Lake. I wasn’t sure how I was going to use these handmade hooks when I bought them, but most of the time I hang my frying pans off them in my kitchen and they’ve come in very handy when I teach open hearth cooking!

I had to replenish the hot coals once while I was frying my fritters, but frying fritters on a trivet (or stand) & hot coals had a much more even temperature than the other method. To do this, you temporarily move the burning wood aside in your fire and use a shovel to create a pile of hot coals. Place the trivet and frying pan on top of the pile, and Bob’s your Uncle! Then take a moment to remake your fire by pushing the wood back together and adding one or two new pieces of wood. As you can see, the trivet at Nelles Manor also has a handy support to hold the frying pan handle!
Read the Cookbook:
Scalloped Turnips
I wanted to prepare one last root vegetable recipe before the greens & herbs start popping up here in Ontario, and I thought I'd turn to a local 1898 cookbook: The New Galt Cook Book. Galt is a town which is now part of Cambridge, Ontario and it's also close to where I grew up and where I live now in Hamilton. Scalloped Turnips is an interesting twist on scalloped potatoes. The turnips provide additional flavour to the dish, and it is creamy but also light because the sauce uses a butter & flour roux and the cooking water from the turnips instead of a white bechamel sauce.
Coincidentally, I had this recipe selected and the turnips purchased before I knew that cooking at an event using recipes from The New Galt Cook Book was even a possibility! I'll be preparing food from this cookbook for a Victorian Tea at the Fashion History Museum in Cambridge, Ontario on May 18th, and Food Historian Carolyn Blackstock will be speaking about her year-old journey making a recipe a day from The New Galt Cook Book.

You'll find this recipe in:
The New Galt Cook Book
Compiled and Edited by: Margaret Taylor and Frances McNaught
Toronto, 1898
Historic Recipe:
SCALLOPED TURNIPS.
Cut them into slices, stew them in water, adding a little butter and salt. When tender draw off what liquid is left and use it for sauce, which you make of a heaped teaspoonful of flour and the same of butter. Now butter a dish, put in a layer of the sliced turnips, dust with pepper and spread some of the sauce over it, then another layer of turnips, and so on until they are used up. Dust some grated Parmesan cheese over the top and put flakes of butter here and there. Bake in oven until light brown, and serve in the same dish. Bread crumbs may be used instead of cheese.


My Recipe:
Turnips
Butter
Salt
Flour
Pepper
Parmesan cheese and/or breadcrumbs
1) Preheat oven to 350 F (175 C) and butter your baking dish. Peel and slice your turnips. I used a 56 oz (1650 mL) casserole dish and I ended up using 6 turnips, but I probably could have gone with 7. Boil the turnips in water with a little butter and salt until tender. Strain, but be sure to keep the cooking liquid for the sauce.
2) To make the sauce, I melted a heaping tablespoon of butter in a pan, then added a heaping tablespoon of flour. Then I very gradually added 1 cup (236 mL) of the cooking water, stirring constantly. Once entirely incorporated, I allowed it to simmer until it began to thicken. I made this recipe 2.5 times to have enough sauce for my casserole.
3) Arrange a layer of turnips in your baking dish, dust with pepper and spoon a layer of sauce on top. Repeat until you've used all your turnip slices.
4) Sprinkle a layer of grated Parmesan cheese or breadcrumbs, or a combination of the two. The historic recipe suggests putting "flakes of butter here and there" with the Parmesan or breadcrumbs, but this method left little buttery pools and areas of dry breadcrumbs on top of my Scalloped Turnips. If you're using breadcrumbs,try melting some butter in a pan or microwave and stirring in the breadcrumbs in the butter before adding it to the top.
5) Bake about 20 minutes until golden on top.

I wanted to prepare one last root vegetable recipe before the greens & herbs start popping up here in Ontario, and I thought I'd turn to a local cookbook to find one. The New Galt Cook Book is a community cookbook that was published in 1898. I grew up quite close to Cambridge, Ontario and it's also close to where I live now in Hamilton. Cambridge is comprised of three towns which have run into each other over time: Hespler, Preston and Galt. I drive through Galt often when I decide to take a more scenic route to and from visiting my Mom and it has a picturesque downtown with beautiful stone buildings and bridges.
Scalloped Turnips is an interesting twist on scalloped potatoes. The turnips provide additional flavour to the dish, and it is creamy but also light because the sauce uses a butter & flour roux and the cooking water from the turnips instead of a white bechamel sauce. This recipe would be easy to make vegan and lactose & gluten free, just by substituting the flour and oil for the butter. I only had breadcrumbs in the house, but I think sprinkling grated Parmesan on top instead of or in combination with the breadcrumbs would be scrumptious. If you try this recipe with Parmesan, pop back and give a review in the comments.
Coincidentally, I had this recipe selected and the turnips purchased before I knew that cooking at an event using recipes from The New Galt Cook Book was even a possibility! It's funny how life lines up sometimes. I'll be preparing food from this cookbook for a Victorian Tea at the Fashion History Museum in Cambridge, Ontario on May 18th, and Food Historian Carolyn Blackstock will be speaking about her year-old journey making a recipe a day from The New Galt Cook Book.
Have a look at Carolyn Blackstock's experience making Scalloped Turnips on her Cooking with the Galt Cook Book blog. She proposes trying this recipe with both potatoes and turnips and I agree that it would be a great idea!

Read the Cookbook:
Piquant Beets
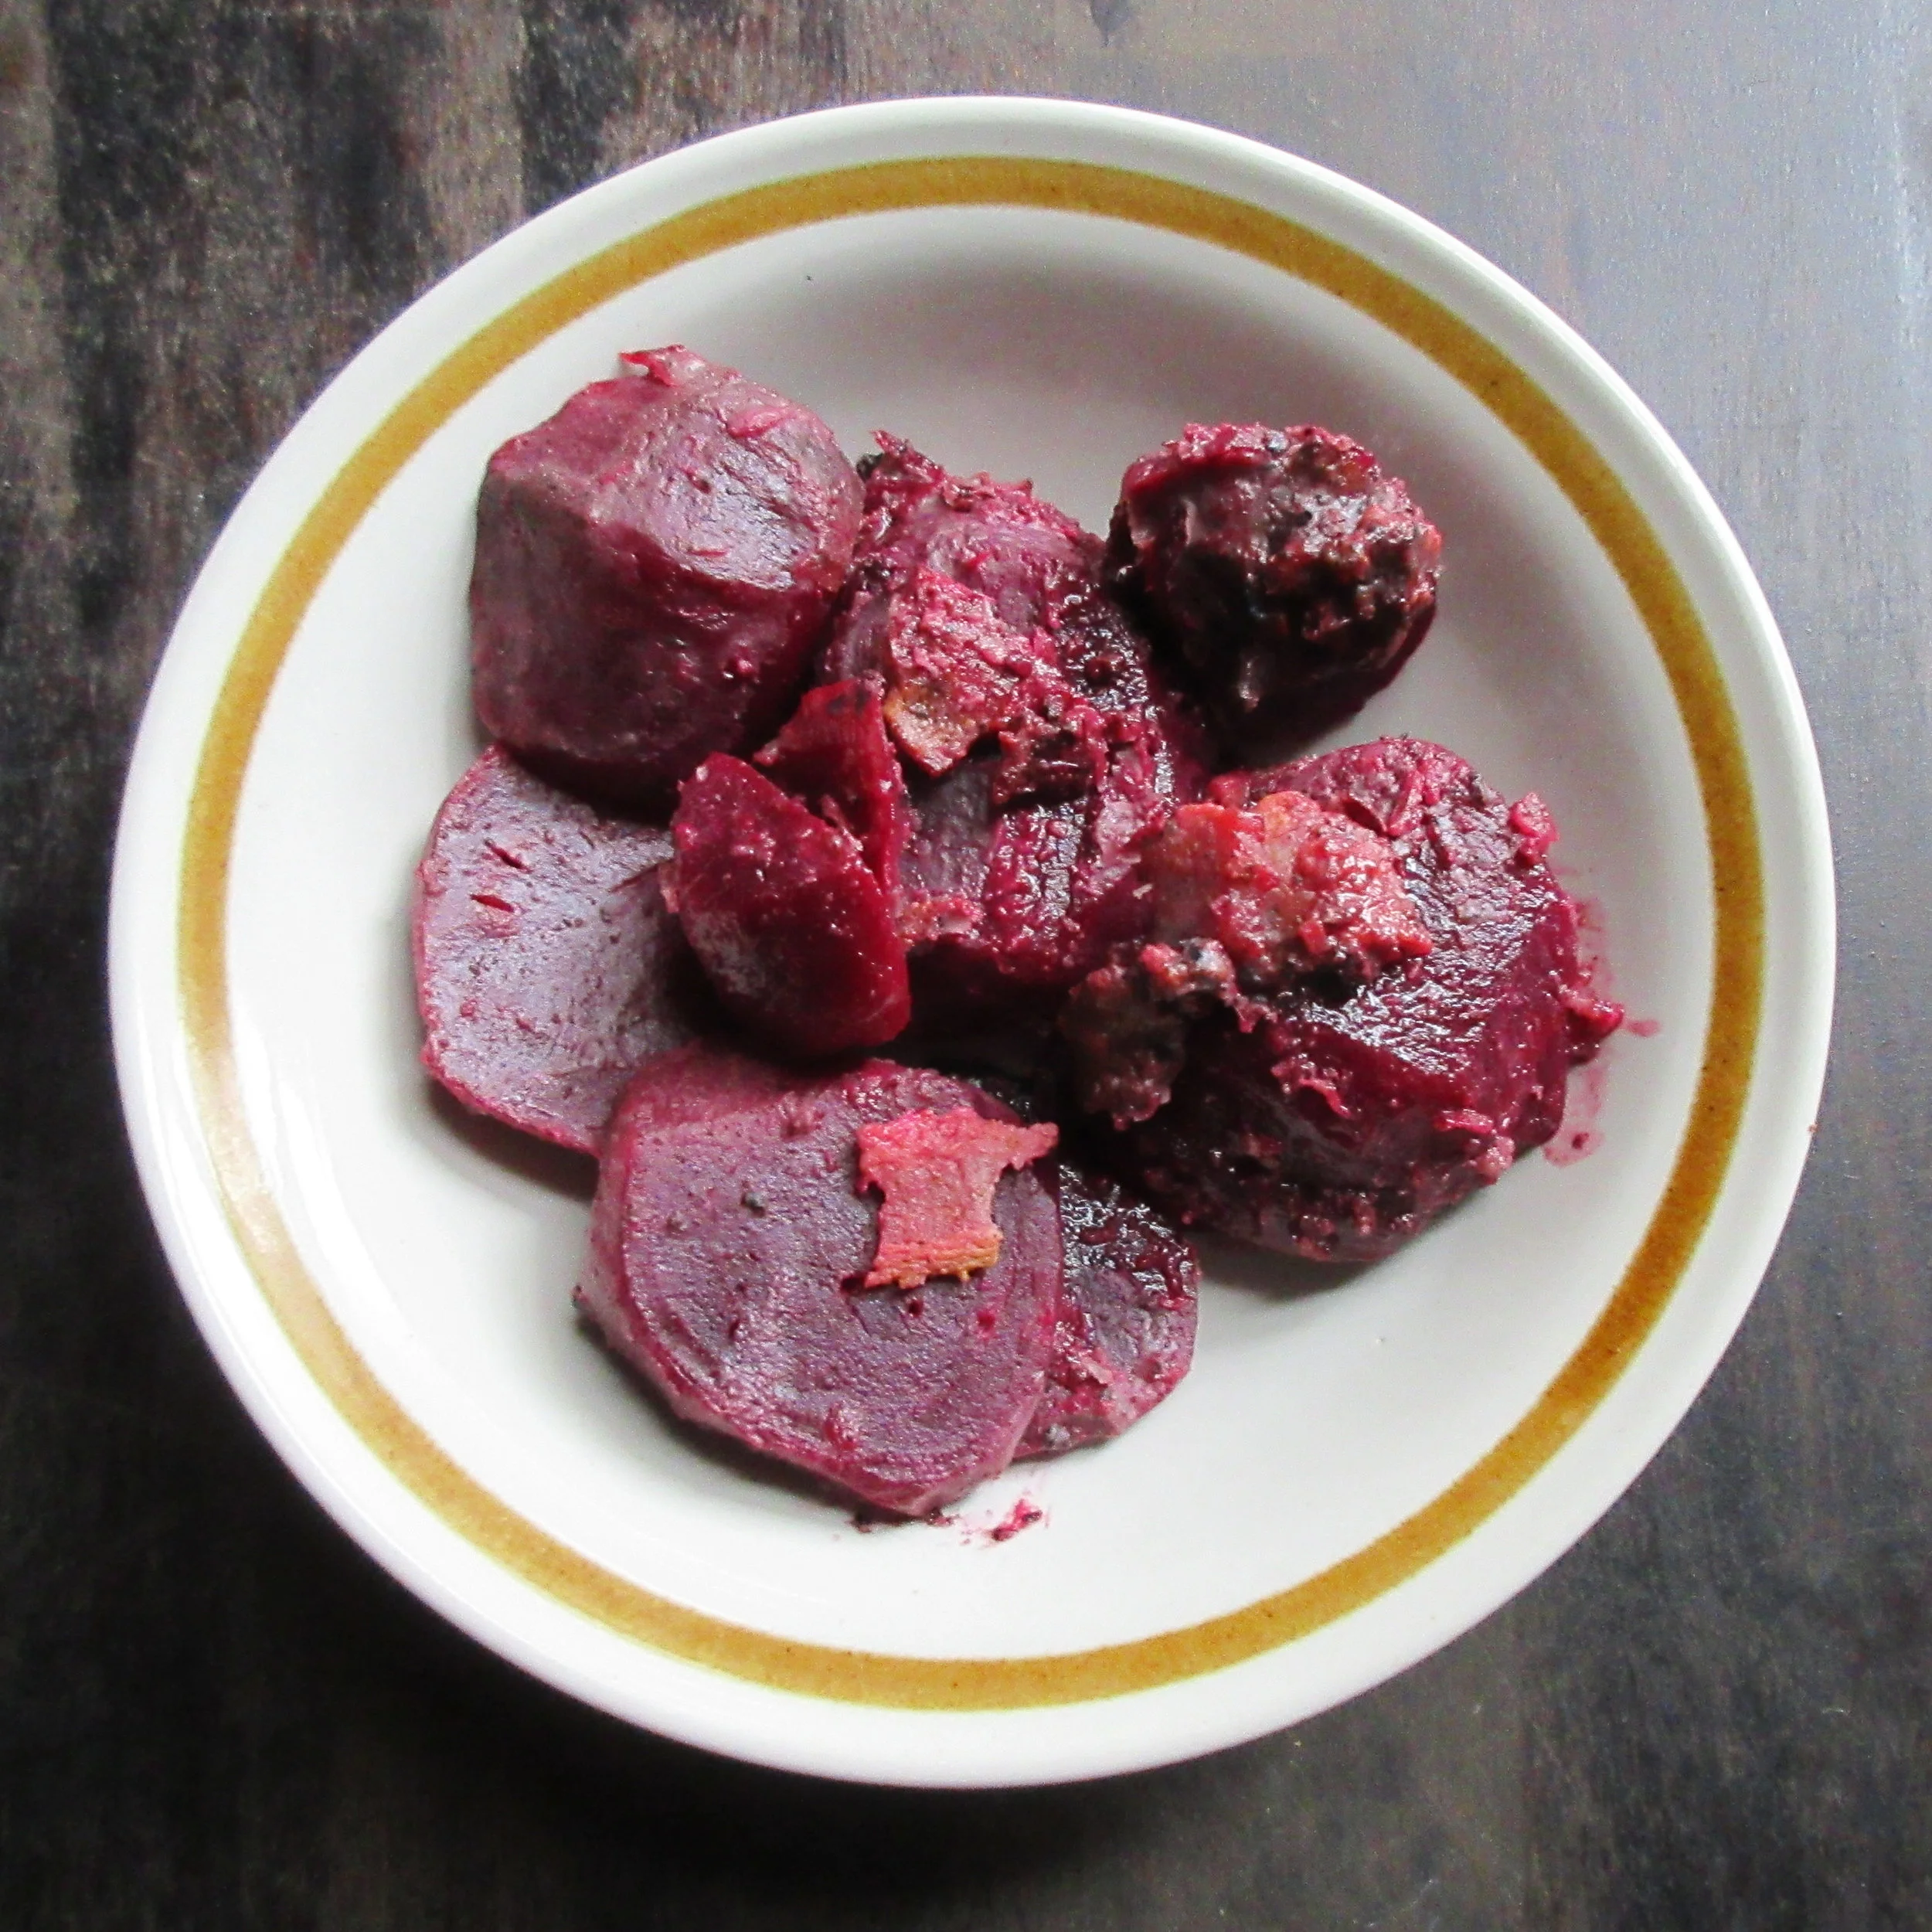
I'm not a fan of the taste of beets, although I have evolved enough to abide roasted and pickled beets on occasion. I liked Piquant Beets, though, and I can't say that I've ever thought that about a recipe made with boiled beets! This recipe takes those (in my mind at least) repulsive boiled beets and jazzes them up with horseradish, honey, lemon juice and...wait for it...bacon. Steve's response to tasting this dish was, "I don't even mind the beets", which is probably the highest praise he could give to this recipe. We can thank Elaine Collett and Mary-Etta Macpherson, who compiled the 1965 Canadian classic The Chatelaine Cookbook, for this culinary miracle.

You'll find this recipe in:
The Chatelaine Cookbook
Toronto, 1965
By: Elaine Collett
Edited by: Mary-Etta Macpherson
PIQUANT BEETS
3 slices side bacon, diced
2 tsp prepared horseradish
2 tsp honey
2 tsp lemon juice
4 cups sliced cooked beets
½ tsp salt
Sauté bacon in saucepan until crisp. Turn heat low and add next three ingredients. Stir in beets, sprinkle with salt, cover; let heat thoroughly. Serves 8.


My thoughts:
To cook the beets, I sliced off the ends and boiled in a pot of water. Begin this process well in advance, because it took 1 hour and 15 minutes until the beets were cooked. After I drained them, I submerged them in cold water until they were cool enough to handle and they were easy to peel and slice. For those of you who are accustomed to measuring beets by weight, 4 cups of cooked and sliced beets amounts to 650 g.
I did ere on the side of accuracy and initially only added the 3 slices of diced bacon in the recipe. It was good, but I have to admit that as I was eating the beets, I did sprinkle more bacon on top and it was even better.

I'm not a fan of the taste of beets, although I have evolved enough to abide roasted and pickled beets on occasion. I liked Piquant Beets, though, and I can't say that I've ever thought that about a recipe made with boiled beets! This recipe takes those (in my mind at least) repulsive boiled beets and jazzes them up with horseradish, honey, lemon juice and...wait for it...bacon. Steve's response to tasting this dish was, "I don't even mind the beets", which is probably the highest praise he could give to this recipe.
We can thank Elaine Collett and Mary-Etta Macpherson, who compiled the 1965 Canadian classic The Chatelaine Cookbook, for this culinary miracle. Chatelaine magazine is a Canadian woman's magazine that began publication in 1928, and is still a top magazine in Canada today. The book jacket explains that the editors narrowed down the contents of the book to roughly 1600 recipes from the over 10, 000 recipes that appeared in Chatelaine in its firsts 30 years of publication.
In her Introduction, Elaine Collett credits the collective effort responsible for the cookbook: "The old saying 'Too many cooks spoil the broth' just must be wrong. Because this first (and only) CHATELAINE Cookbook is the work of hundreds of Canadian cooks. For over thirty years in our CHATELAINE Institute kitchens we have created recipes for the homemakers of Canada and we have been guided in our planning by your letters, your questions and by the recipes you have shared with us year by year in our Family Favourites Recipe Contests."
I lucked out and found my copy at my favourite place to find vintage cookbooks in Hamilton, Bibles for Missions Thrift Store. I was lucky because not only is my copy in great condition, but it has the first owner's name and address written inside, and also came along with bonus newspaper clippings and handwritten recipes, as well as a bandaid and a plastic bag that must have been used as bookmarks. It's a treasure trove!
I have enough ideas for blog posts to tide me over until sometime in 2020 right now, but you know you're going to see at least one of those clipped and handwritten recipes on here at some point.
Want to read more?
Read the latest from Chatelaine Magazine: https://www.chatelaine.com/
The Special Collections & Archives at the University of Waterloo (my alma mater) has a blog post with a succinct summary of the editorial focus of the magazine over the years and some scans from a 1971 edition of Chatelaine.
There's a book written by Valerie J. Korinek about this era of the magazine called Roughing it in the Suburbs: Reading Chatelaine Magazine in the Fifties and Sixties
I normally link to digitally-archived copy of the featured cookbook so you're able to read the book yourself, but I couldn't find one this time around. Let me know if you know where to find a scanned copy online – I'd love to link to it

Nut and Spinach Loaf
Nut and Spinach Loaf is found in the "High-Protein Non-Meat Dishes" chapter of the 1929 Physical Culture Cook Book, written by fitness and health guru Bernarr MacFadden. This vegetarian loaf holds together well when its being formed, but doesn't slice well. Nevertheless, it is tasty and satisfying and I'd make it again! Bernarr MacFadden spoke out passionately against white bread, so I made my own whole-grain breadcrumbs for this recipe, and paired the loaf with a Tomato Sauce, which is thick sauce that tastes a bit like ketchup.

You'll find these recipes in:
Physical Culture Cook Book
By Bernarr MacFadden
With the collaboration of Milo Hastings
New York City, 1929


Making Bread Crumbs (Optional)
I opted to make my own breadcrumbs for the Nut and Spinach Loaf out of my whole-grain sprouted bread because of our cookbook author's opinions about white bread and flour. Let's just say that he was not a fan! I wasn't able to find pre-made whole wheat bread crumbs, so that's why I went with DIY. Conveniently, Bernarr MacFadden also included a recipe for Bread Crumbs in the Physical Culture Cookbook. If this extra prep work doesn’t appeal to you, feel free to skip this step and use purchased breadcrumbs in your Nut & Spinach Loaf.
Historic Recipe:
TO PREPARE BREAD CRUMBS
Cut stale bread into slices. Put into oven not hot enough to toast but merely to thoroughly dry them. When brittle, remove and pound fine, or put through a coarsely-set hand-mill. Crackers can be crumbled fine enough with the hands, but in the case of bread grinding is easier.

My Recipe:
A good guideline for making your own breadcrumbs is that you'll end up with ¼ - ⅓ cup of breadcrumbs per slice of bread. Since we'll need a bit more than 1 cup for this recipe, make sure that you use at least 5 slices. Since my bread slices were on the small side, I used 7 slices and had a bit left over.
Put your bread on a cookie sheet and place in the oven. I started with 175F (80C) for 15 minutes without much effect, so I increased my temperature to 275F (135C) and they were dried out after an additional 20 minutes. Do yourself a favour and set your oven to 275F the entire time!
Cut the bread into smaller pieces and pulverize into crumbs in a blender.


Nut and Spinach Loaf
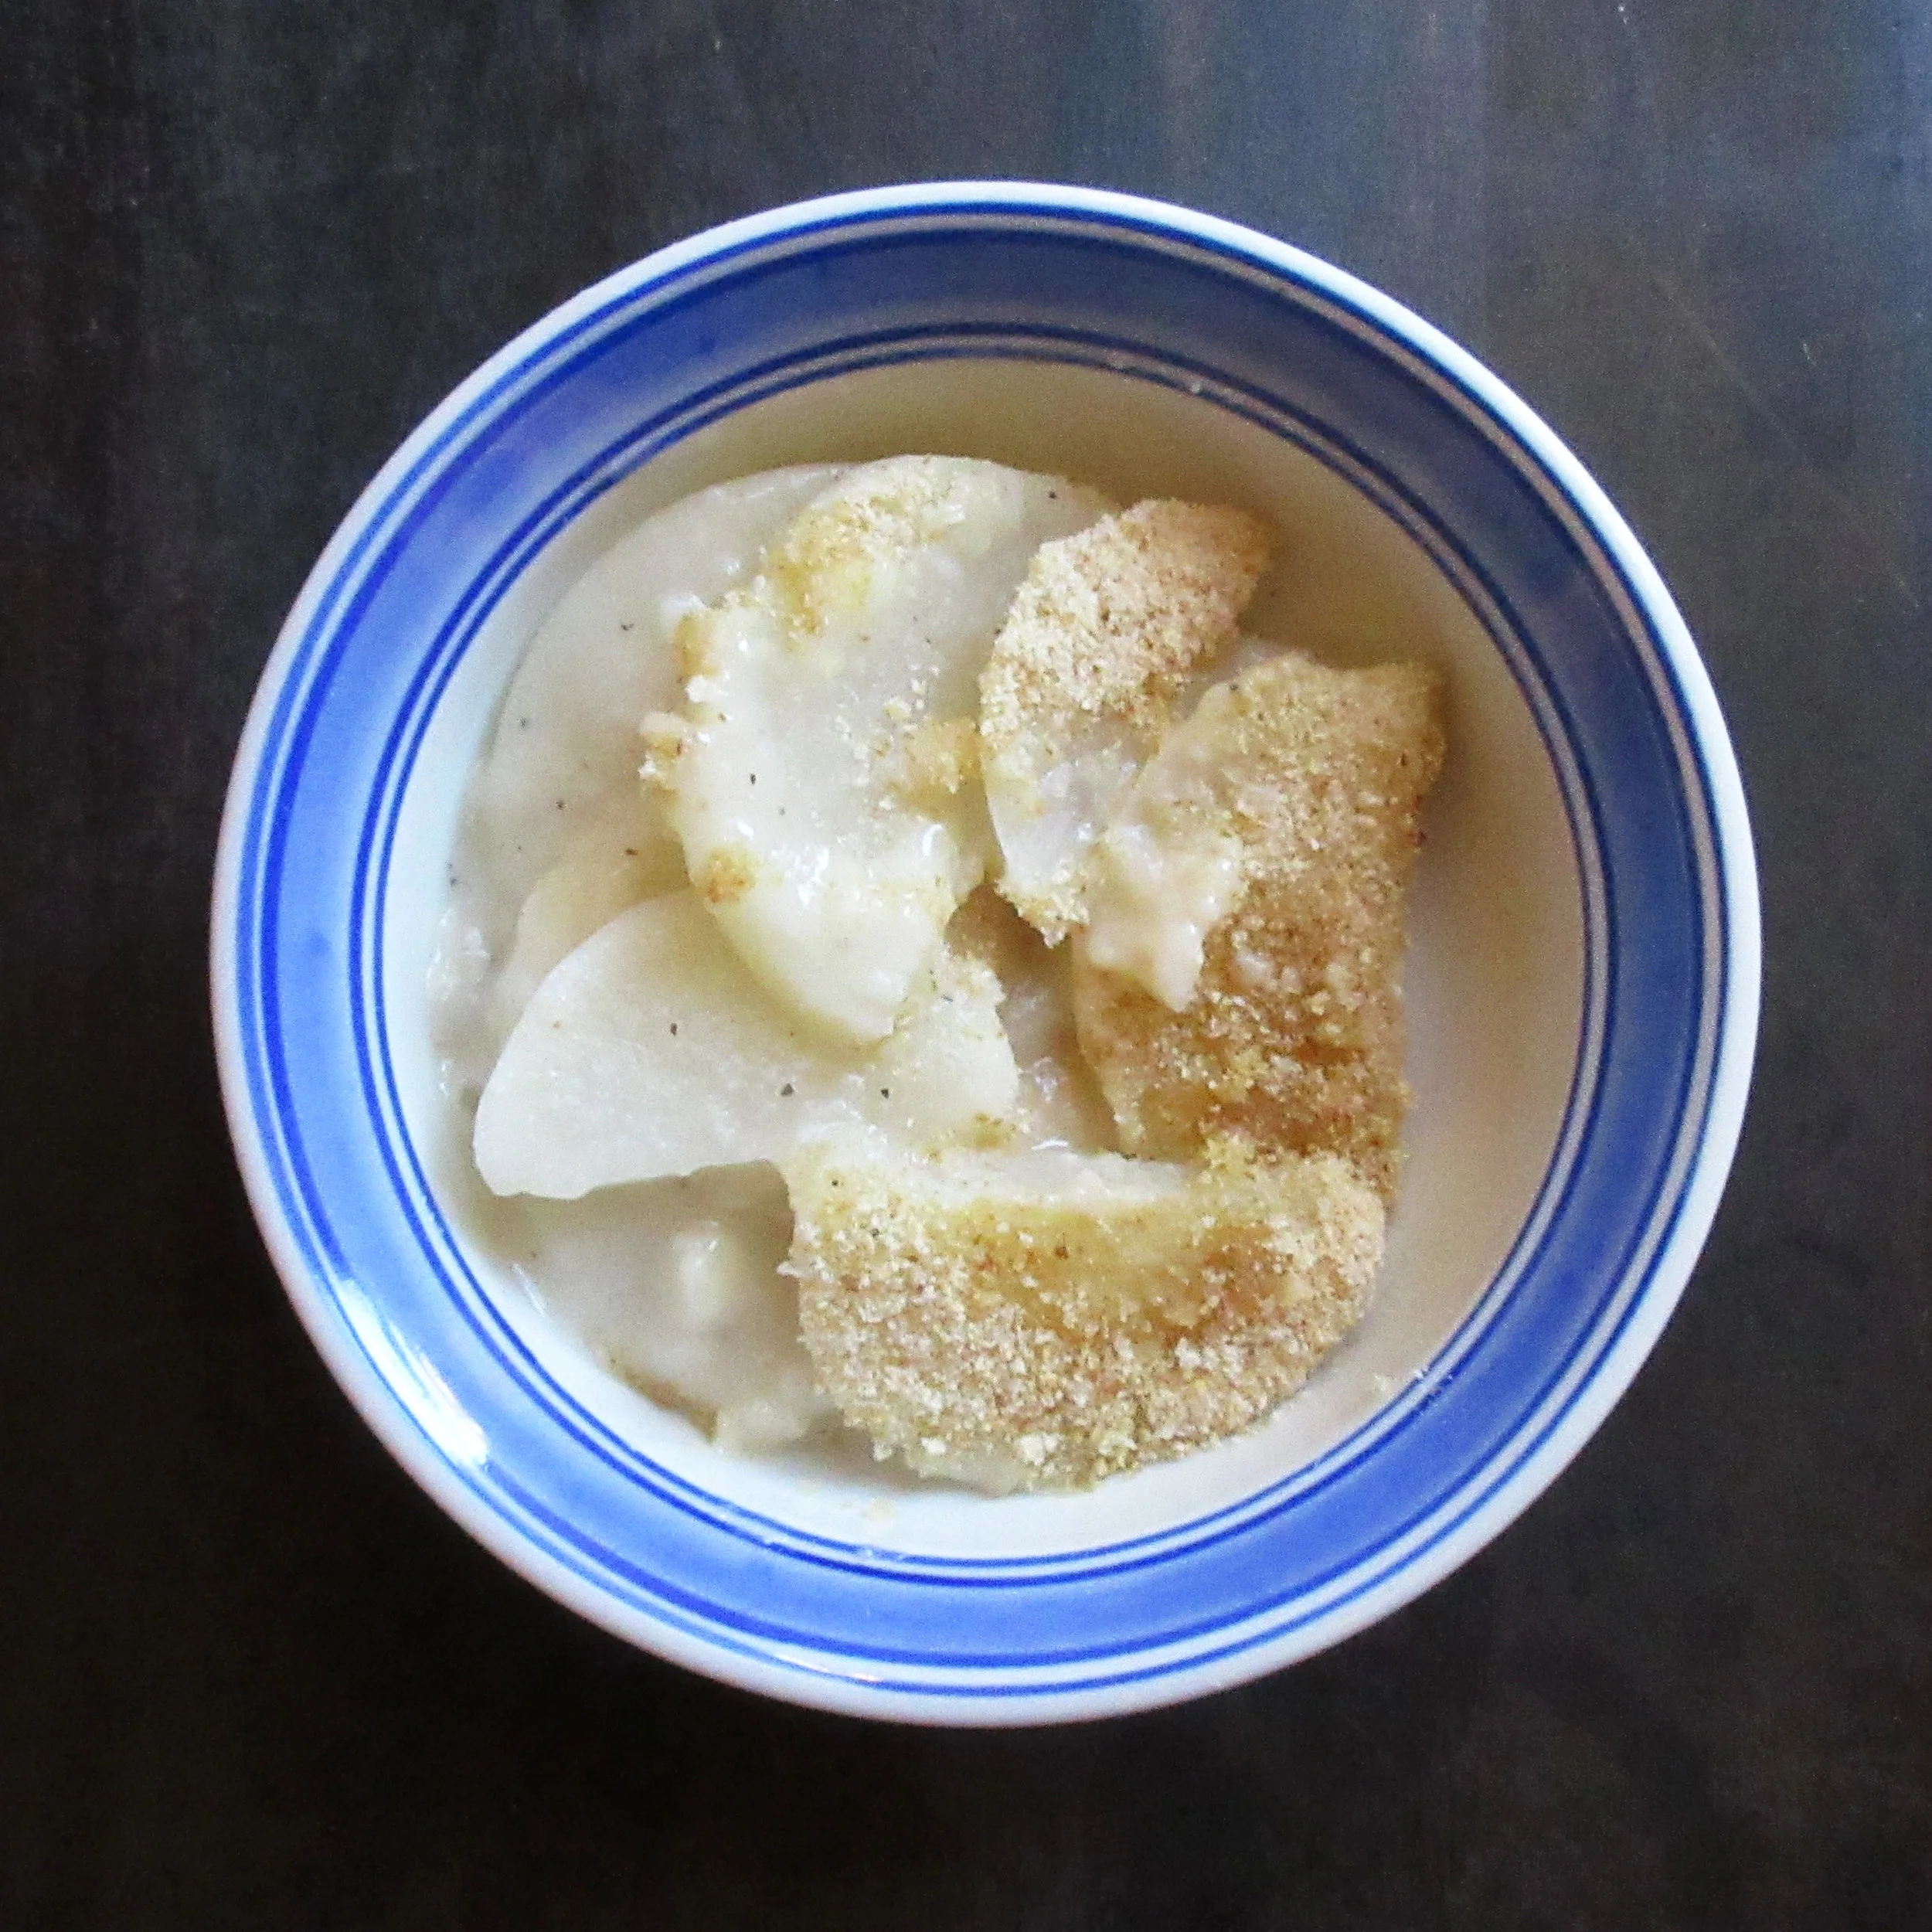
Nut and Spinach Loaf is found in the "High-Protein Non-Meat Dishes" chapter of the Physical Culture Cook Book. This vegetarian loaf holds together well when its being formed, but doesn't slice well. Nevertheless, it is tasty and satisfying and I'd make it again! This loaf is on the small side, so if you’re preparing a meal for more than a few people, I’d make a double recipe.
Historic Recipe:
NUT AND SPINACH LOAF
1 cup chopped walnuts
½ lb spinach
1 egg
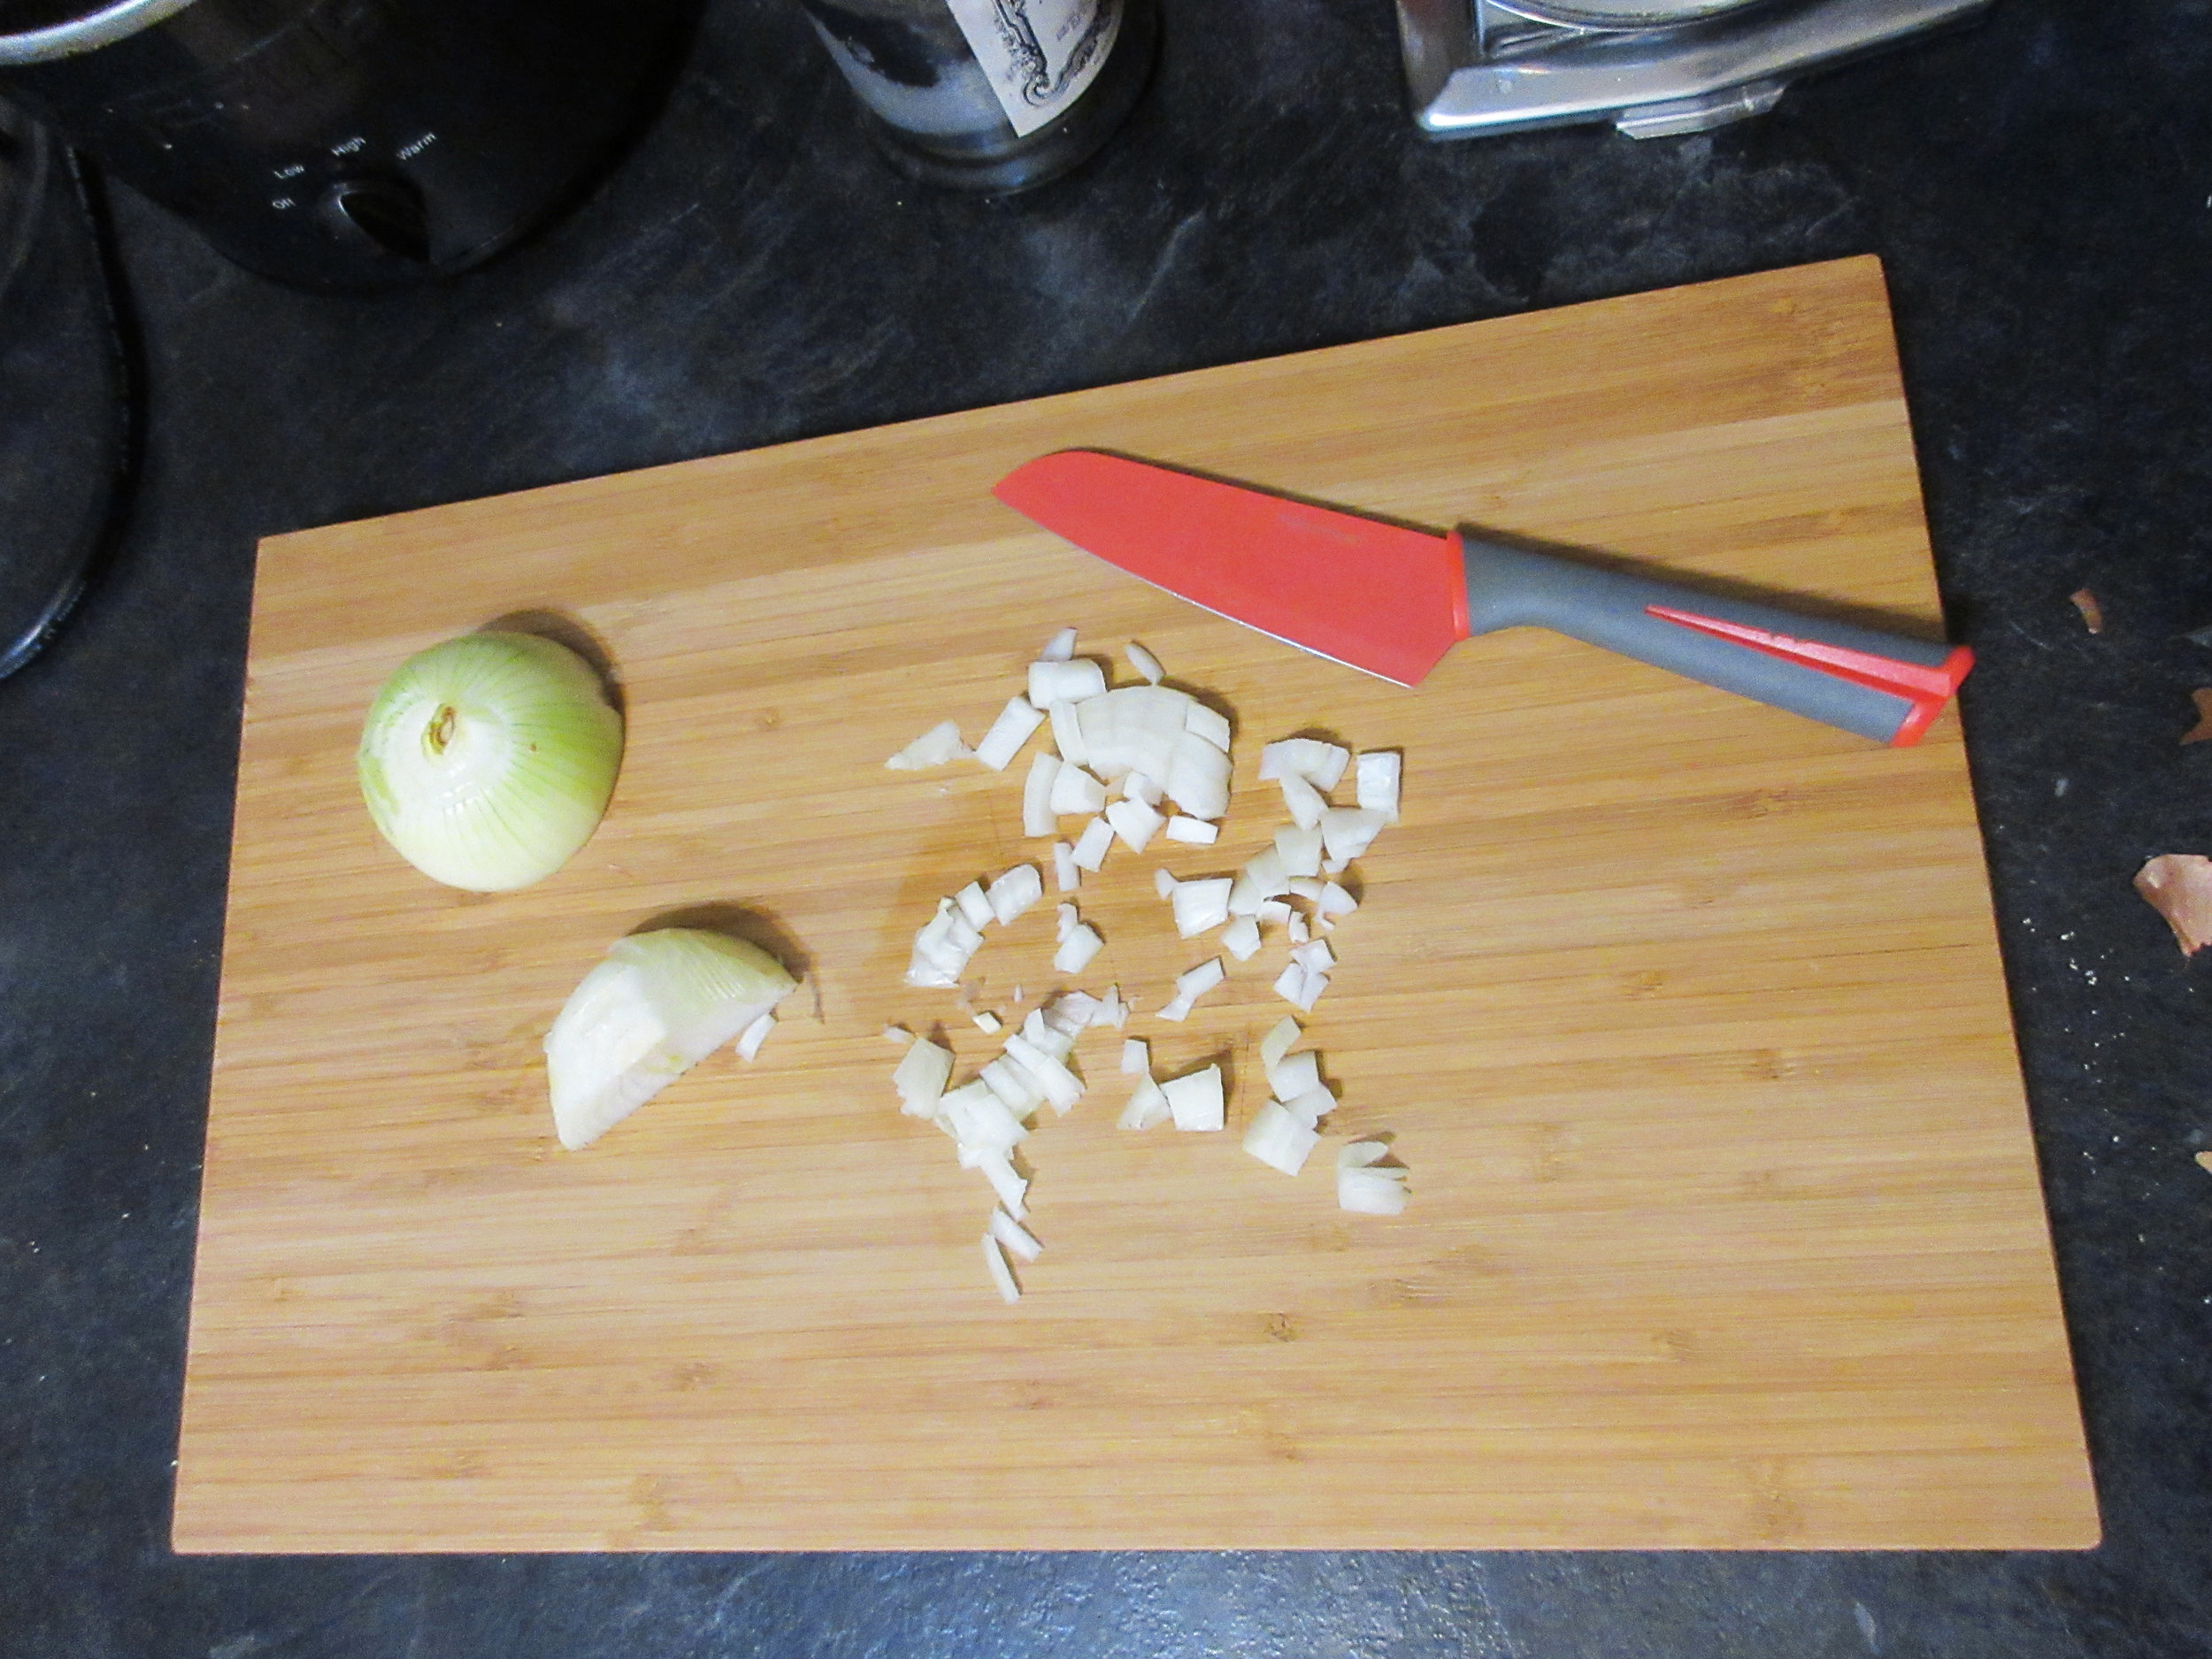
1 ounce finely chopped onion
1 cups bread-crumbs
Any desired seasoning
Cook the spinach in the double boiler with very little water, and chop fine. Add the nuts, onion and seasoning, the beaten egg, and lastly the bread-crumbs. Mix well and let stand for a few minutes. Make into a loaf and roll in bread-crumbs. Brush with melted butter, and bake twenty-five to thirty minutes. Serve with a savoury sauce.

My Recipe:
10 cups chopped spinach – 225 g
1 cup chopped walnuts - 115g
⅓ cup finely chopped onions – 30g
½ tsp salt
1 tsp black pepper
1 egg
1 cup bread crumbs - 85g
Additional bread crumbs for rolling (1/4 – 1/3 cup)
Butter (roughly 2 tbsp)
1) Chop the spinach, then put in a large pot with a small amount of water (I put 2 cups of water in with the 10 cups of spinach). Steam until wilted, then drain. Thoroughly remove the water by pressing the spinach against a mesh sieve with a spatula.
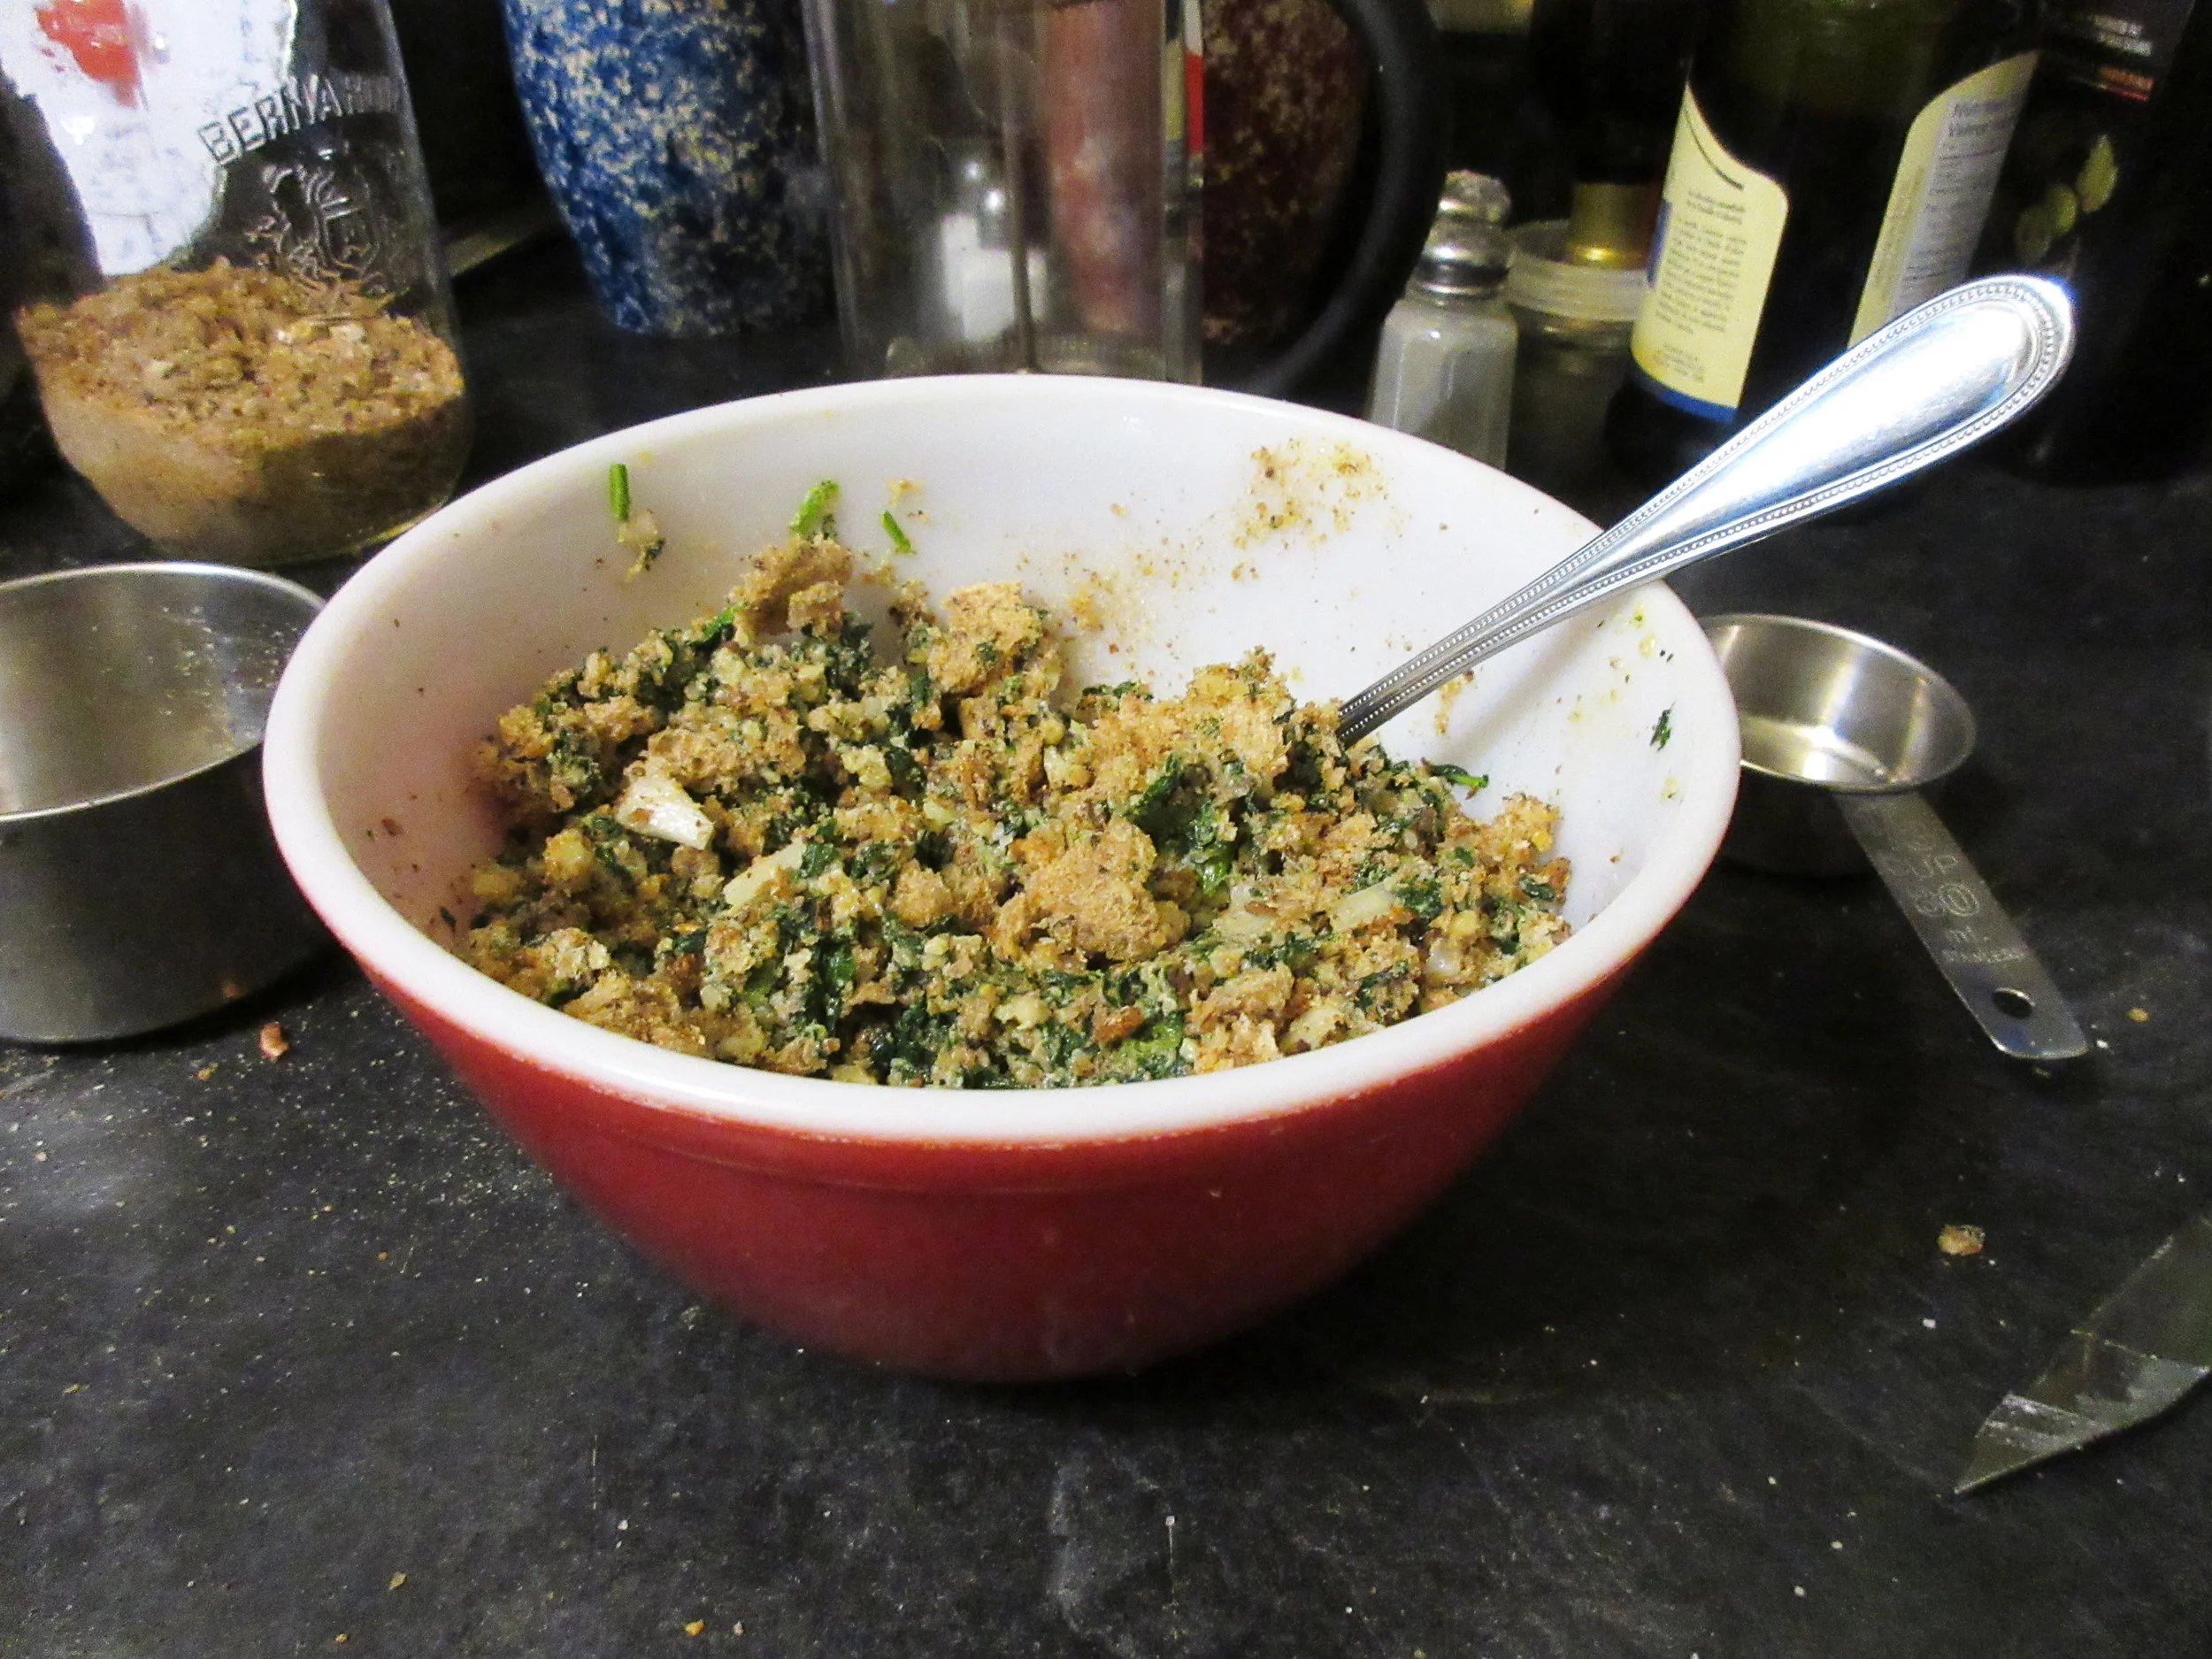
2) Chop the onion and chop the walnuts into small pieces in a blender. Stir the spinach, nuts, onion, salt, pepper, egg and bread crumbs in a bowl until well combined. Put the bowl in the fridge for a while to allow the mixture to set.
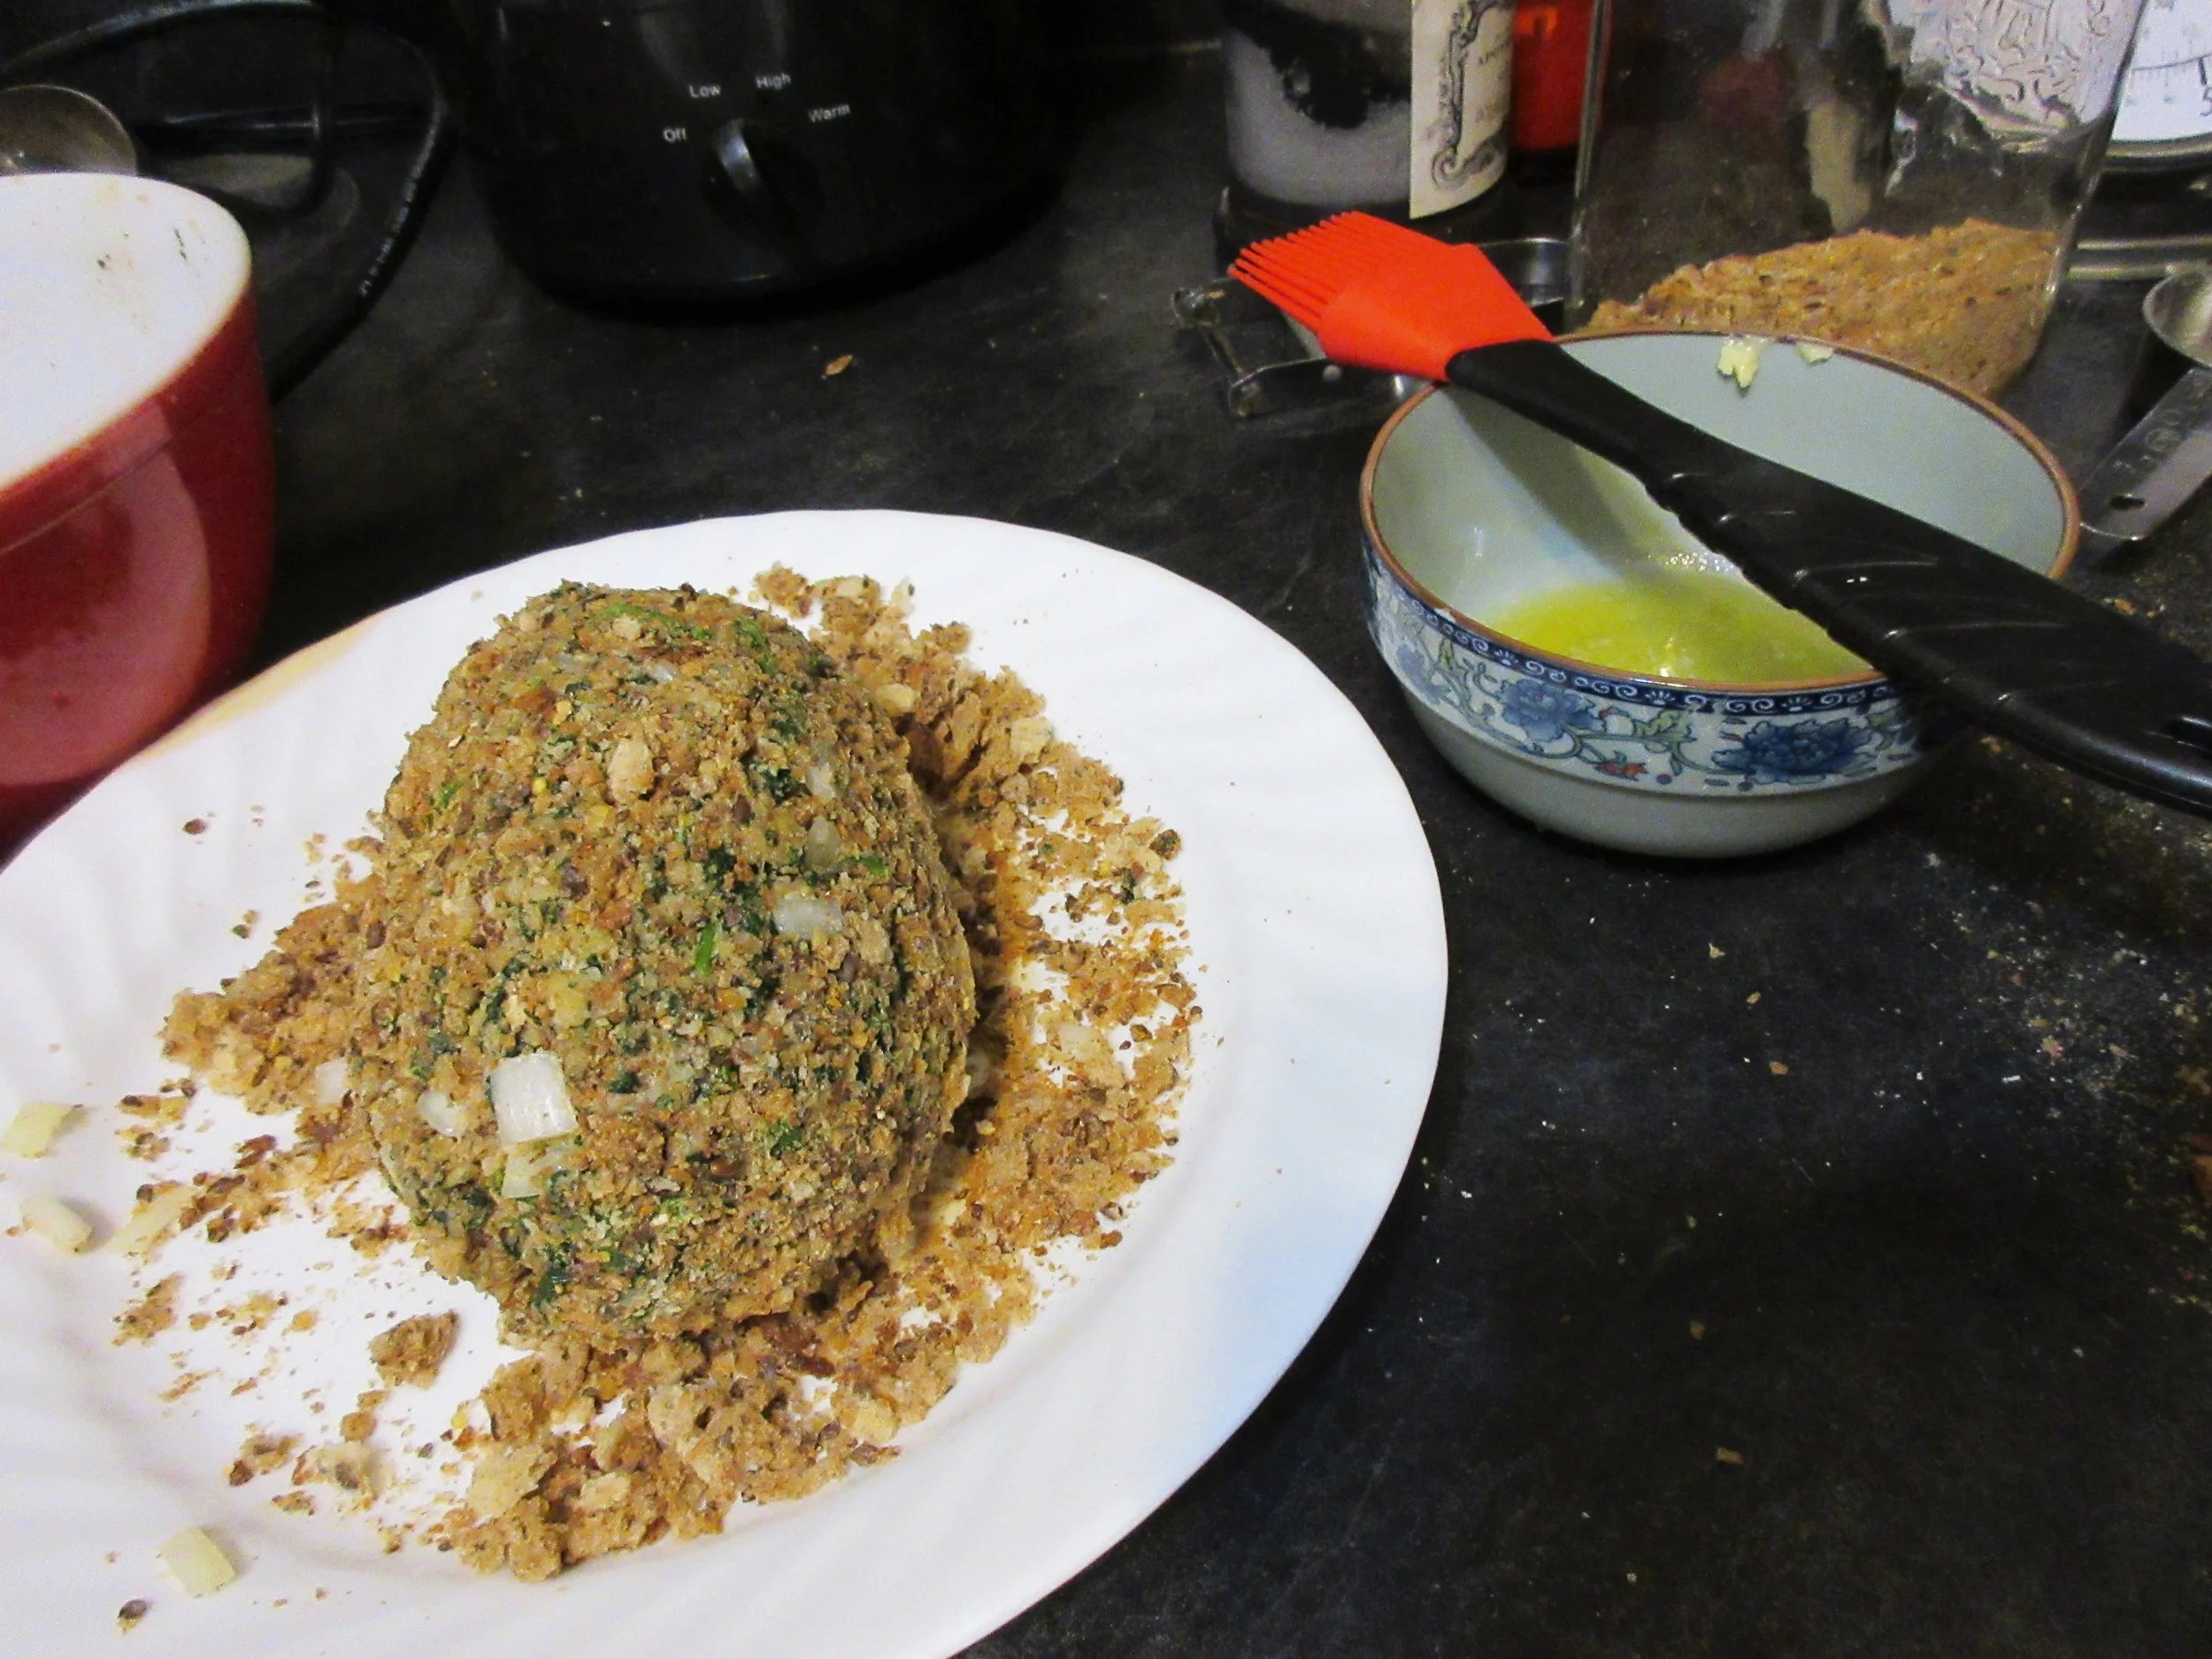
3) Preheat the oven to 325F-350F (165C-175C). Melt butter and gather more bread crumbs. Remove the bowl from the fridge once cooled, then use your hands to form it into a loaf shape. Gently roll the loaf in the breadcrumbs, then brush the outside of the loaf with the melted butter. This loaf was baked after 35 minutes at 325F, but turn the temperature up to 350F and it'll be done sooner.


Tomato Sauce
Since the Nut and Spinach Loaf Recipe suggests that you serve it with a "savoury sauce", I chose this Tomato Sauce recipe because I was intrigued by the cloves and wondered what it would taste like. The answer is that it tastes a tiny bit like a very thick ketchup!
With the suggested measurements, this sauce has the consistency of a paste so if you'd like a runnier sauce, I suggest either cutting the butter & flour or adding more crushed tomatoes. I used crushed tomatoes, so I didn't need to carry out the step of straining out the seeds mentioned in the historic recipe. This meant, unfortunately, that I needed to look through the sauce and remove all twelve whole cloves by hand, which was a pain. If you don't want to do this step, why not skip the whole cloves and add a shake or two of ground cloves when you add the salt and pepper?
Historic Recipe:
TOMATO SAUCE
1 cup canned tomatoes
2 tablespoons butter
1 onion
1 dozen cloves
Salt and pepper
2 tablespoons flour
Cook the tomato, onion and cloves ten minutes. Heat the butter in a small frying-pan, and add the flour. Stir over the fire until smooth and brown; then add the tomatoes. Cook two or three minutes. Season, then run through a strainer fine enough to keep back the seeds.

My Recipe:
1 cup crushed or strained tomatoes
½ cup chopped onion
1 dozen whole cloves, or a shake or two of ground cloves
2 tbsp butter
2 tbsp flour
Salt and pepper to taste
1) In a small pot, add the tomato, onion and whole cloves and simmer for about 10 minutes. If you're not using whole cloves, just add the tomato and onion for now and add ground cloves later on when you add salt and pepper at the end of the recipe.
2) Remove the whole cloves from the tomatoes. In another pot or pan over medium-low heat, melt the butter and stir in the flour. Stir this mixture until it bubbles, then slowly add the tomato and onions, stirring well, until it is all combined. Add salt, pepper and ground cloves to taste.

Bernarr MacFadden and Physical Culture
Physical Culture was a health, wellness and physical fitness magazine that was published from 1899-1955. Its editor and publisher, Bernarr MacFadden was a charismatic and passionate man who was not afraid of sharing his wellness ideology. I like to think that the story of his name change sums up his personality well: he changed his name from Bernard McFadden when he was 26 years old because he thought that MacFadden sounded stronger than plan ol' McFadden. He altered his first name to Bernarr because he thought it sounded like a lion's roar: BERNARR!
In his preface to the Physical Culture Cook Book, MacFadden writes that "We advocated natural foods in contrast to the artificial foods, obviously made to please the eye and palate, and with no comprehension of their actual nutritional worth. We believed that science could and should find out what was the correct diet for man and what foods would best support life and health. In the absence of positive scientific knowledge, we taught that natural foods and natural flavours were more to be trusted than artificial products and artificial flavours created without any knowledge as to their actual worth to the human body."
In the Physical Culture Cook Book, there are chapters outlining the Nut and Fruit Diet, the Raw Diet, the Vegetarian Diet and The Mixed Diet (eating meat in moderation). Other chapters have a look at eating only when you are hungry, the benefits of fully chewing your food, whether or not you should drink water with meals and how to detect adulteration in foods like milk, olive oil and coffee.


Left to right: Bernarr MacFadden posing as Michalengelo’s David in 1905, a portrait of Bernarr MacFadden in the 1929 edition of the Physical Culture Cook Book, and the September 1934 Physical Culture magazine cover
I don't think anyone could truthfully say the Bernarr MacFadden's life was boring. He advocated loudly for fasting, eating less meat and physical exercise for both men and women and opposed alcohol, tobacco, processed foods, white bread, pharmaceutical medications, vaccinations, corsets, high heels and shoes in general. He opened health spas, restaurants, hotels and ran a large publishing empire. He once declared his candidacy as the President of the United States. When he turned 81, he began an annual tradition of parachuting from an airplane into a river each year on his birthday.

In the early 1900s, MacFadden began organizing bodybuilding competitions for both men and women. This video (filmed by Thomas Edison) showcases Beatrice Marshall and Albert Treloar, the winners of the Physical Culture Exhibition in Madision Square Garden in 1904:
Want to read more? Read Physical Culture magazine online, courtesy of Ball State University Library. Bernarr MacFadden also has his own website at bernarrmacfadden.com
Read the Cookbook:


Pumpkin Soup
This Pumpkin Soup recipe comes from The Canadian Housewife's Manual of Cookery, which was compiled & published in my hometown of Hamilton, Ontario in 1861. It is hearty & flavourful, and I think the reason for this can be found in a one-word answer: butter. Expect a creamy robust soup with small chunks of pumpkin (or squash, if you can't find pumpkin). This soup is so rich that it might make a better side dish rather than the main component of your meal, but if you do try this recipe out, I highly recommend the historic recipe's suggestion of adding croutons made of fried bread to your bowl!

You'll find this recipe in:
The Canadian Housewife's Manual of Cookery
Henry & Elizabeth Richards
Hamilton, 1861
Historic Recipe:
Pumpkin Soup.
16. Is a favourite dish in many parts of France, especially with the juveniles; and when, in season, there is not a school, college, hospital, convent or monastery, where it is not made; a proof that it must be very wholesome. The Vegetable Marrow, the American Butter Squash, and the Mammoth Gourd, are good substitutes.
Cut about two pounds of the flesh of the pumpkin into large dice, put it into your pan, with three ounces of butter or fat; add two teaspoonfuls of salt, the same of sugar, a little pepper, and half a pint of water; set on the fire, and stew gently for twenty minutes. When in pulp, add two table-spoonfuls of flour, stir round, and moisten three pints of either milk, skim-milk, or water, boil ten minutes longer, and serve with fried or toasted bread, cut in dice.
☞This soup is on the list of meagre soups, and freely partaken by Catholics during Lent, the word meagre meaning, want of strength. But this soup, and many others in the same category, are well worth the attention of the middle class of this country, it only being meagre in name, and not in fact, as it possesses a large quantity of farnaceous matter; bread also being served with it.
My Recipe
2 lbs (907 g) pumpkin or squash – 8 cups when chopped
1/3 cup butter, oil or fat – 3 oz
2 tsp salt
2 tsp sugar
Dash of black pepper
1 cup water – 236 mL
2 tbsp flour
6 cups milk and water – 1.4L
(I like 3 cups milk & 3 cups water)
Optional:
Bread
Butter
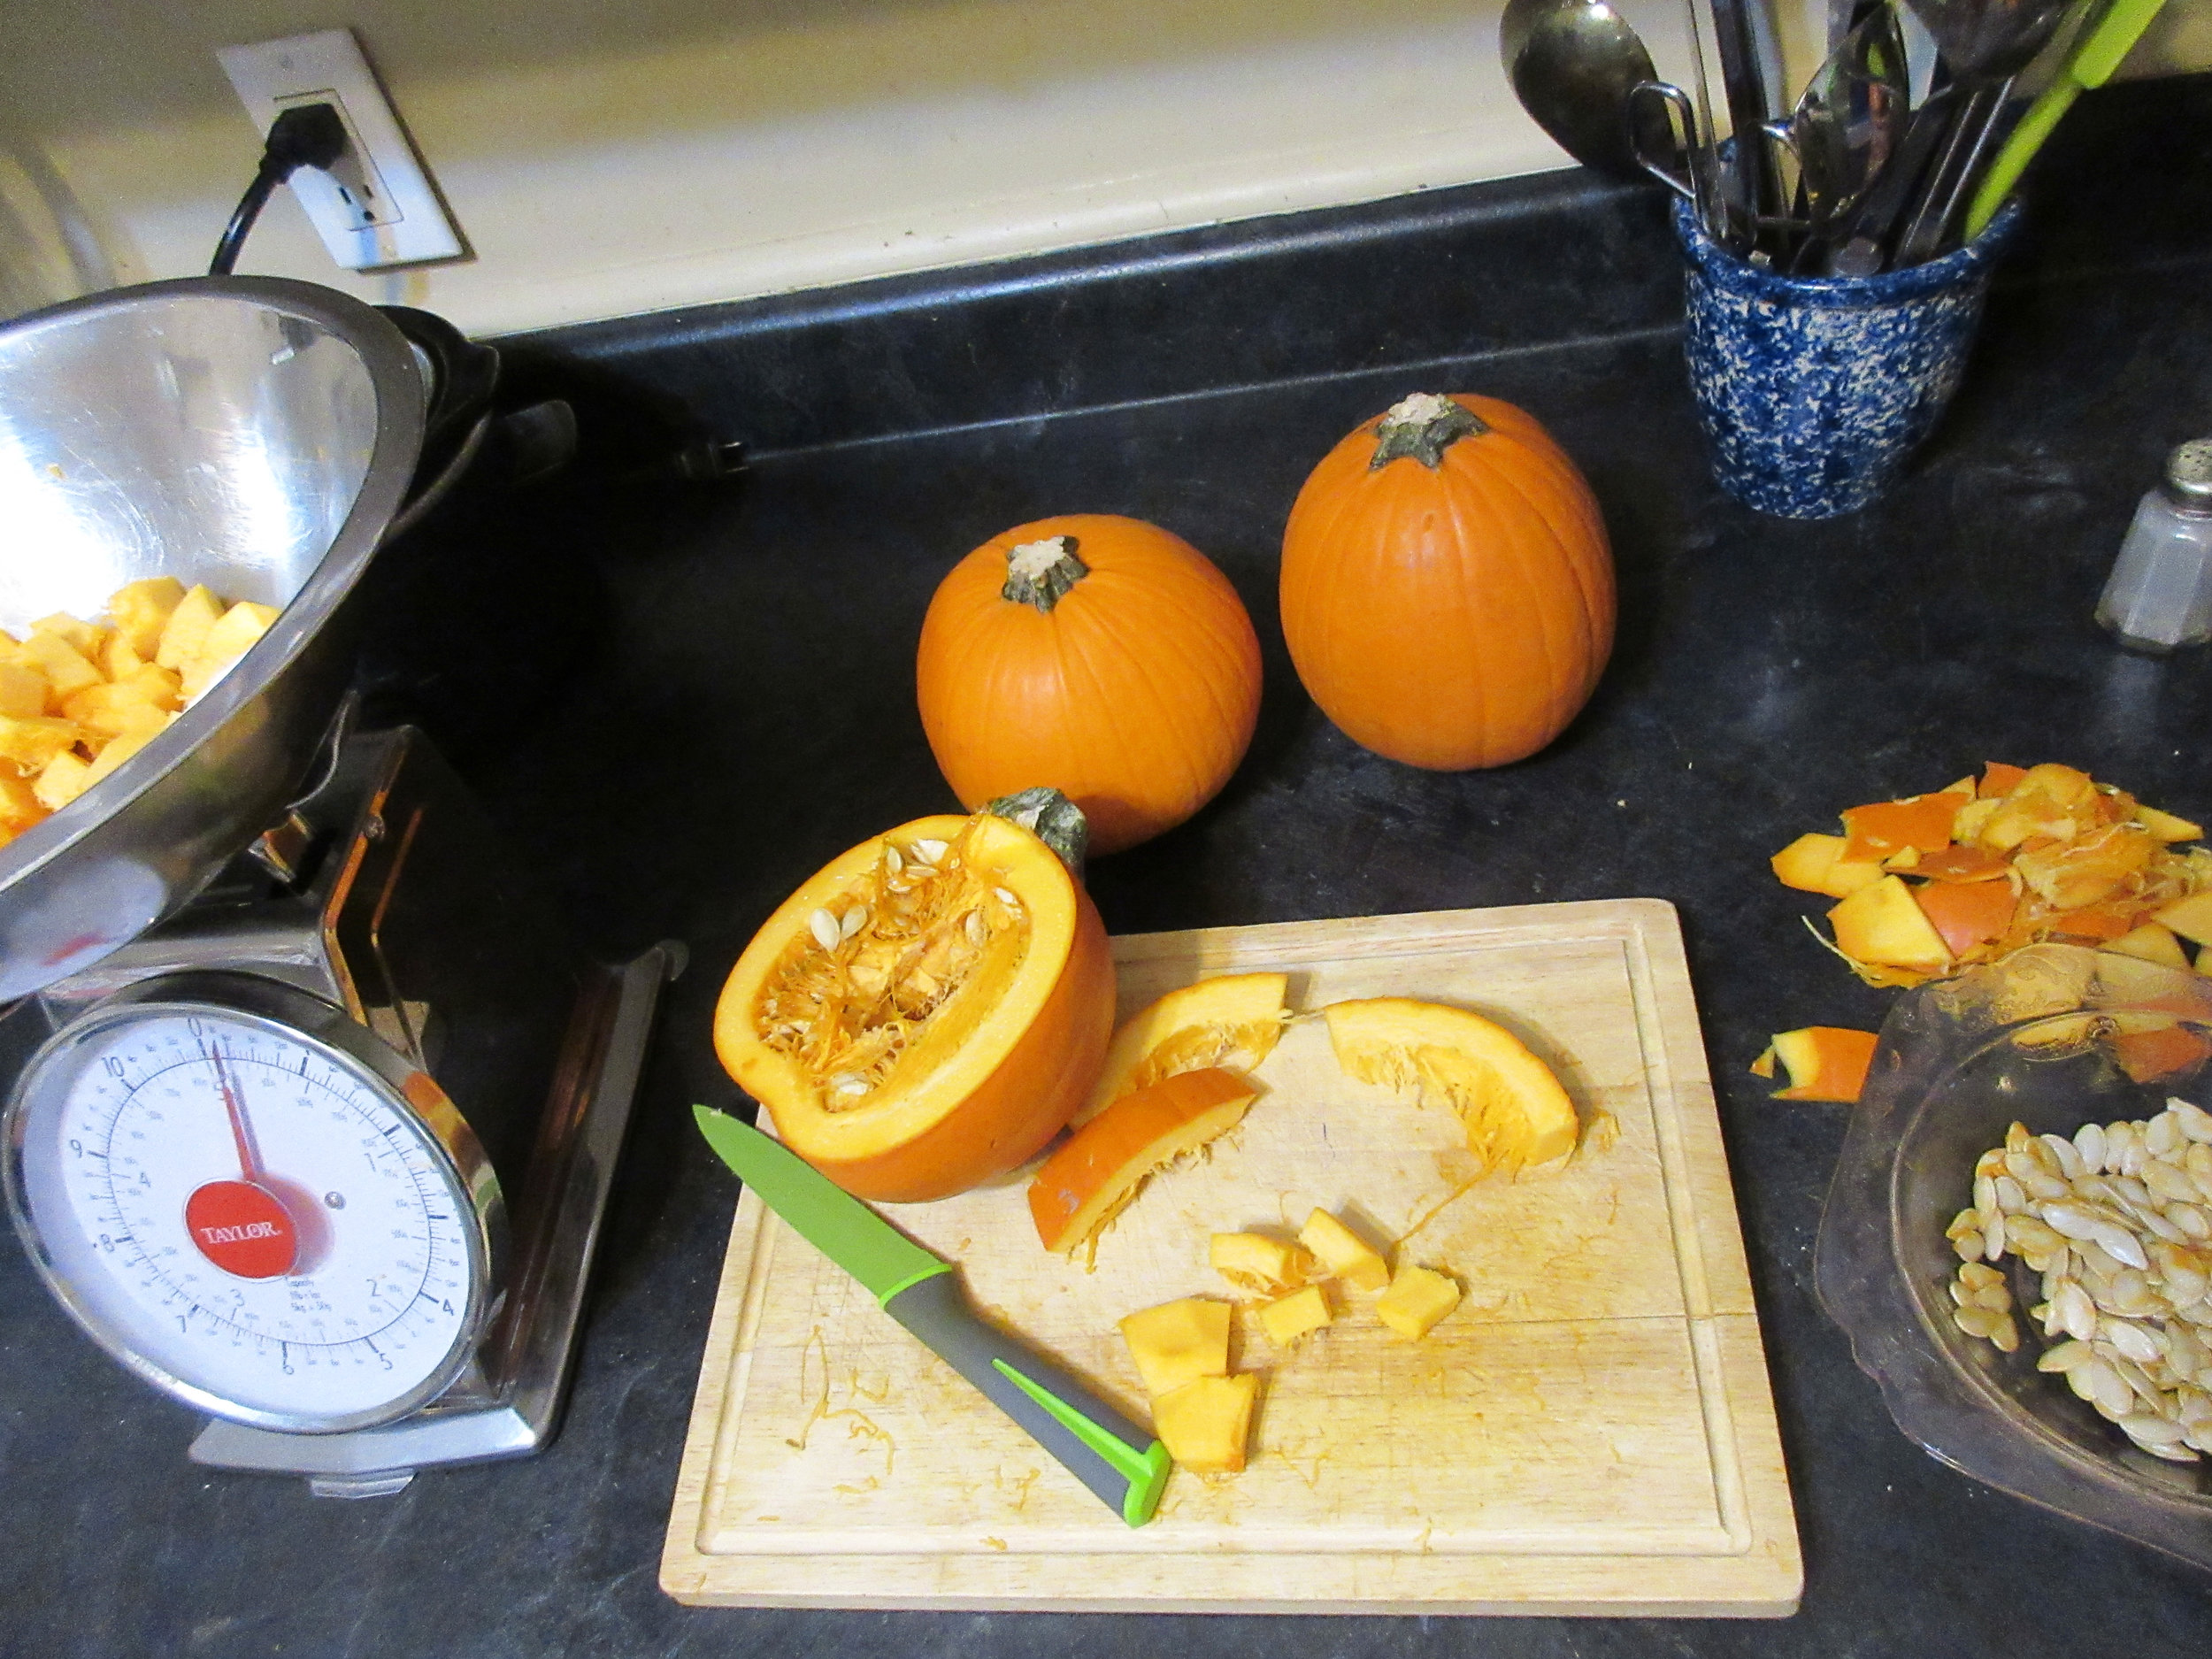
1) Peel, seed and chop the pumpkin or squash into small pieces. I've made this recipe with both pumpkin and butternut squash and both are delicious.
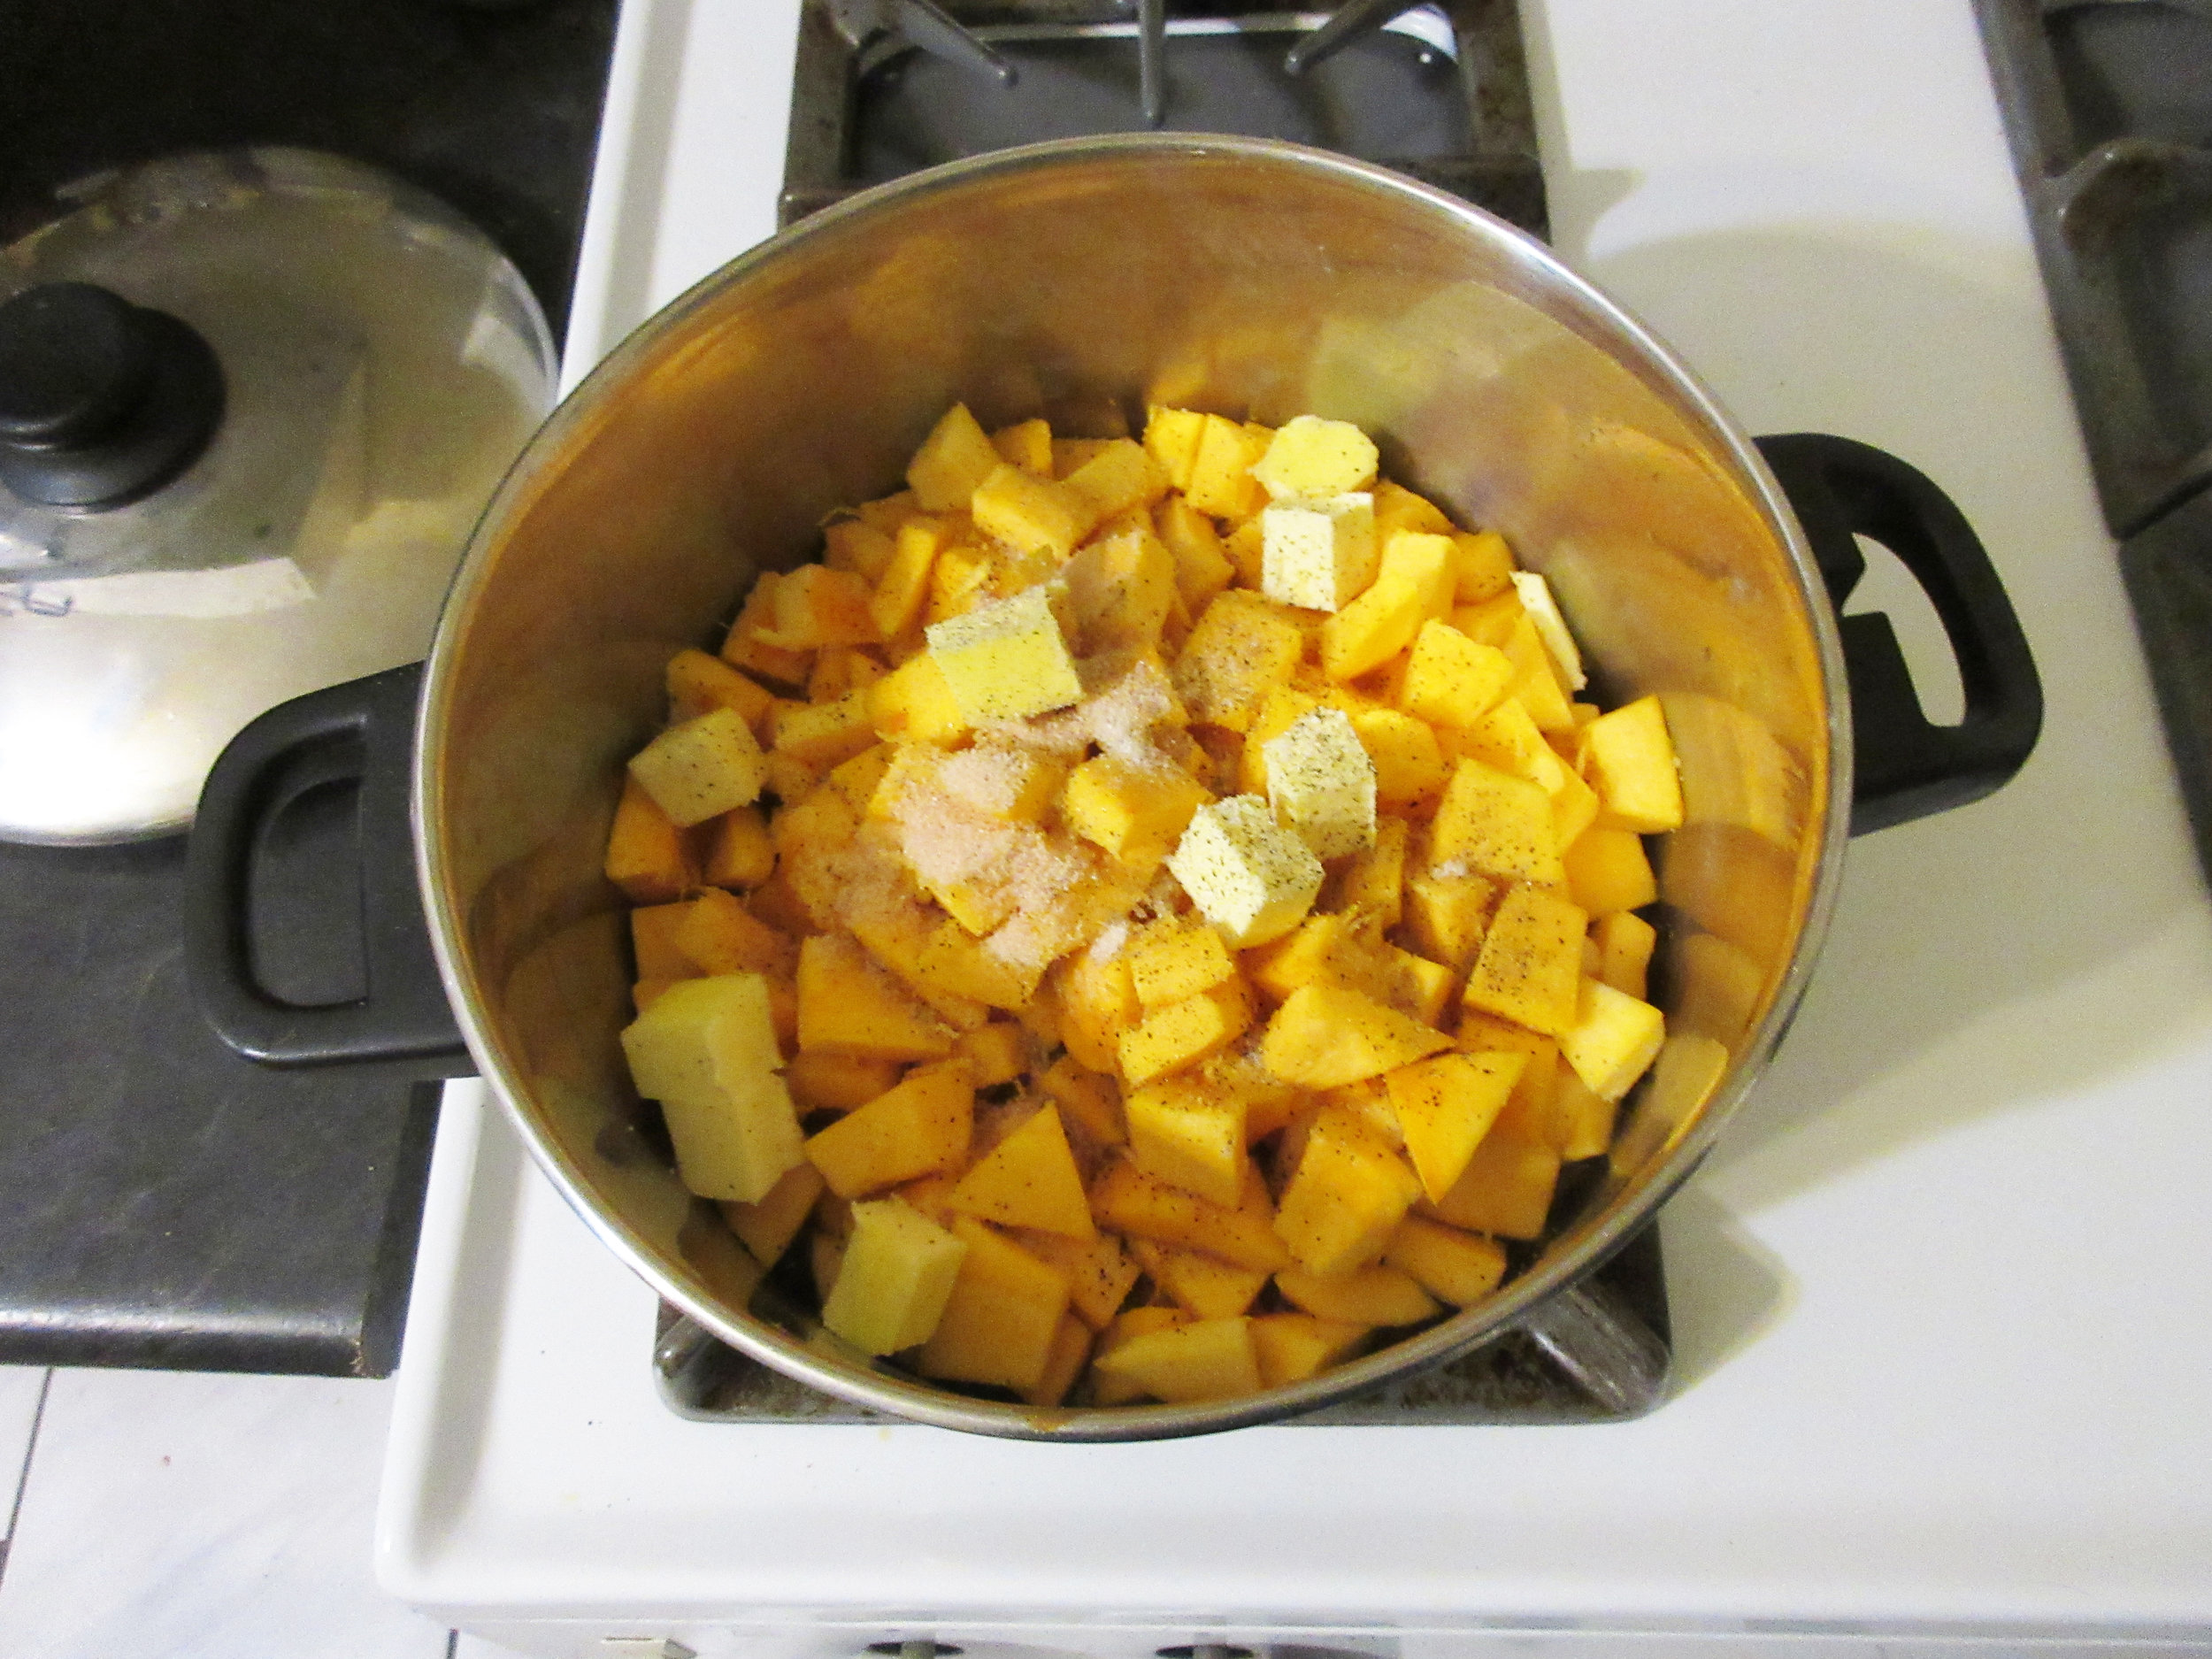
2) Put the chopped squash in a large soup pot with the butter, salt, sugar, pepper and 1 cup water. Put on the lid and simmer until soft and mushy, stirring often. 1 cup probably won't seem like enough water to you, at least it didn't to me, but I've made this recipe 5 times (once at my house and 4 times at cooking classes) and it's just the right amount.
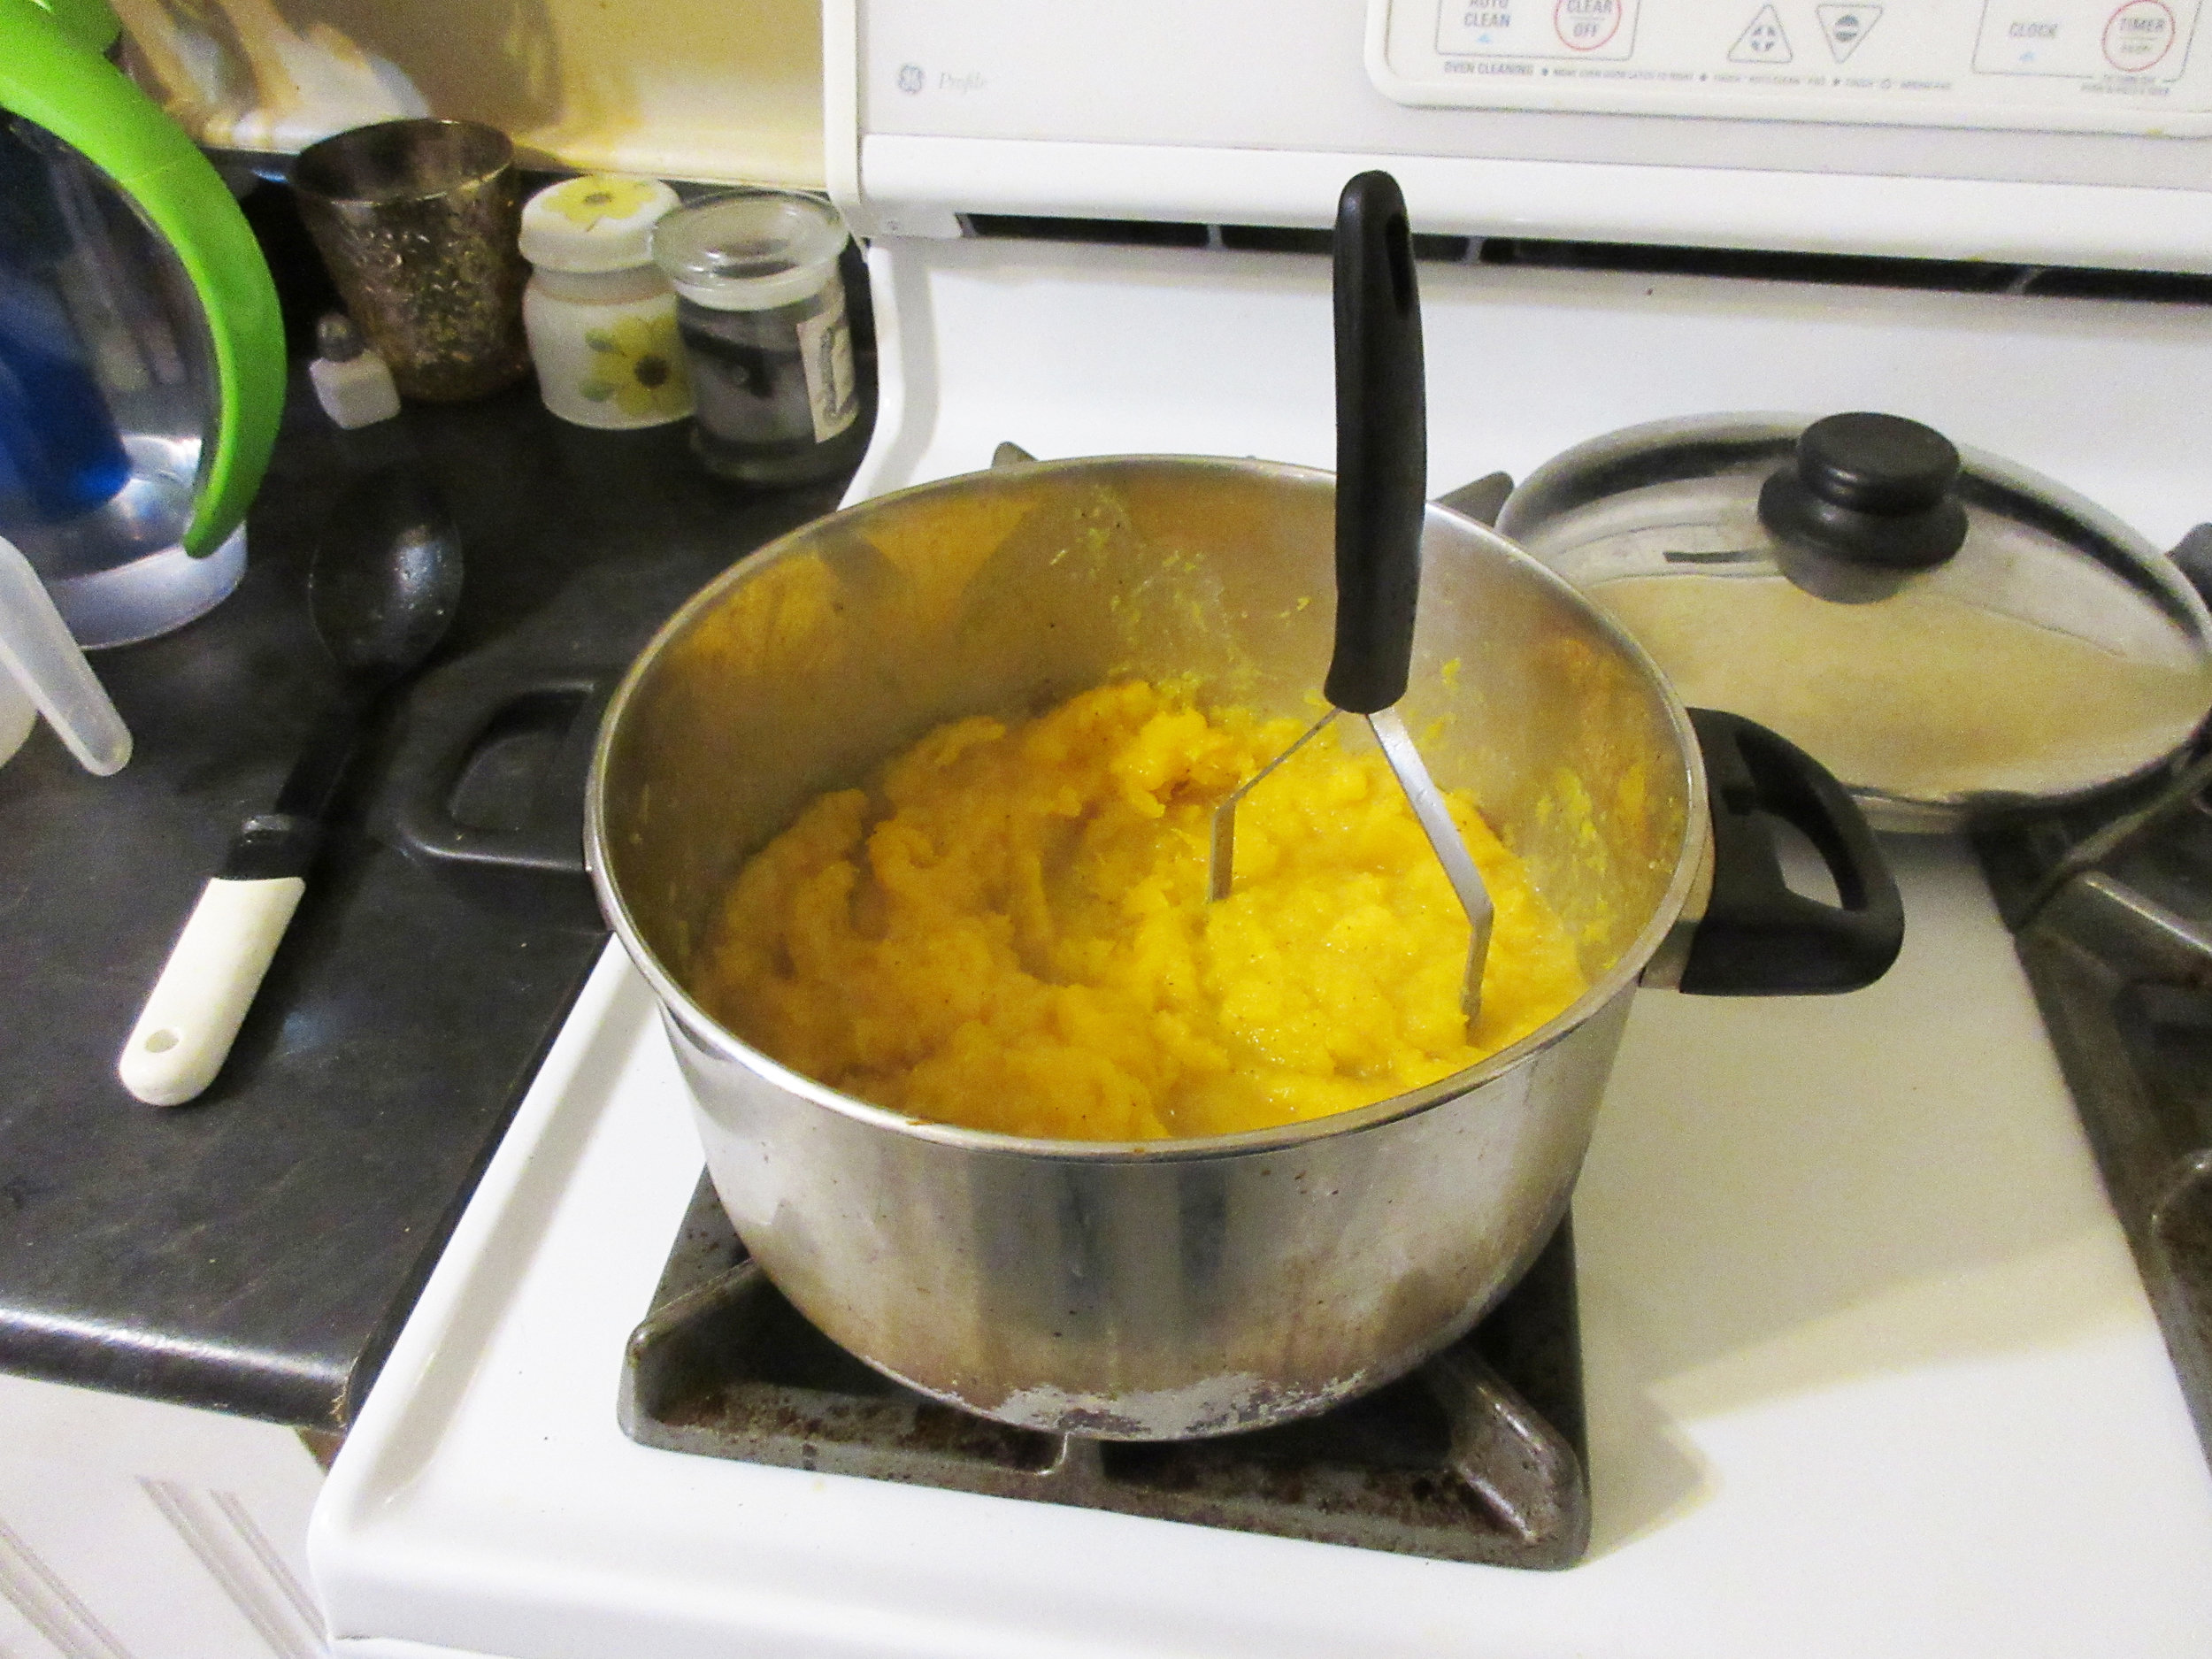
3) Once the squash is mushy, mash with a potato masher, then stir in the flour. Add the milk & water, mix well and reheat.
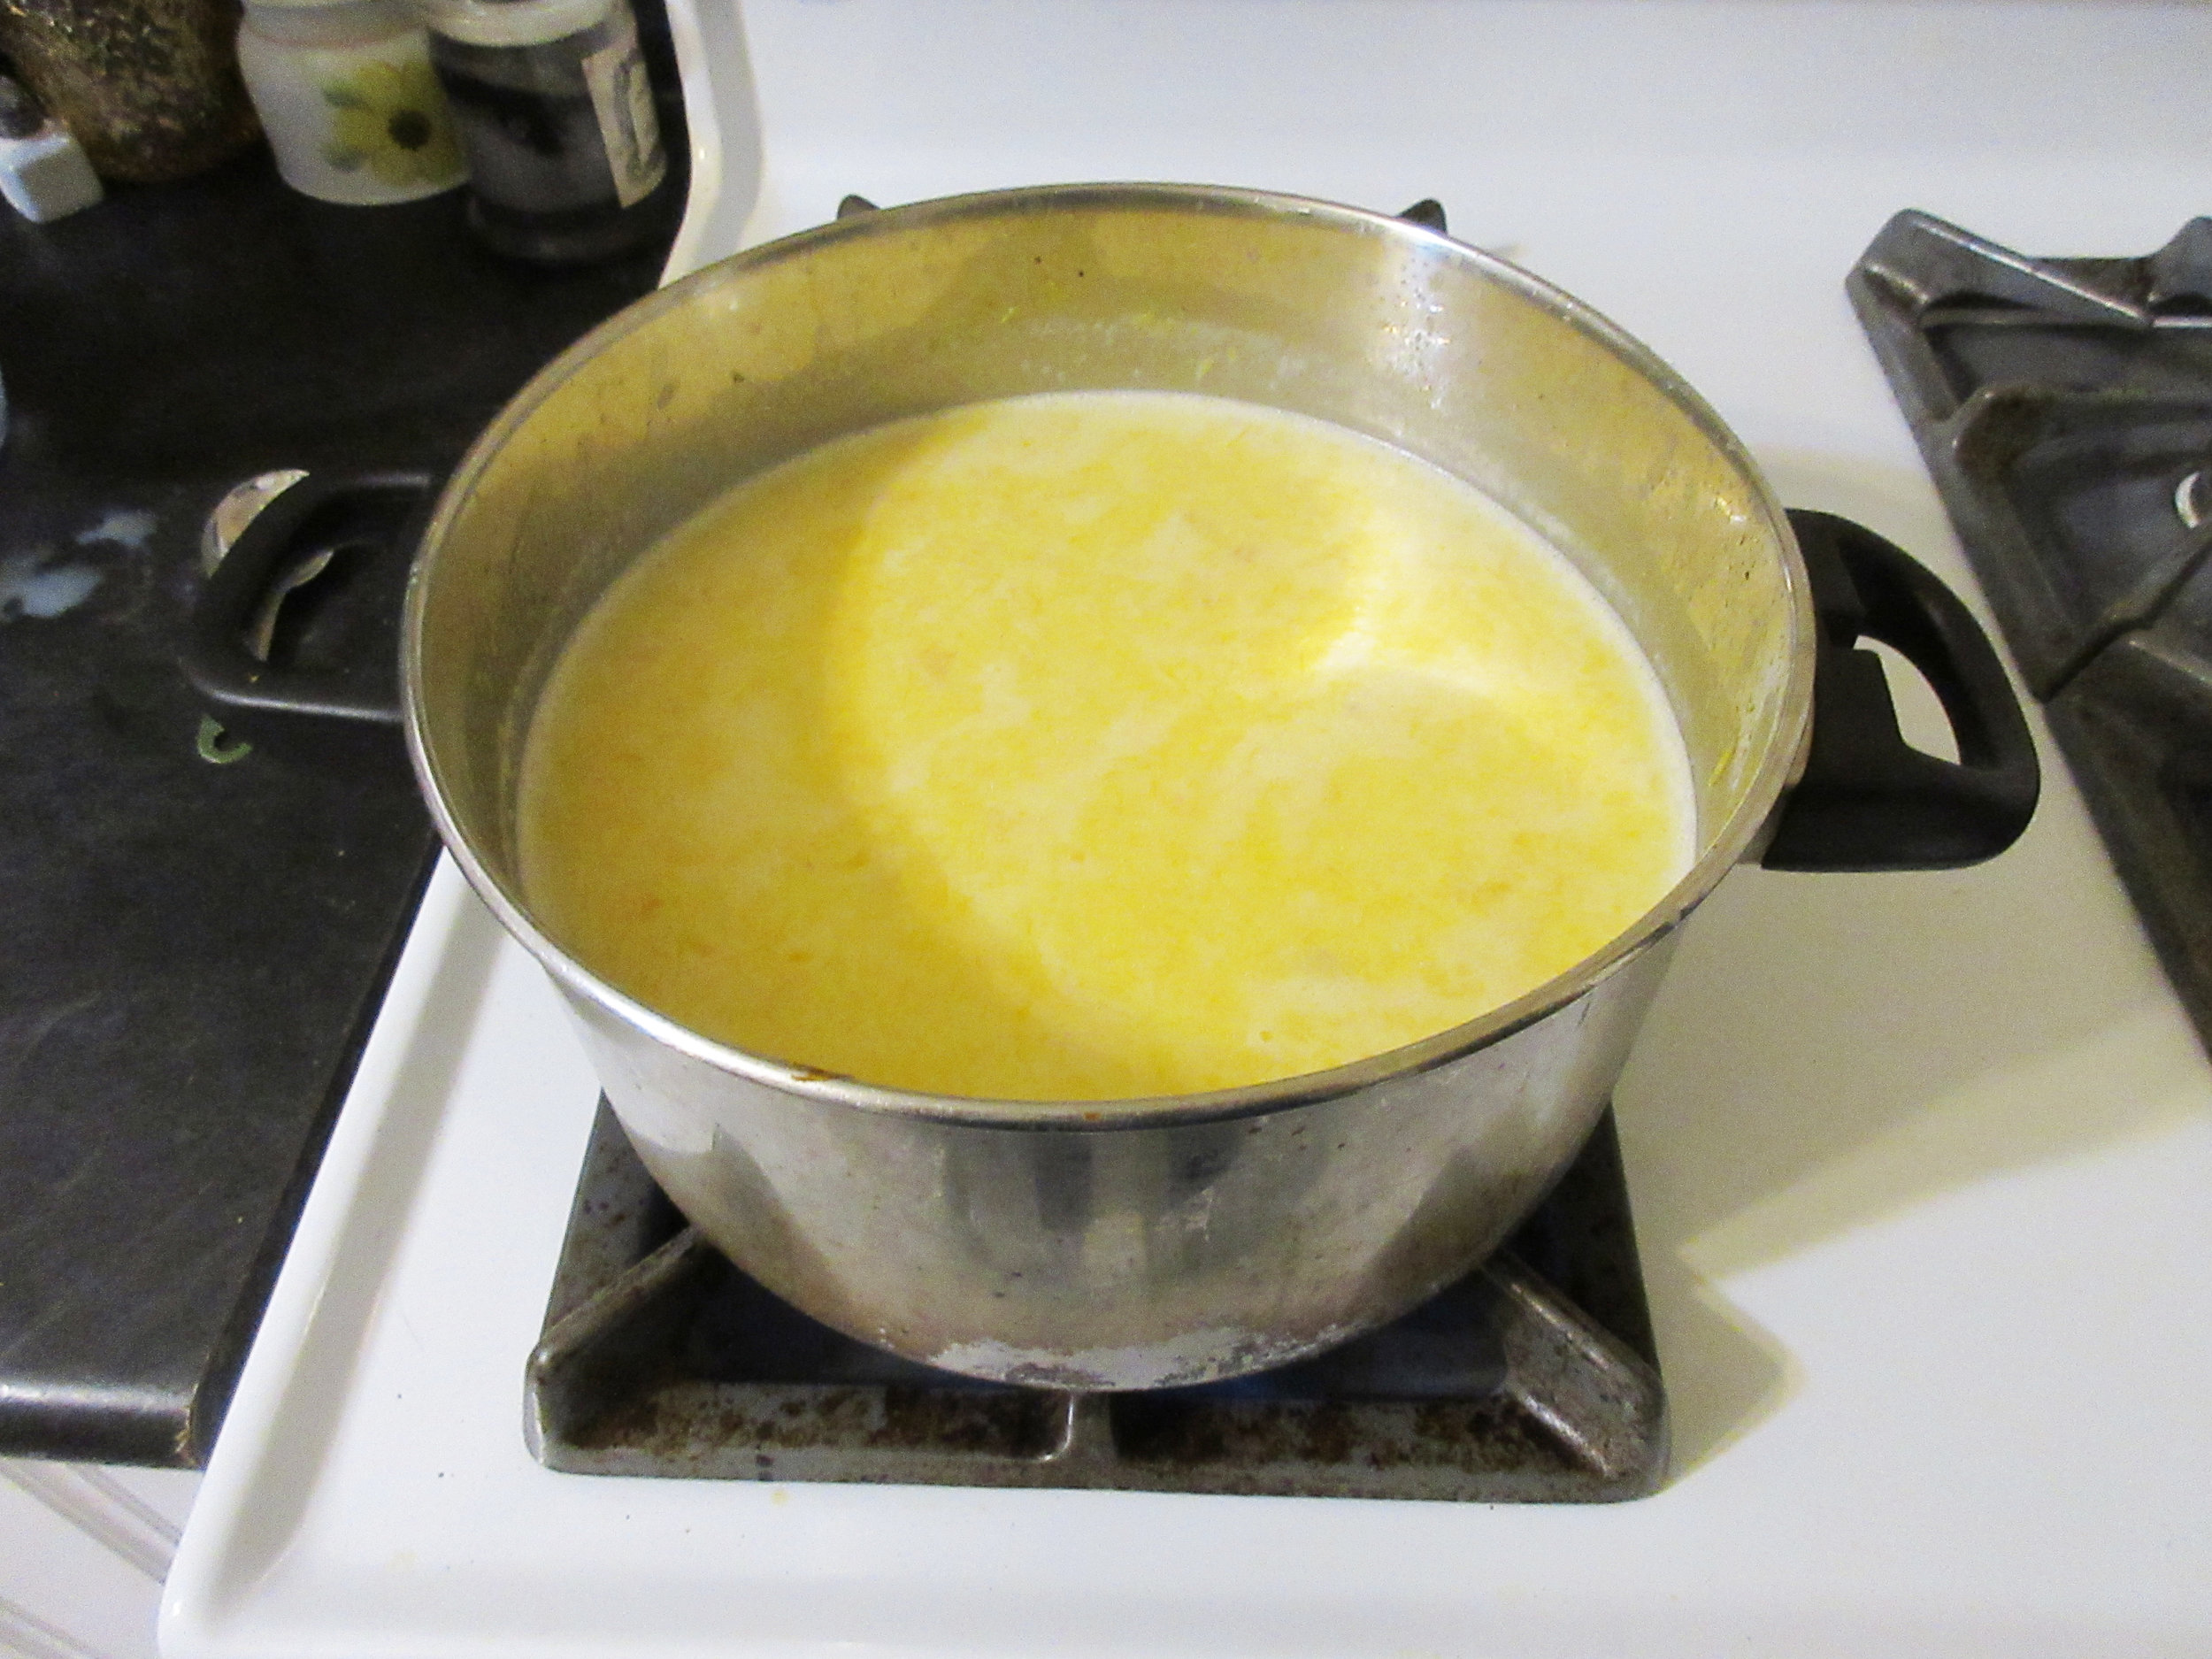
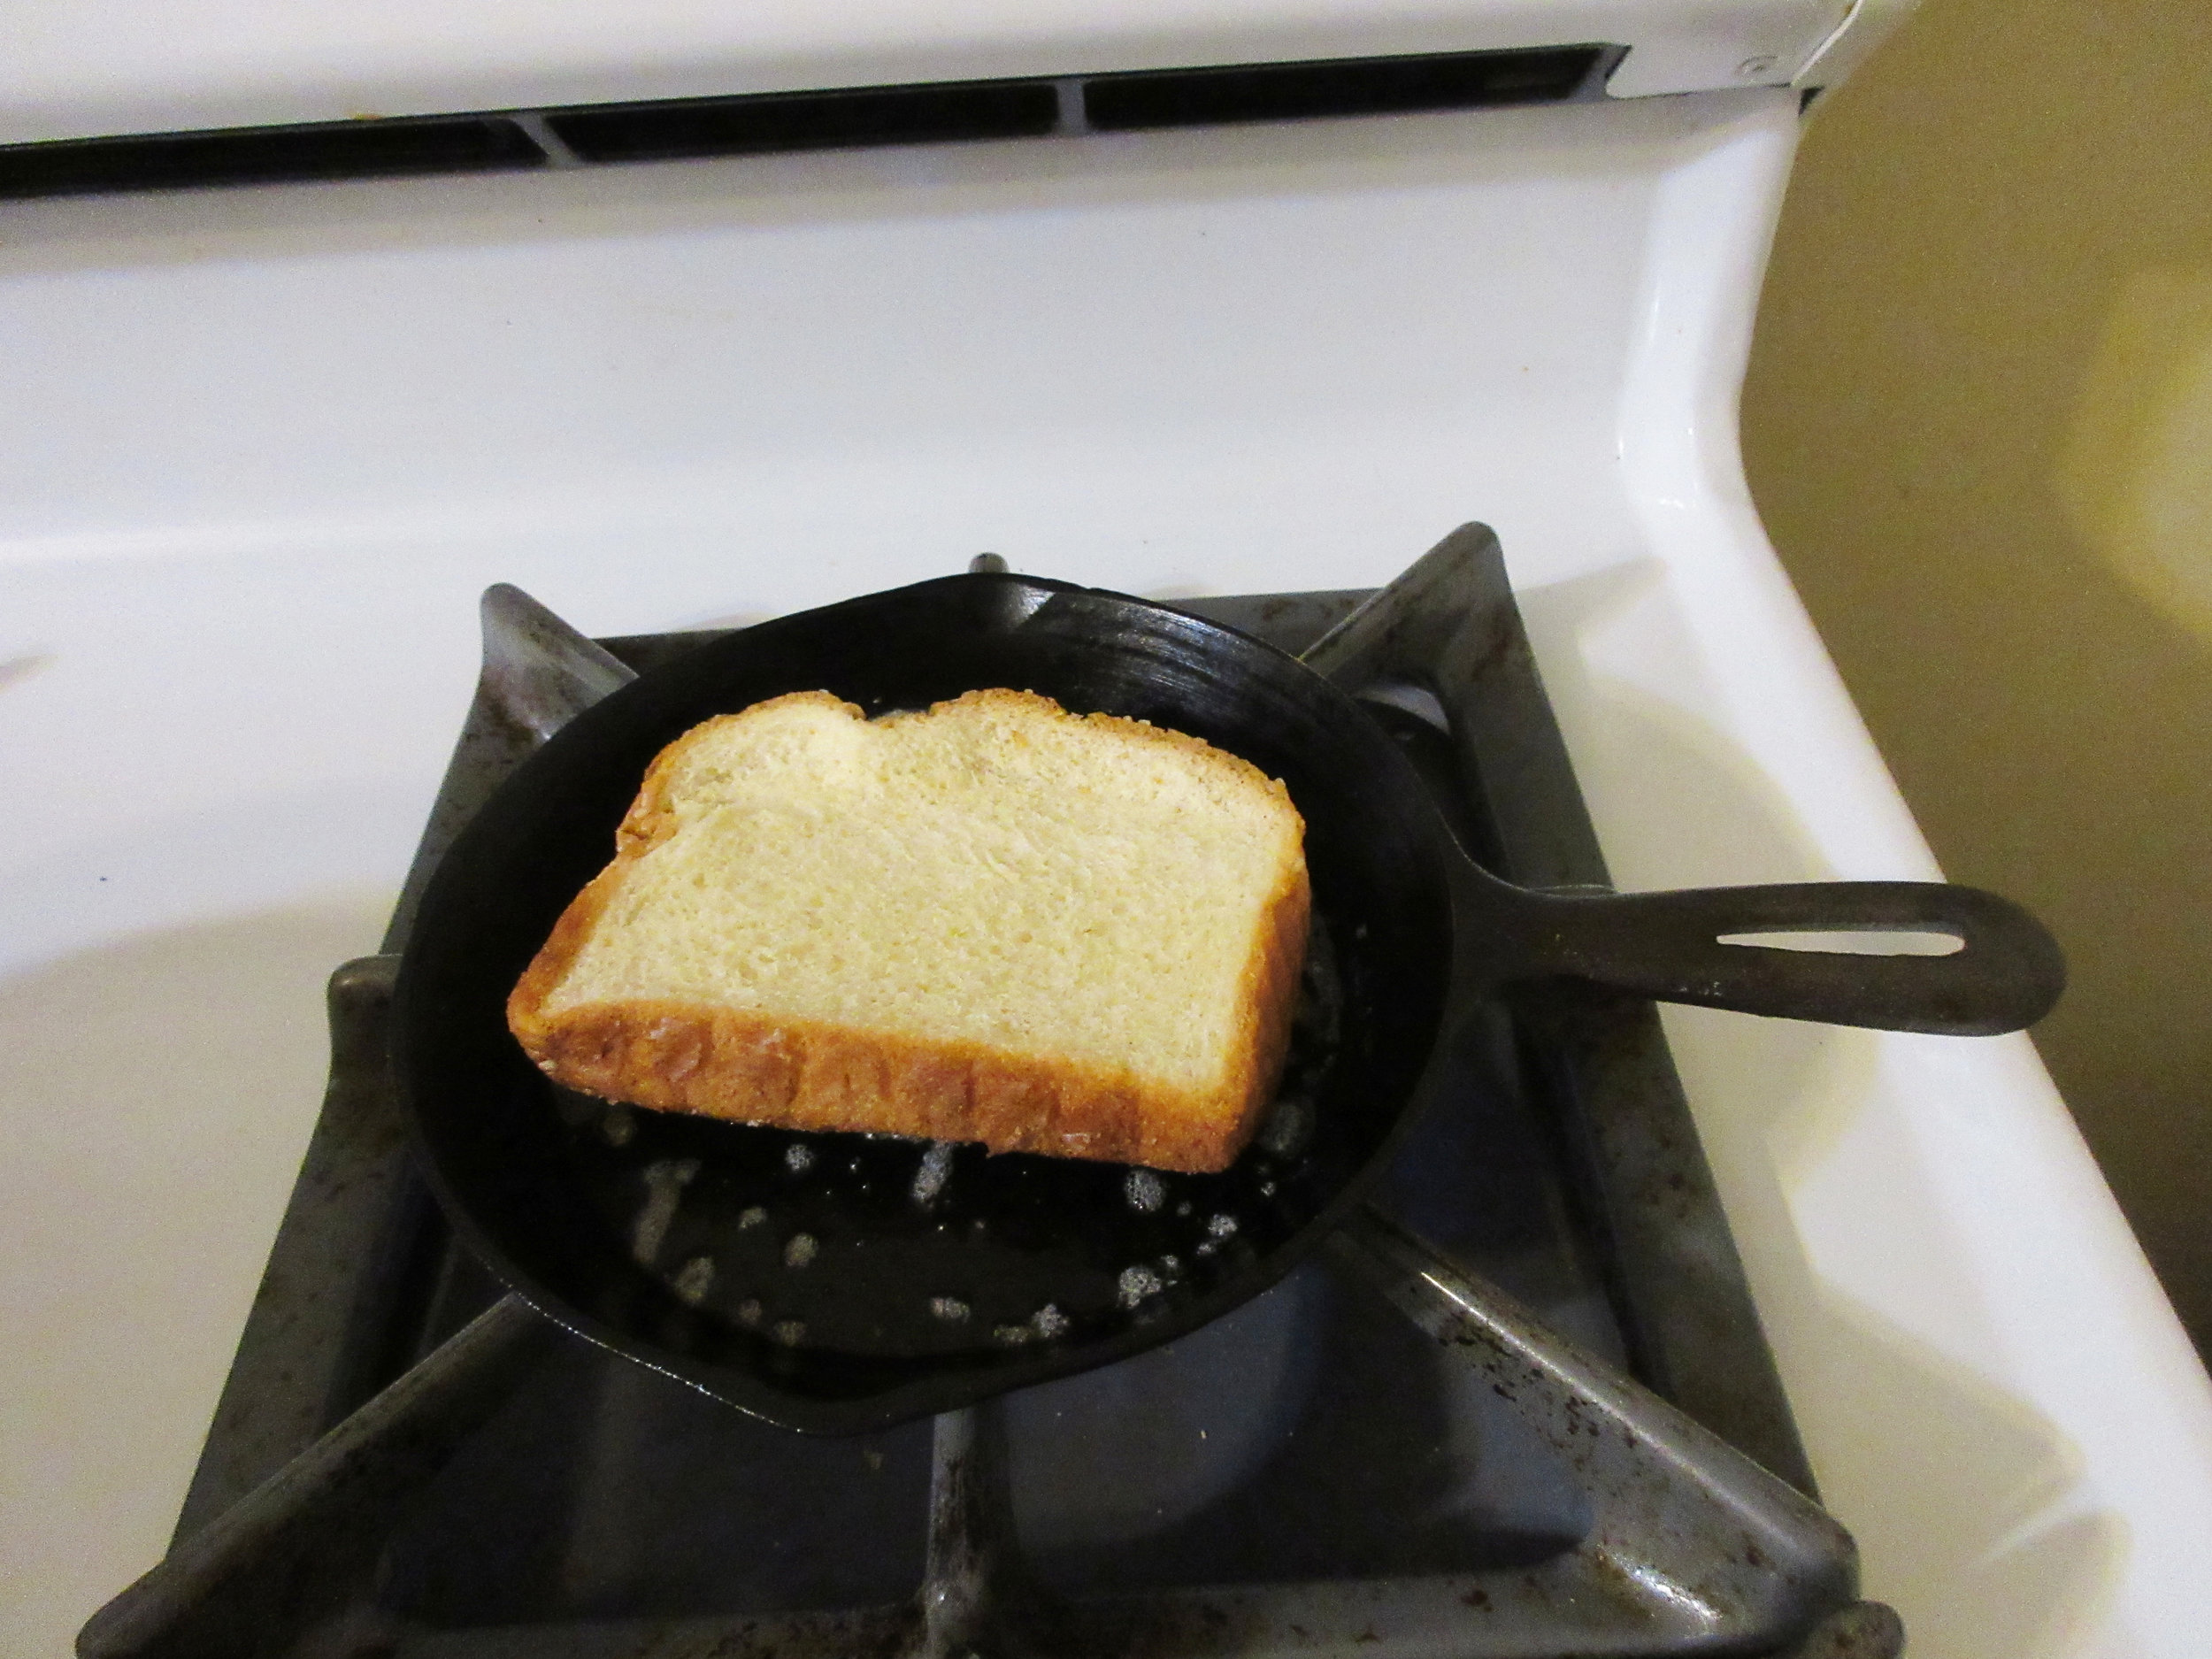
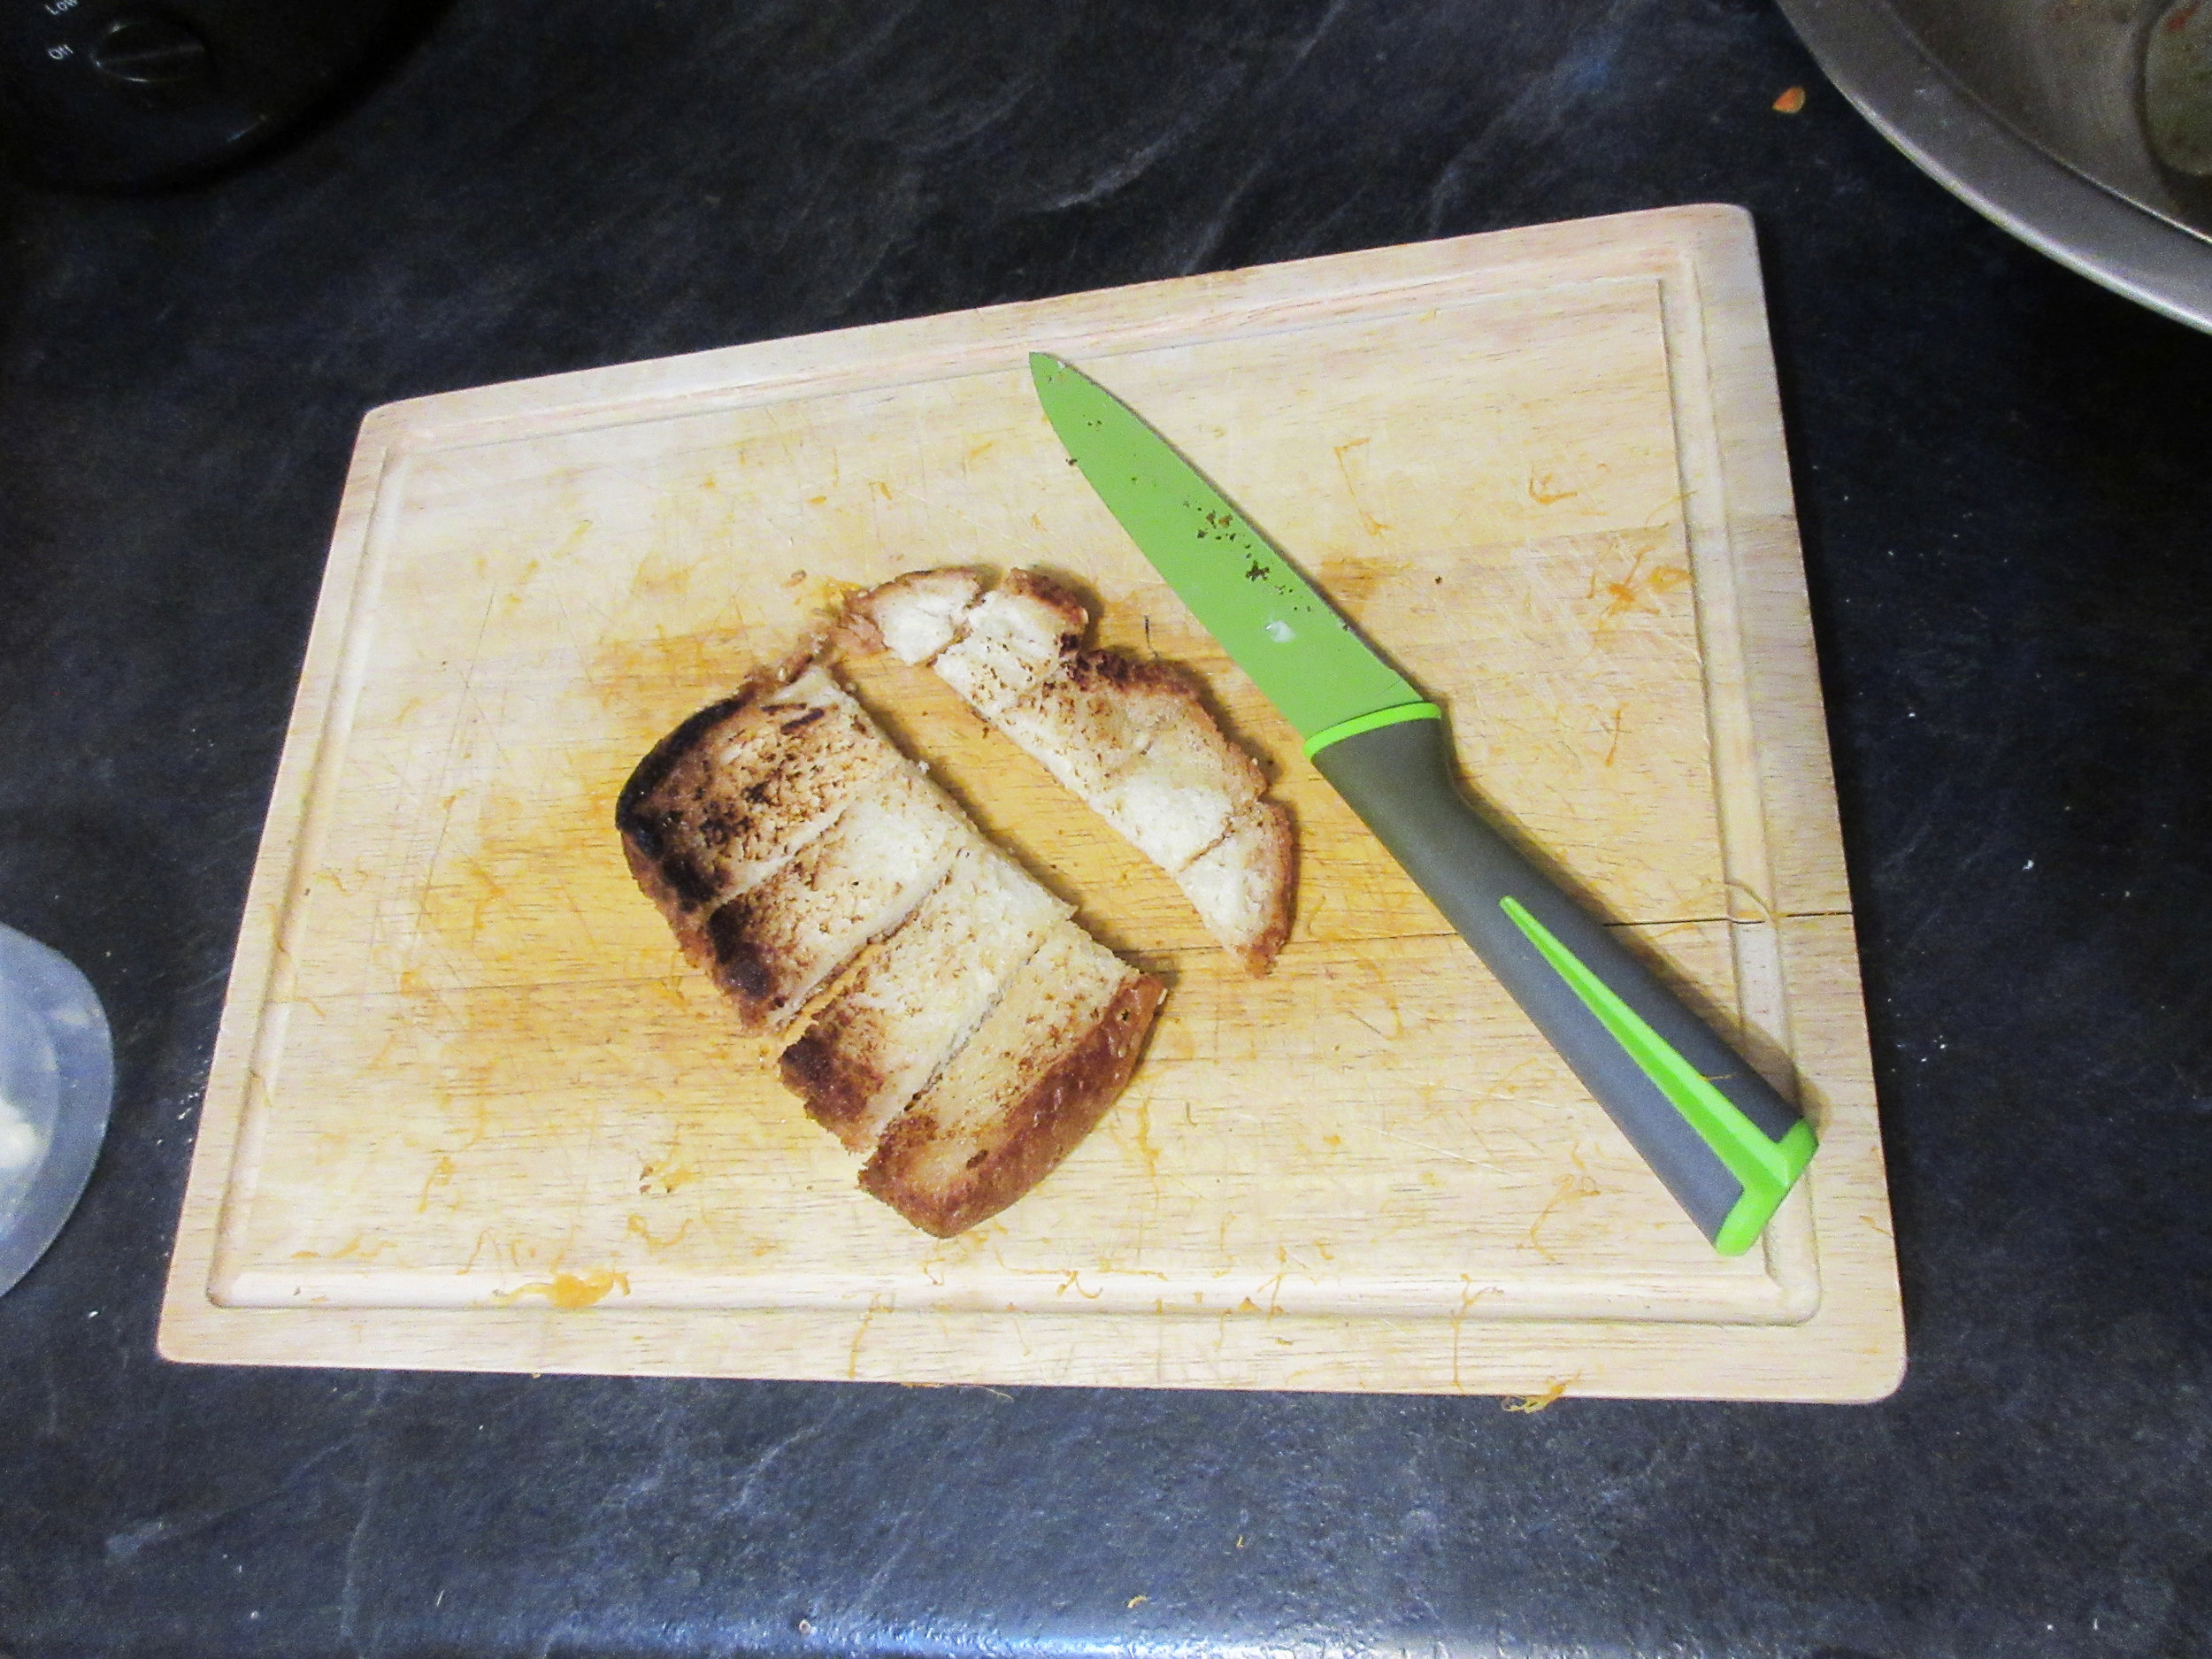
Optional: the historic recipe suggests "serve with fried or toasted bread, cut in dice". Instead of popping my bread in the toaster, I fried it in a pan of butter before I diced the bread. Recommended!

This Pumpkin Soup is hearty & flavourful, and I think the reason for this can be found in a one-word answer: butter. Expect a creamy robust soup with small chunks of pumpkin (or squash, if you can't find pumpkin). This soup is so rich that it might make a better side dish rather than the main component of your meal, but if you do try this recipe out, I highly recommend the historic recipe's suggestion of adding croutons made of fried bread to your bowl!
We made Pumpkin Soup at the open hearth cooking classes I taught at Nelles Manor Museum in Grimsby this fall. I really wanted to make some recipes with a local connection at these classes, so I perused a scan of The Canadian Housewife's Manual of Cookery online to find a seasonable autumn recipe and Pumpkin Soup is what I found.
The Canadian Housewife's Manual of Cookery was compiled by Henry & Elizabeth Richards and published in my hometown of Hamilton, Ontario in 1861, which is about a 30 minute drive to Grimsby these days (unless the highway is jammed with traffic going to Niagara Falls). Henry Richards was was a printer and was employed at the time of The Canadian Housewife's Manual of Cookery's publication at the Hamilton Spectator, which is still Hamilton's local newspaper today.
In his Preface, Richards writes that "the compiler has been somewhat indebted to a late work by M. SOYER's, the celebrated French Cook, as well as to some of the latest English, French, and American works on the same subject; and having thus carefully culled and collated from these sources all that was valuable and applicable to this country, he most respectfully admits the same for the approval and patronage of the Canadian Housewife".
Considering Canada's social identity as a quilt assembled from many cultures, I find it fitting that Henry and Elizabeth Richards turned to recipes from other countries and put them together to create a cookbook for Canadians. The Canadian Housewife's Manual of Cookery features some ingredients native to Canada, such as pumpkin, but also has an unusual number of tomato recipes for that era, sections on cooking wild fowl, rabbit & hare and a chapter on "Ale, Beer, Wines and Summer Drinks".
Read the Cookbook:


Squash Puff
If you asked anyone in my family about our traditional family recipes, probably the first dish listed by everyone would be Squash Puff. I'd describe Squash Puff as a cross between squash pudding and soufflé. It is light, fluffy and very flavourful considering it doesn't contain any onions or herbs. My Mom cut the recipe out of a newspaper at some point and it's been in her giant binder of recipe clippings ever since I can remember. Give Squash Puff a try at your next Thanksgiving, potluck or family gathering...or when you've got a hankering for some satisfying comfort food.

Recipe Origins:
An Ontario newspaper
Probably clipped in the 1960s-1970s
The Original Recipe:
Squash Puff
(Serves six to eight)
2 ½ pounds Hubbard or pepper squash – three cups mashed.
One-half cup chopped mild onion.
Two tablespoons butter.
Two large eggs – yolks and whites separated.
One-quarter cup milk.
Three tablespoons flour.
Three teaspoons baking powder.
Three-quarter teaspoon salt.
One-eighth teaspoon pepper.
One-half cup buttered crumbs (see below).
Cut up squash with heavy knife and steam until tender on rack in large shallow pot with boiling water underneath, covered. Scoop and scrape flesh from skin and mash using electric or rotary beater. You should have three cups.
Gently saute onion in butter until limp but not brown. Add to squash. Beat in egg yolks and milk until smooth. Stir in flour, baking powder, salt and pepper. Fold in stiffly beaten egg whites.
Turn into buttered six-cup baking dish. Top with buttered crumbs. (This last step is important – stir one tablespoon melted butter into one-half cup fine breadcrumbs.)
You may break it now at 375 degrees for 25 minutes or until lightly browned OR you may refrigerate it for 24 hours and bake it a little longer.


A couple of notes about the recipe:
As the recipe says, the buttered bread crumbs are key. If you're using a shallow dish with more surface area, make sure you use more buttered bread crumbs so it has a generous coating on top.
The recipe lists that you'll need 2 ½ lbs of squash, which will produce 3 cups of cooked & mashed squash. When I went grocery shopping, I assumed that the 2 ½ lbs was referring to raw squash. I wanted to make a double batch so we had plenty (it is VERY popular with my family), so I bought a 4 kg (almost 9 lb) squash, thinking that I'd have enough squash for a double recipe and some left over. But once it was cooked and mashed, I ended up with only 4 cups, so I showed up to my family's Thanksgiving with only a single batch. The lesson learned: buy more squash!

If you asked anyone in my family – my Mom, brother, sister, nieces, nephews & spouses – about our traditional family recipes, probably the first dish listed by everyone would be Squash Puff. This recipe is so popular that when my family gets together for Thanksgiving or Christmas, one of the first things that is settled is "Who is making the Squash Puff?" Most of us were able to gather for Canadian Thanksgiving earlier this month, so this time I volunteered to make it.
Squash Puff is a cross between a squash pudding and souffle. It is light, fluffy and very flavourful considering it doesn't contain any onions or herbs. My Mom cut the recipe out of a newspaper at some point and it's been in her giant binder of recipe clippings ever since I can remember.
I asked my Mother about iconic moment that she clipped the Squash Puff recipe out of the newspaper at Thanksgiving. The truth is that she clipped it out of desperation. She said that she decided to save the recipe because her children hated squash and she was always on the lookout for a way to get us to eat vegetables. We hated squash, but we loved Squash Puff. That's what I remember as a child. I dreaded when squash was on the menu, but I rejoiced when I knew that Squash Puff would be on the dinner table!
I always remember Squash Puff being served at special occasions, but my oldest sister remembers Squash Puff making its debut in the early 1970s. Who knows which southern Ontario newspaper it came from, but if I had to bet I'd place my money on the Kitchener-Waterloo Record.
Give Squash Puff a try at your next Thanksgiving, potluck or family gathering...or when you've got a hankering for some satisfying comfort food. And while you're enjoying it, raise a glass to the Baird family, my Mom's practically and her brood of picky eaters.

French Beans as a Salad
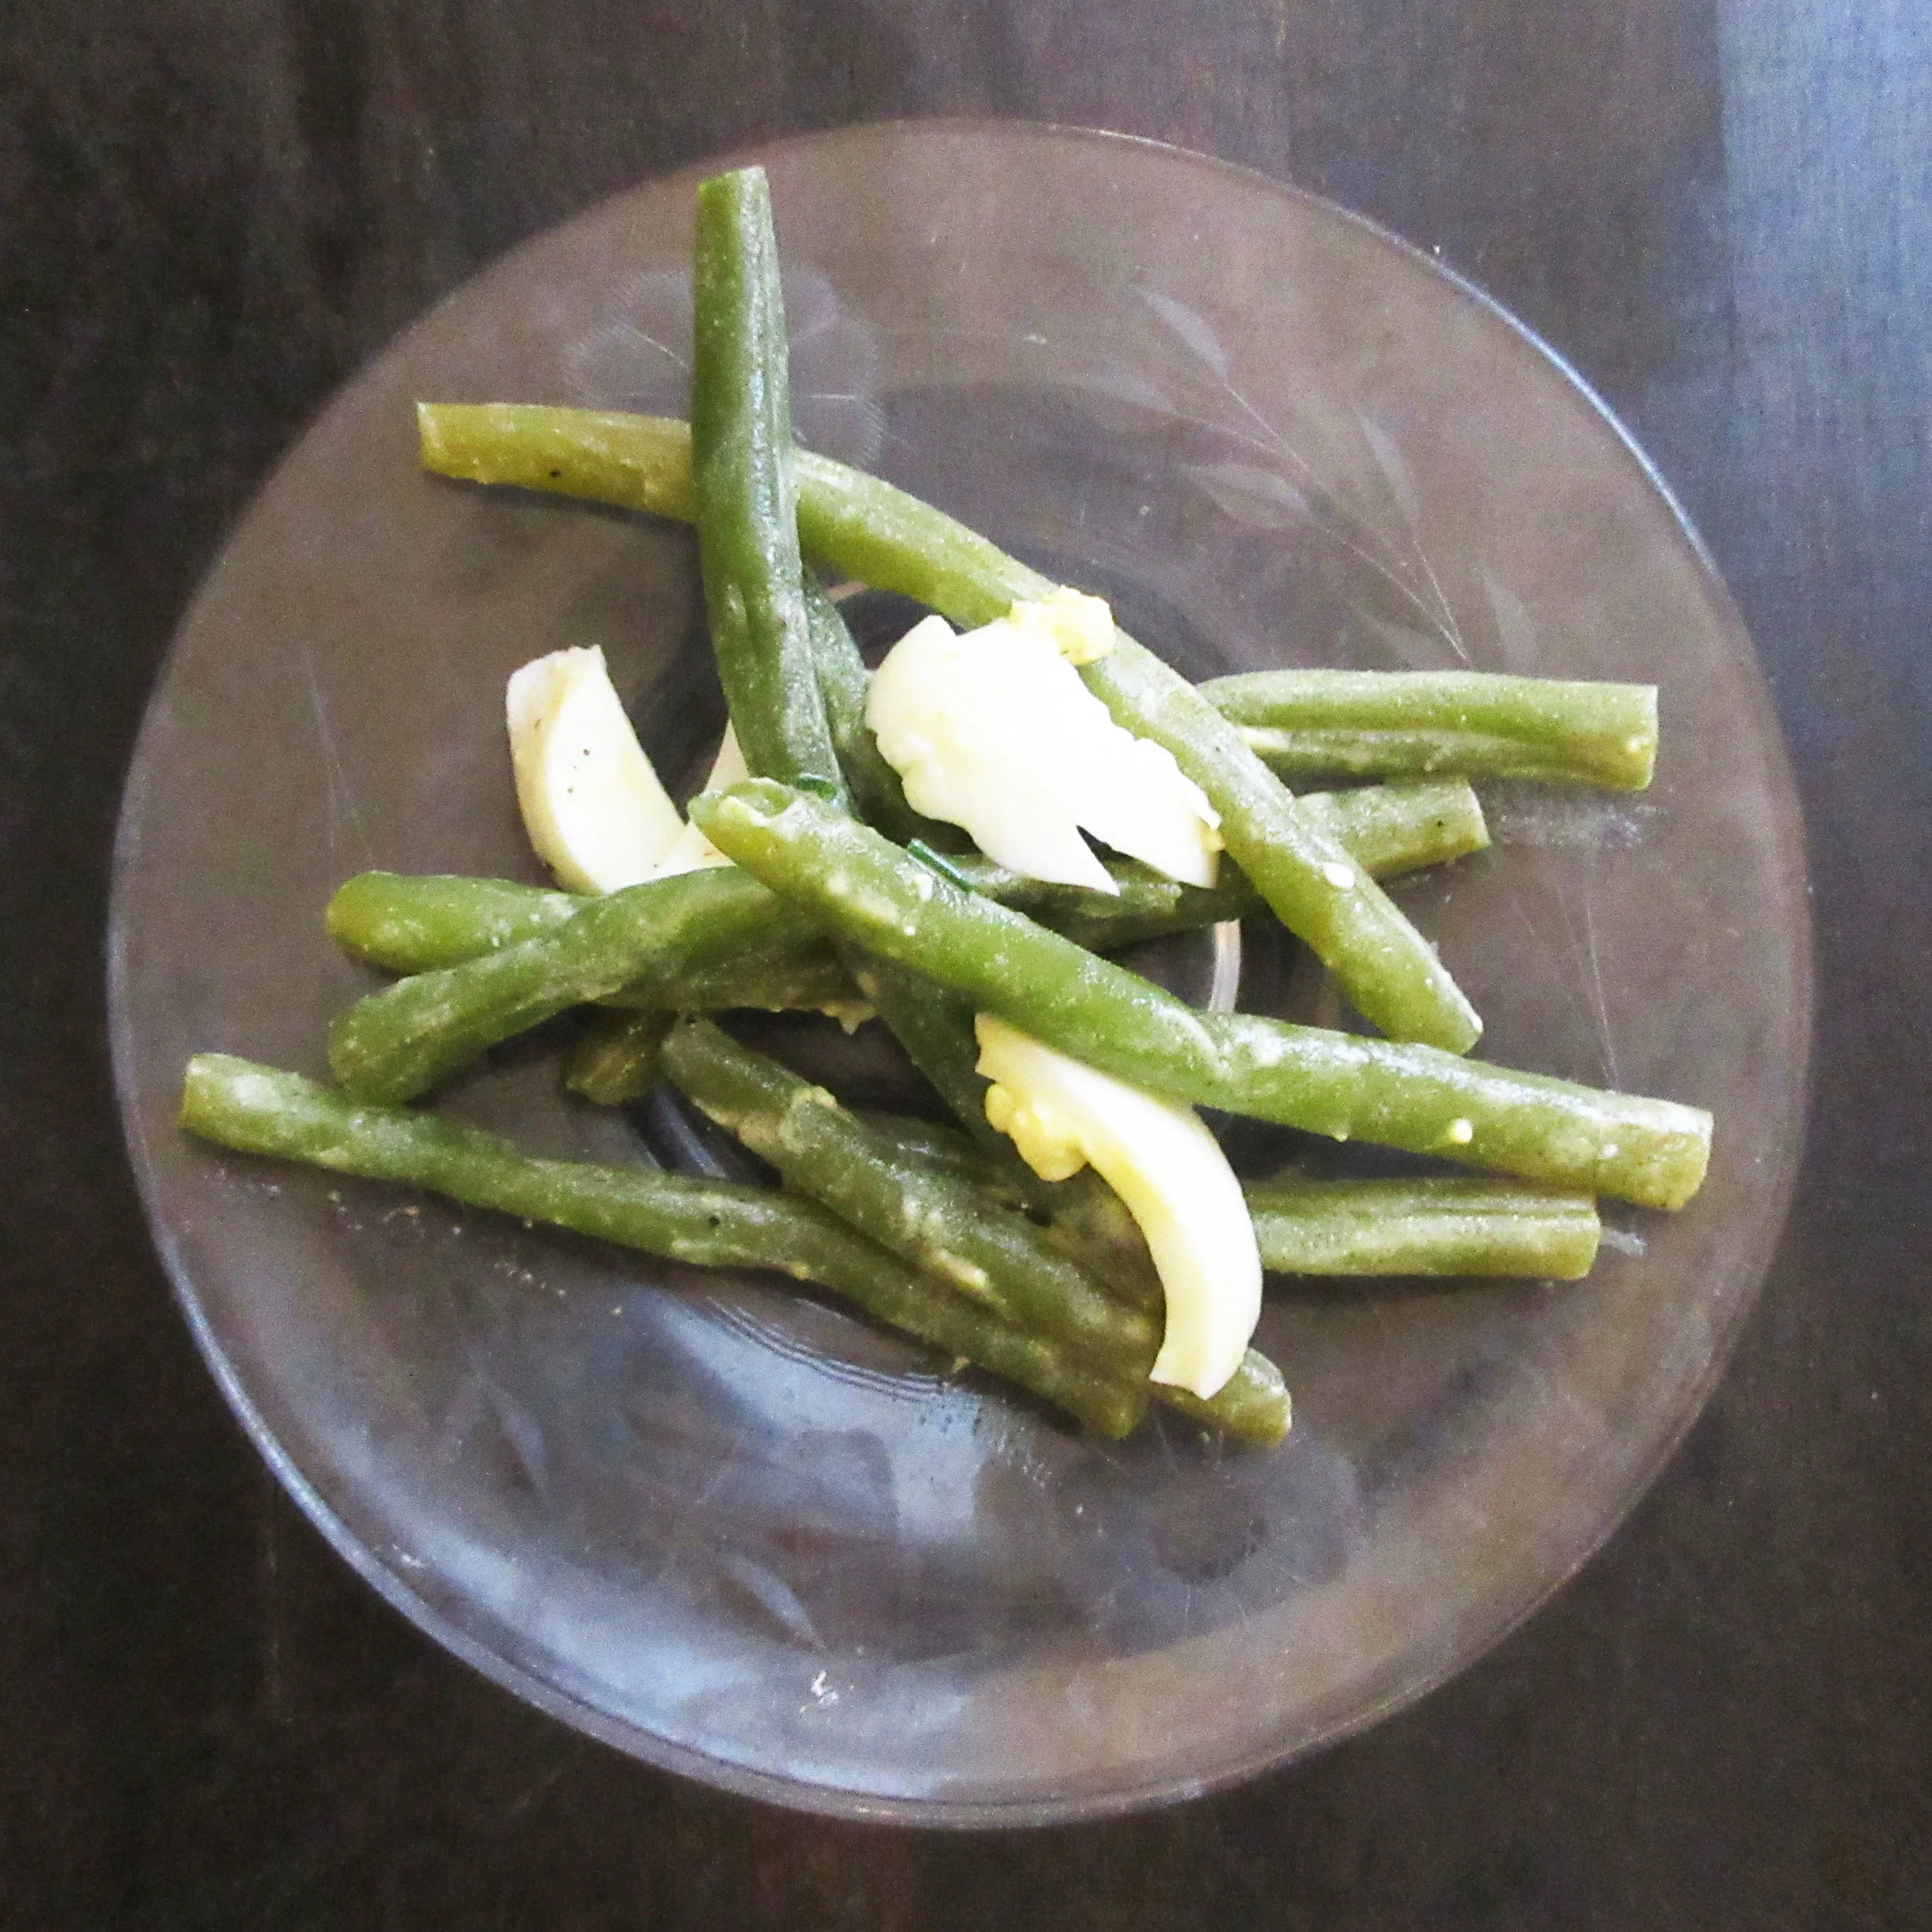
This tasty green bean salad is found in John Smith's The Principles and Practices of Vegetarian Cookery, published in 1860 in London. The Salad Sauce that accompanies the green bean salad is made of hard boiled egg yolks, oil, vinegar, mustard and herbs, and would taste amazing on salads of all varieties. Steve said that he didn't hate green beans when eating this salad, which is a glowing review of the Salad Sauce!

You'll find this recipe in:
The Principles and Practices of Vegetarian Cookery
By: John Smith
London, 1860
The Original Recipes:
French Beans as a Salad.
255. Cook them in water as above, drain them and let them cool. Season them, some hours before using them, with pepper, salt and vinegar; then cover them well. At the time of serving, drain off the water which they will have yielded, and add salad sauce.
French Beans (Haricorts verts).
254. Remove the fibres and wash the beans; put them in boiling water with a little salt; when cooked put them in cold water to preserve their colour...The better to preserve their colour, put a double linen cloth on a sieve, and on this cloth a good spoonful of wood ashes. Pass the water, in which the beans are to be cooked, over the ashes and through the sieve. This method may also be adopted when cooking artichokes. (There's more to this recipe, but this is the info we need for our purposes)
Salad Sauce.
505. Eggs two; water or cream one table-spoonful; oil or dissolved butter two table-spoonfuls; salt or powdered lump sugar one tea-spoonful; mustard one tea-spoonful; vinegar three table-spoonfuls; to these may be added a tea-spoonful of tarragon vinegar; or basil vinegar, etc; or a table-spoonful of chopped leaves. Boil the eggs twelve minutes, then put them in cold water for a few minutes; rub the yolks, which must be cold and hard, through a sieve with a wooden spoon, or pound them in a mortar, then mix them with the water or cream; add the oil, sugar, salt and mustard; and, when these are very well mixed, add very gradually the vinegars, and rub the whole until blended. Garnish the salad with the whites of eggs cut in pieces.


My Recipes:
French Beans as a Salad
Green Beans
Salt
Pepper
Vinegar (I used apple cider vinegar)
1) Wash the green beans, then trim the tops & tails. Bring a pot of salted water to a boil and add the green beans. Once cooked, drain and submerge the beans into cold water.
2) Drain the green beans again after they've cooled and put them into a bowl or container. Add some salt, pepper and a little vinegar. Stir, then store in the refrigerator. Strain off any liquid, add the Salad Sauce and stir. Garnish with the sliced egg whites.
Salad Sauce
2 hard boiled eggs
1 tbsp water or cream
2 tbsp oil or melted butter
½ tsp salt
½ tsp sugar
1 tsp mustard powder
3 tbsp vinegar (I used apple cider)
1 tsp herbal vinegar or 1 tbsp chopped fresh herbs (I added chives)
1) Slice the hard boiled eggs in half, separate the yolks and cut the egg whites into pieces. Put the yolks into a bowl and mush with the back of a spoon.
2) Add all the other ingredients to the bowl and mix well with a fork. Add the Salad Sauce to your salad, then garnish with egg white.

In my regular life, I am weirdly enough not a follower of recipes. For this reason, The Principles and Practices of Vegetarian Cookery is one of my favourite historic cookbooks because John Smith wrote his recipes in the same spirit of how I normally cook. He offers a lot of options, substitutions and variations, so you're able to easily use the same recipe when you're craving some variety or you've got different ingredients in the house.
Not having wood ash handy at home, and also since I didn't plan ahead to bring a small container of ashes home from work, I unfortunately couldn't try Smith's suggestion of passing the cooking water through a sieve filled with ashes before bringing it to a boil. This method is supposed to keep the beans' bright green colour. If you end up trying it, please let me know how it turned out! I'm especially curious how the ashes affect the taste of the beans.
If any of you are marveling over the fact that this recipe comes from a vegetarian cookbook published in 1860, The Principles and Practices of Vegetarian Cookery is not the only vegetarian cookbook to be published in this time period. Vegetarianism wasn't a part of mainstream culinary culture, but it was an important aspect of the health movement that was gaining a lot of momentum at this time. I think a blog post just looking at early vegetarian cookbooks is a must, so keep an eye out for it.
Until then, I'll share my favourite article about mid-19th century vegetarians from Slate: The Exquisite Wistfulness of 19th-Century Vegetarian Personal Ads. These lonely Vegetarians were searching for a spouse who shared their commitments to Vegetarianism, Hydrotherapy, Temperance, Phrenology or Dress Reform. I feel for these people, considering how small a segment of the general population would have shared their viewpoints. I also would love to know if any of these advertisements produced a love match and a long & happy marriage, wouldn't you?
Read the Cookbook:

Asparagus Soup
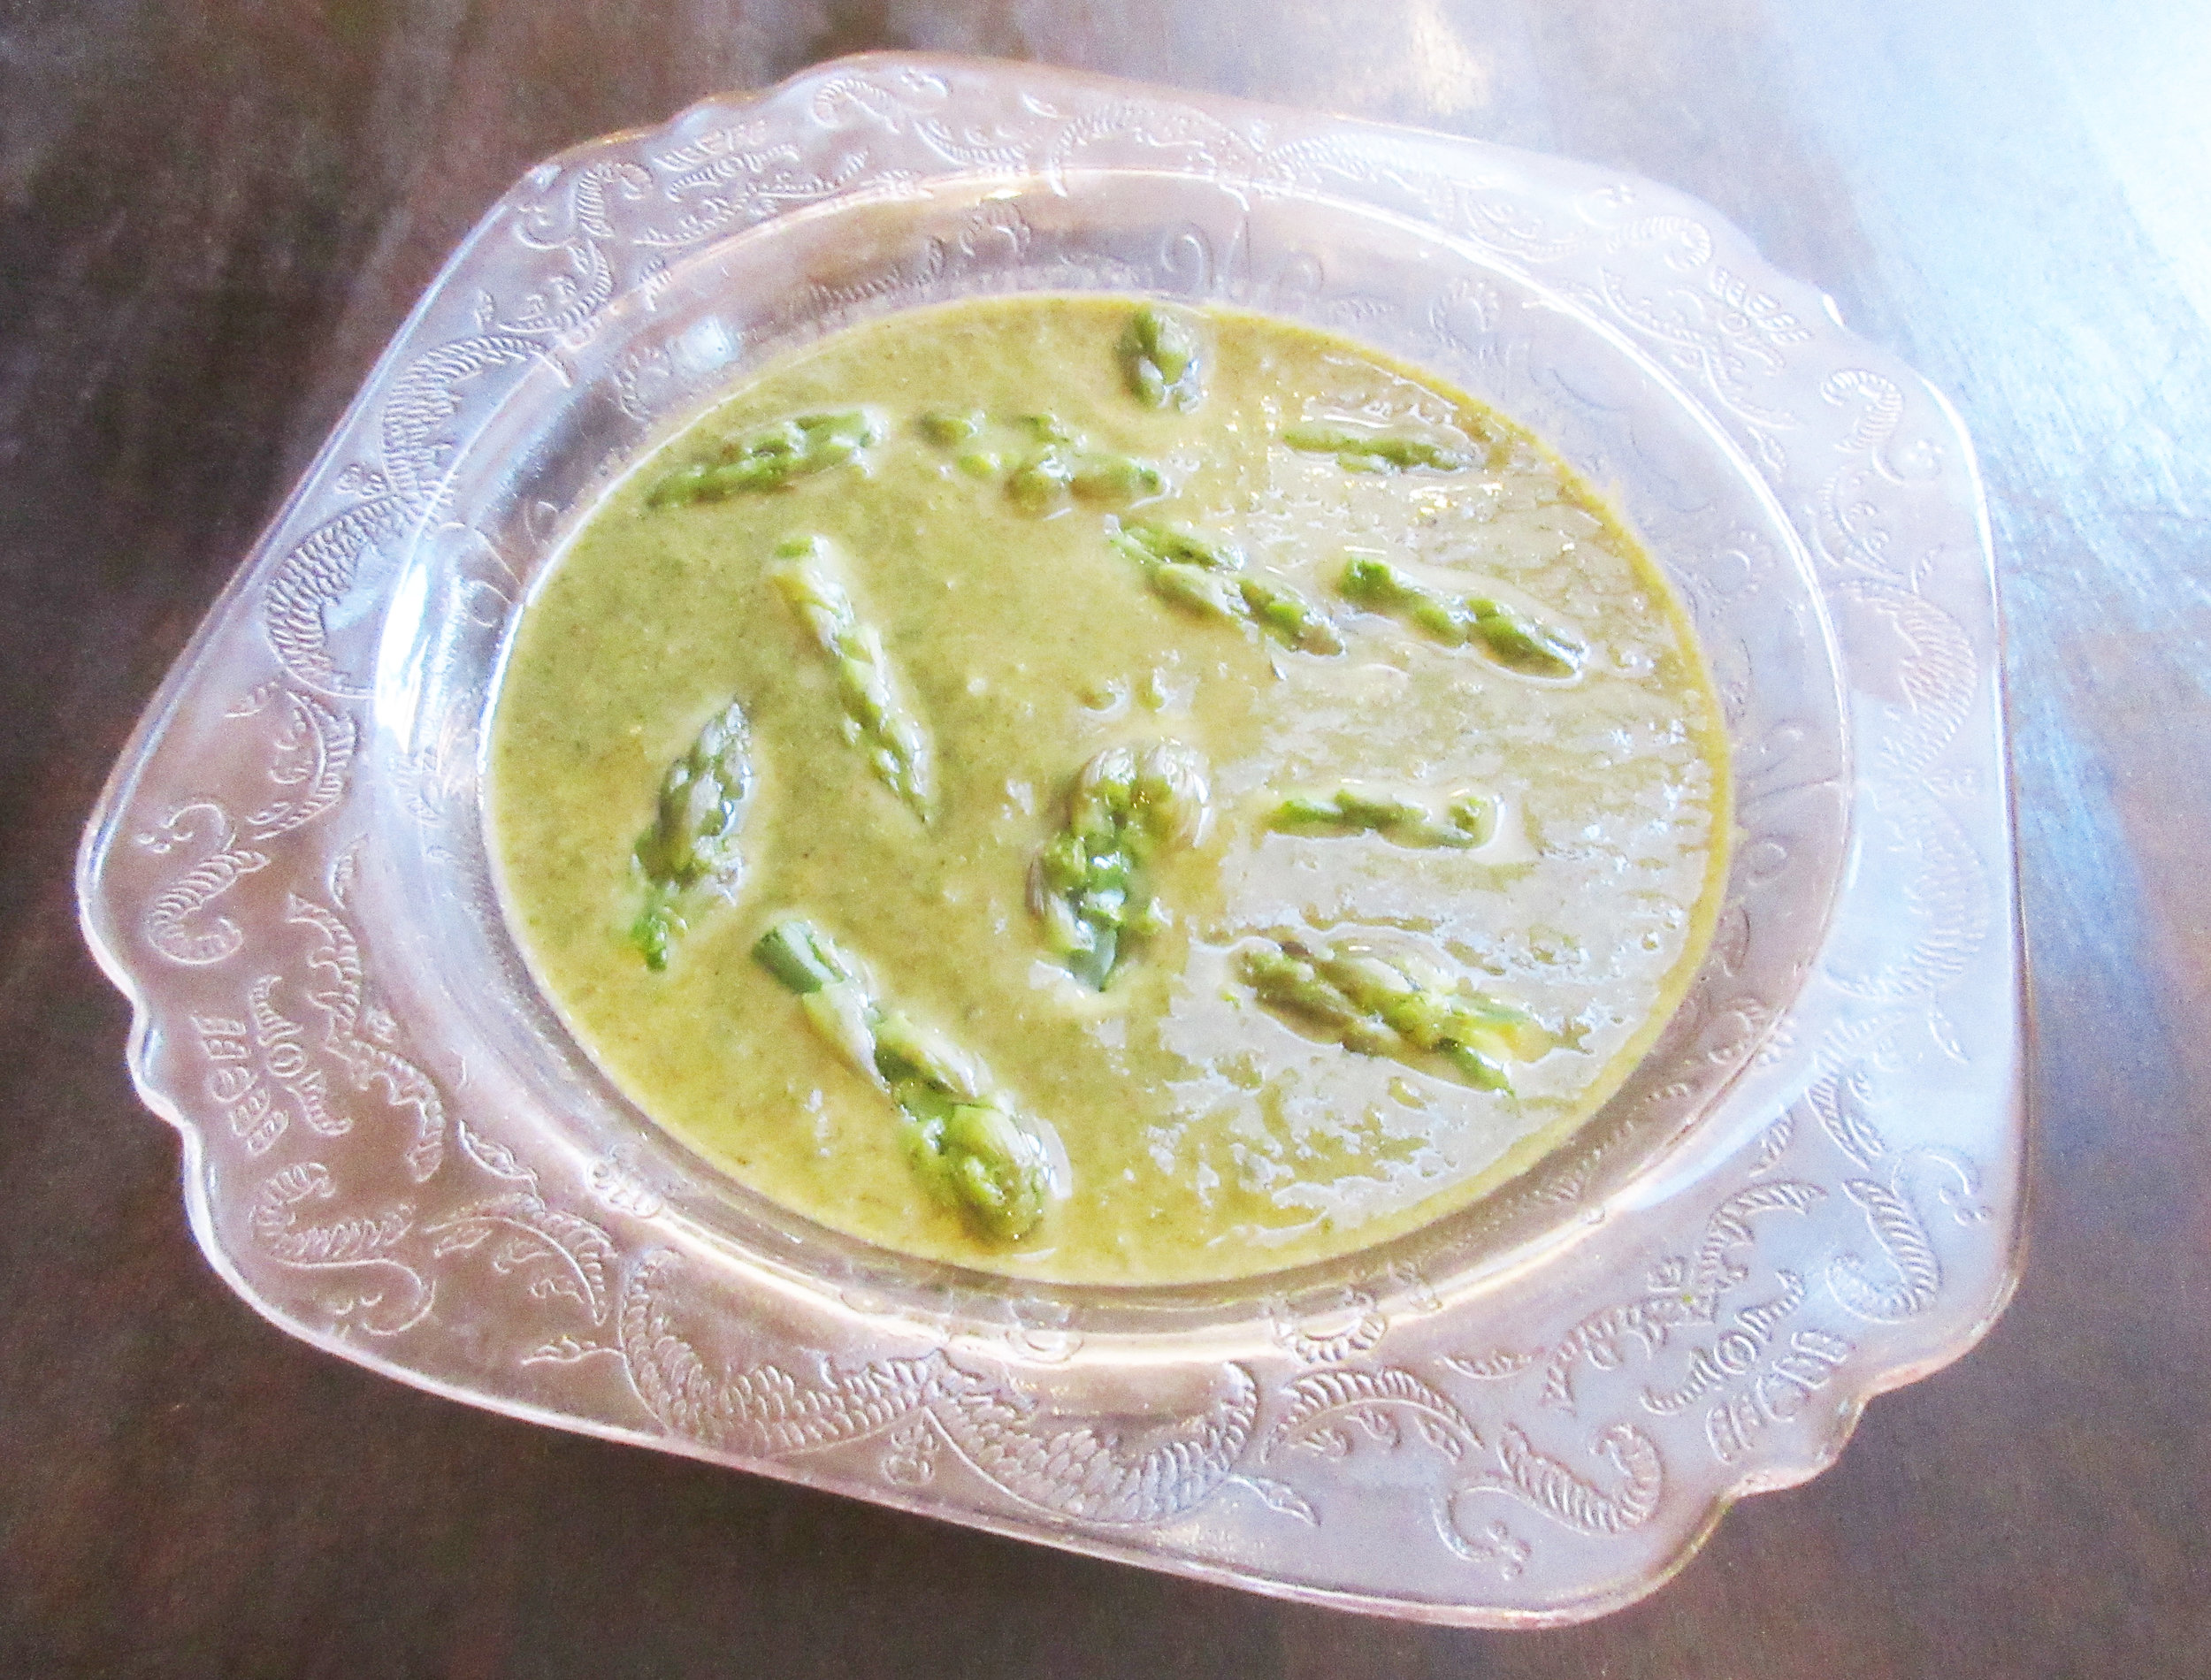
This Asparagus Soup recipe comes to us from a 1920s copy of Mrs. Beeton's Cookery Book that I picked up at an antiques market. Our soup recipe contains asparagus, of course, and also a lot of spinach. The spinach in this soup provides the vibrant green colour, but most of the flavour comes from the asparagus. The puréed creamy soup is offset nicely with the tender asparagus tips, that provide a nice variety in the texture and a flavour pop to boost.
You'll find this recipe in:
Mrs. Beeton's Cookery Book
London, 1920s (?)
The Original Recipe:
ASPARAGUS SOUP.
INGREDIENTS. - 1 ½ pints of white second stock or water, ½ a pint of milk, 25 heads of asparagus, ½ lb. of spinach, ½ oz. of butter or good fat, ½ oz. of flour, 1 tablespoonful of cream or milk, salt and pepper.
METHOD. - Cut off the points of the asparagus and put them aside, trim the stalks and cut them into small pieces; wash and pick the spinach. Put the stock or water into a stewpan; and when it boils add the asparagus and spinach, and cook until tender (about 40 minutes); then rub through a fine sieve. Have ready a small saucepan of boiling water, put in a little salt and the asparagus points, and cook for about 10 or 15 minutes. Melt the butter or fat in the stewpan, sprinkle in the flour, add the milk and stir until it boils, then put in the stock and purée of asparagus and spinach, salt and pepper to taste, and simmer gently for about 10 minutes. Place the asparagus points into the tureen, add the cream or milk and necessary seasoning to the soup, and serve as quickly as possible.
TIME.- From 1 to 1 ½ hours.
SEASONABLE from March to July.
SUFFICIENT for 4 or 5 persons.

My Recipe:
25 asparagus stalks
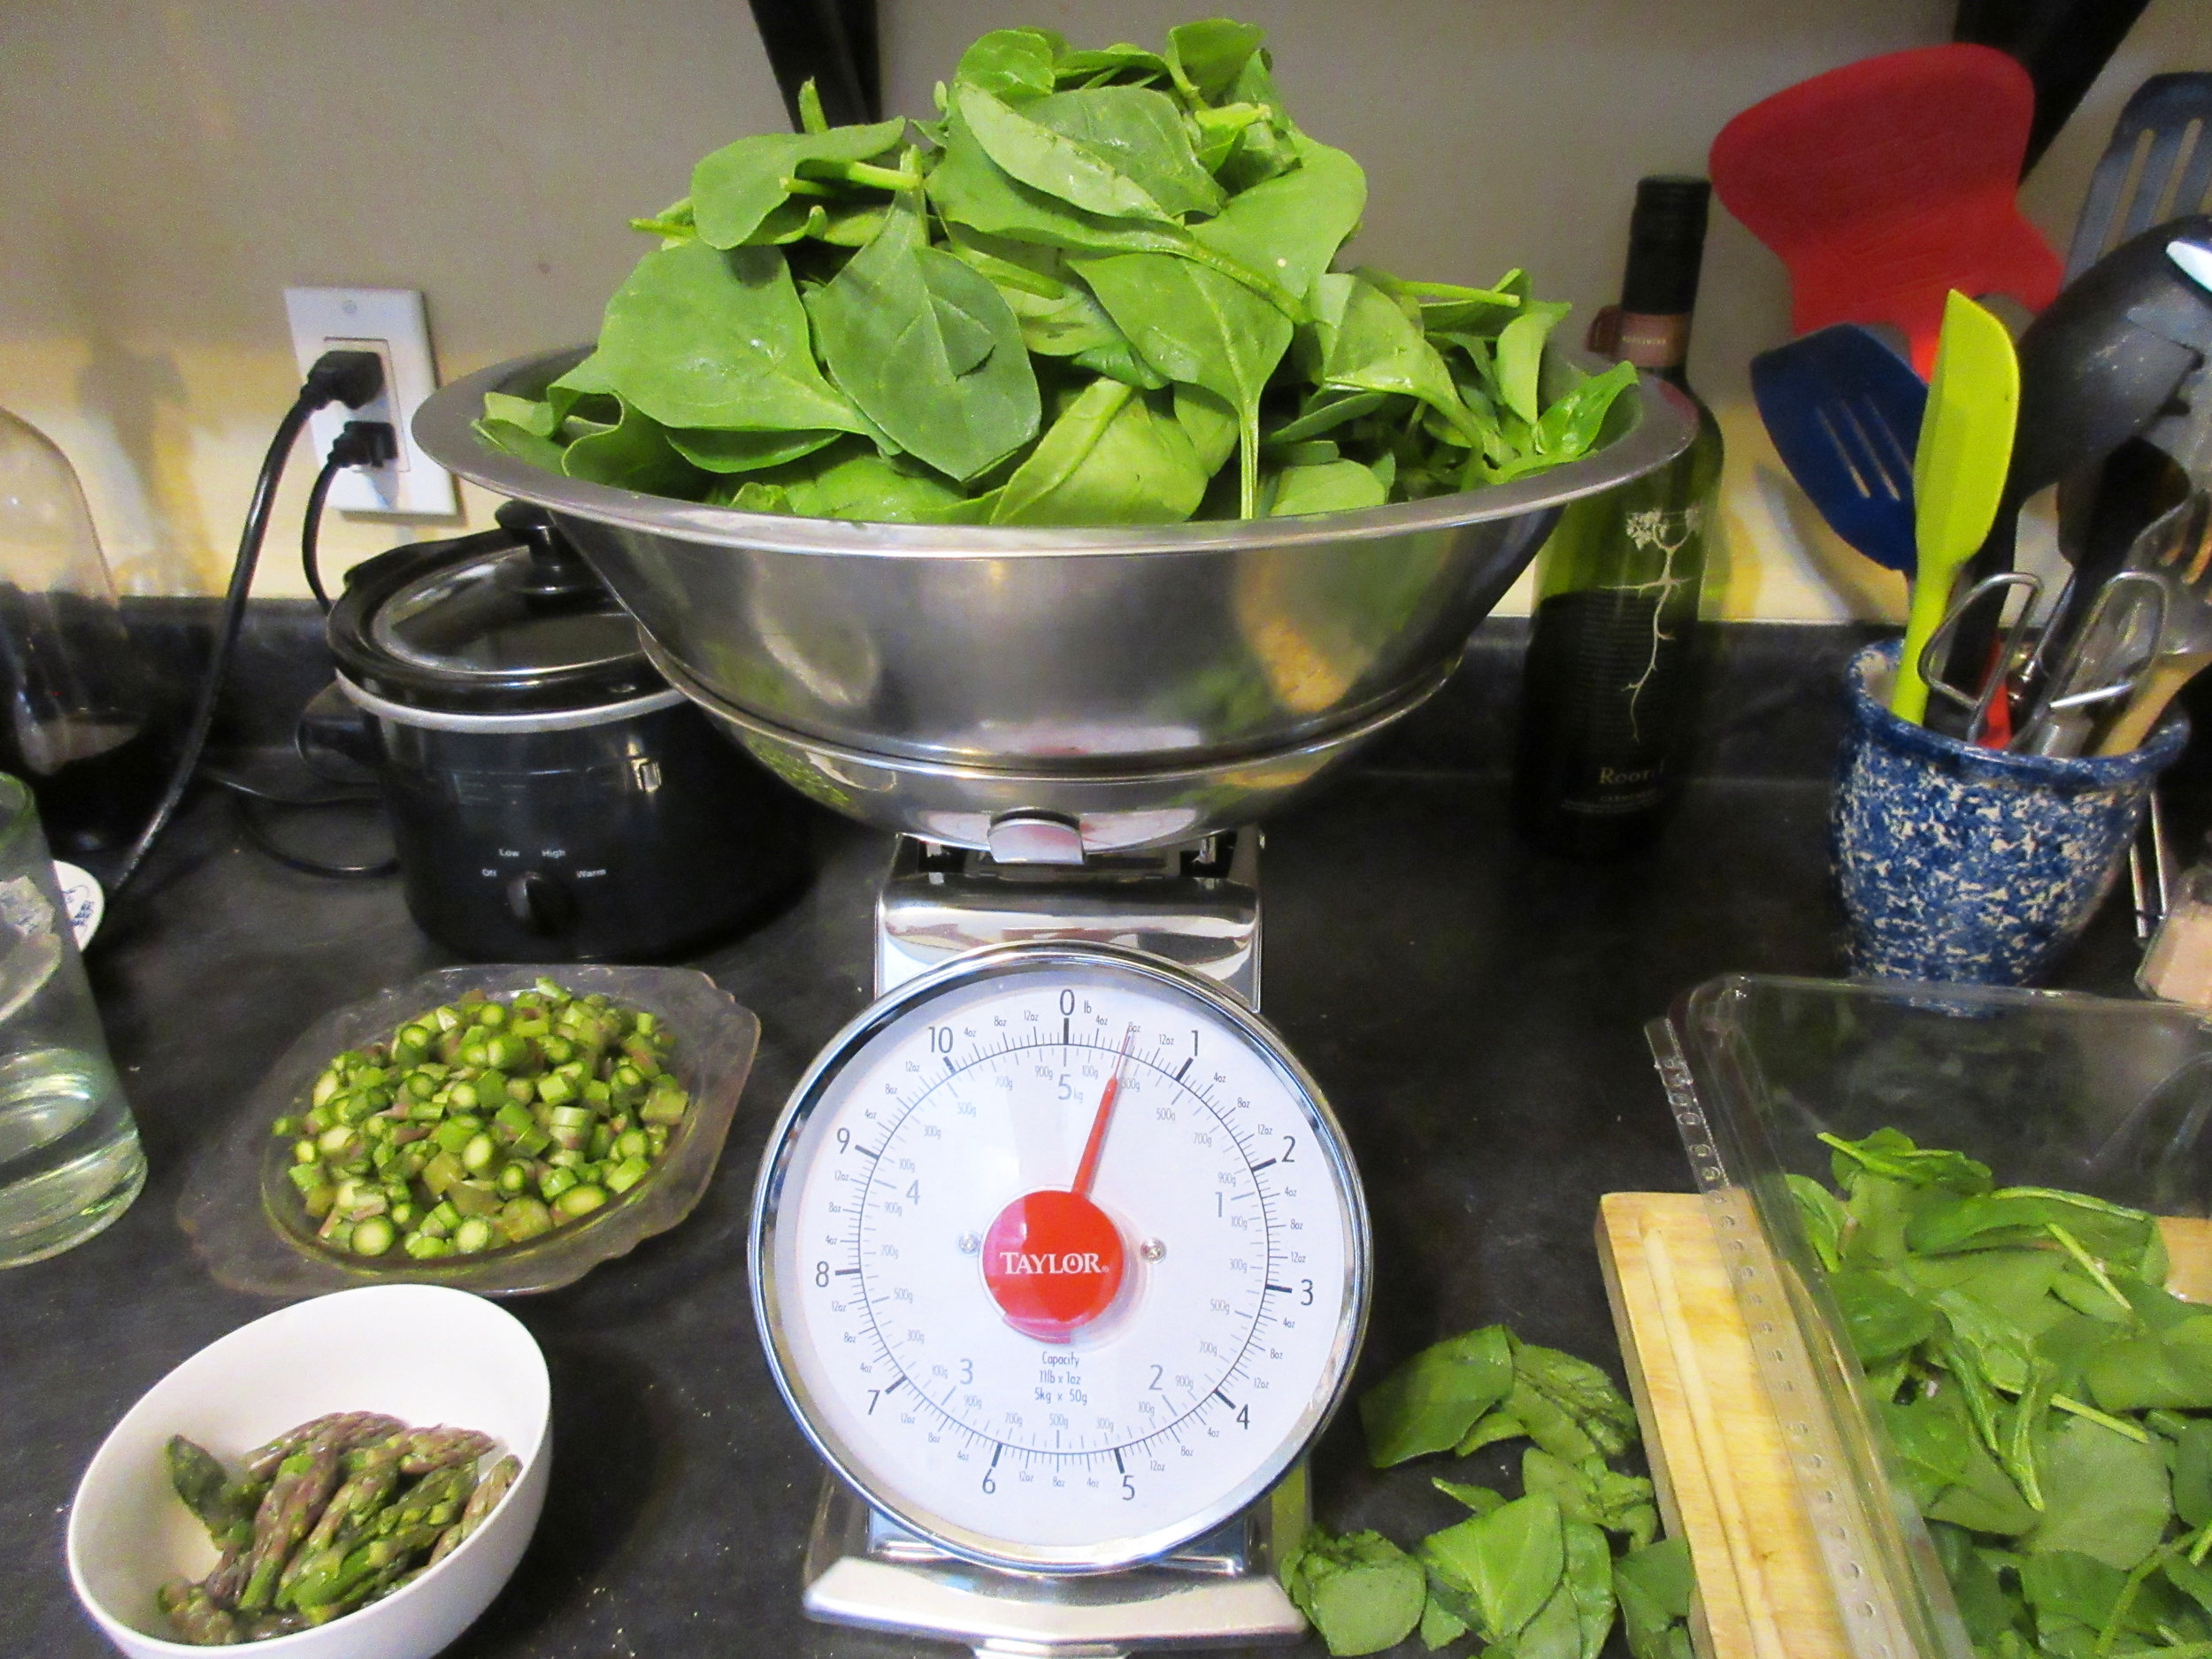
10 cups loosely packed spinach (225 g)
3 ½ cups (825 mL) vegetable stock, chicken stock or water
1 tbsp butter or oil
1 ½ tbsp flour
1 tbsp cream or milk
3 ½ cups (825 mL) milk
salt and pepper to taste (I tried ½ tsp salt and a few shakes of pepper)
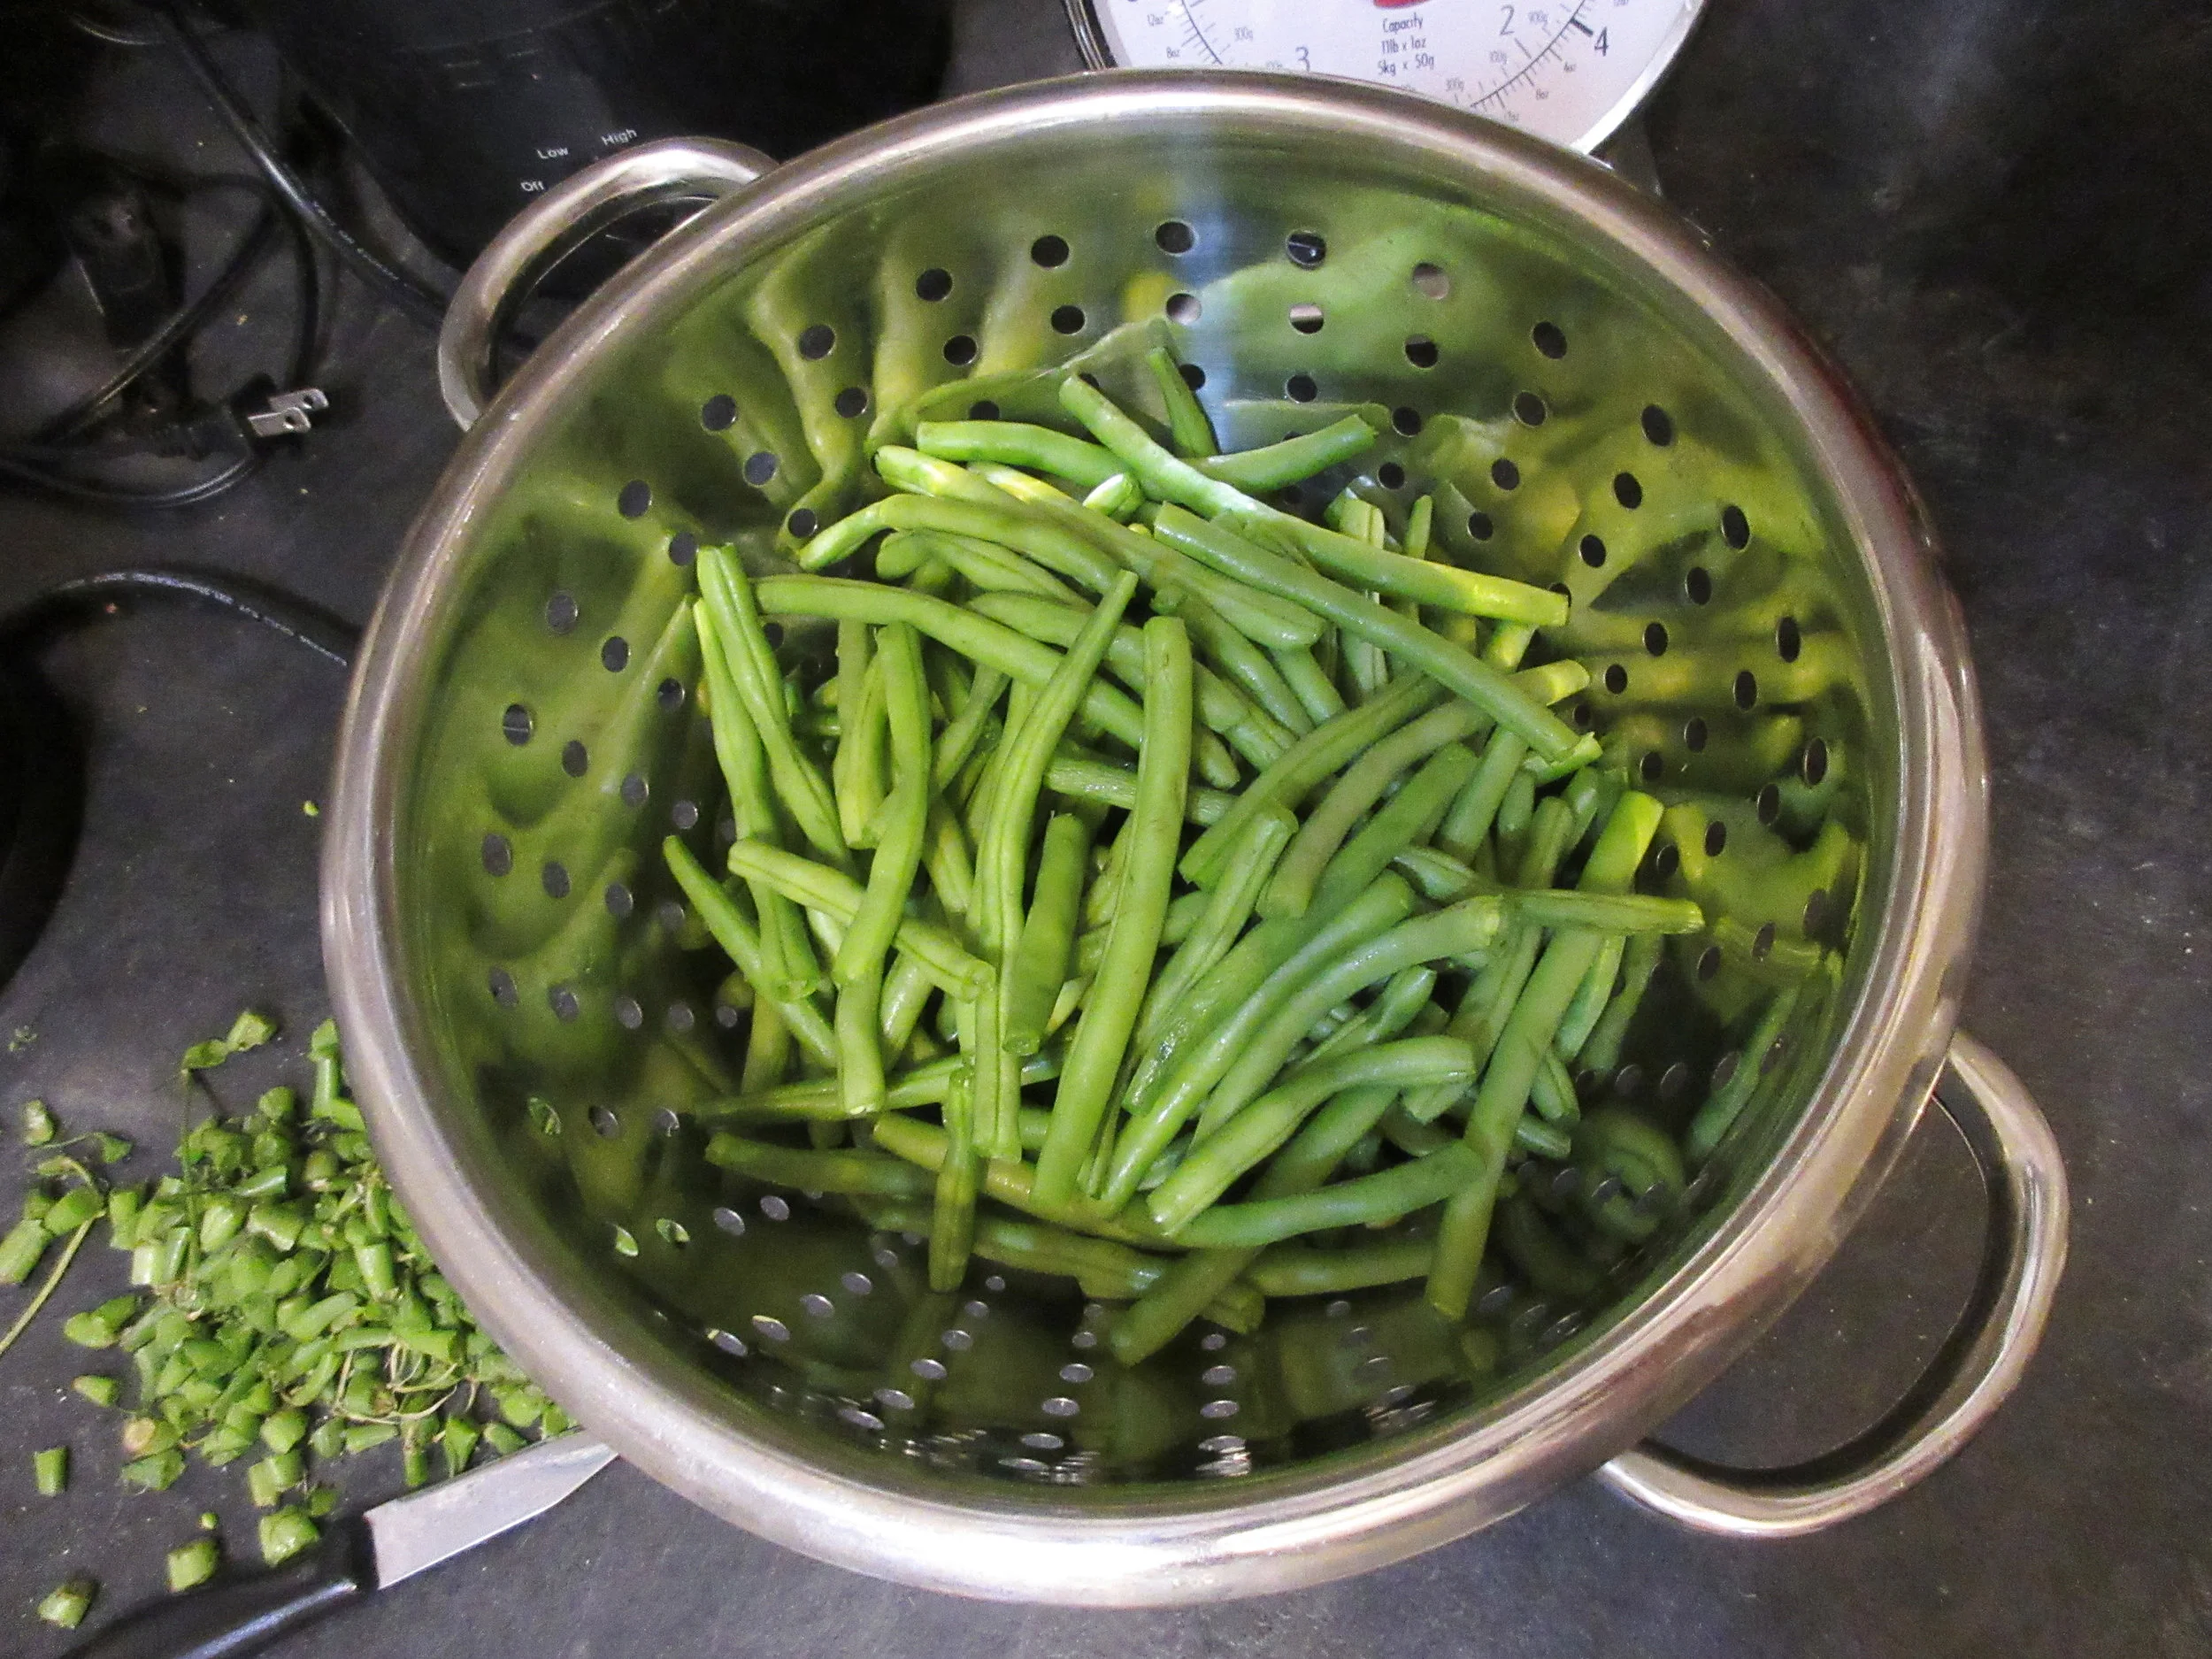
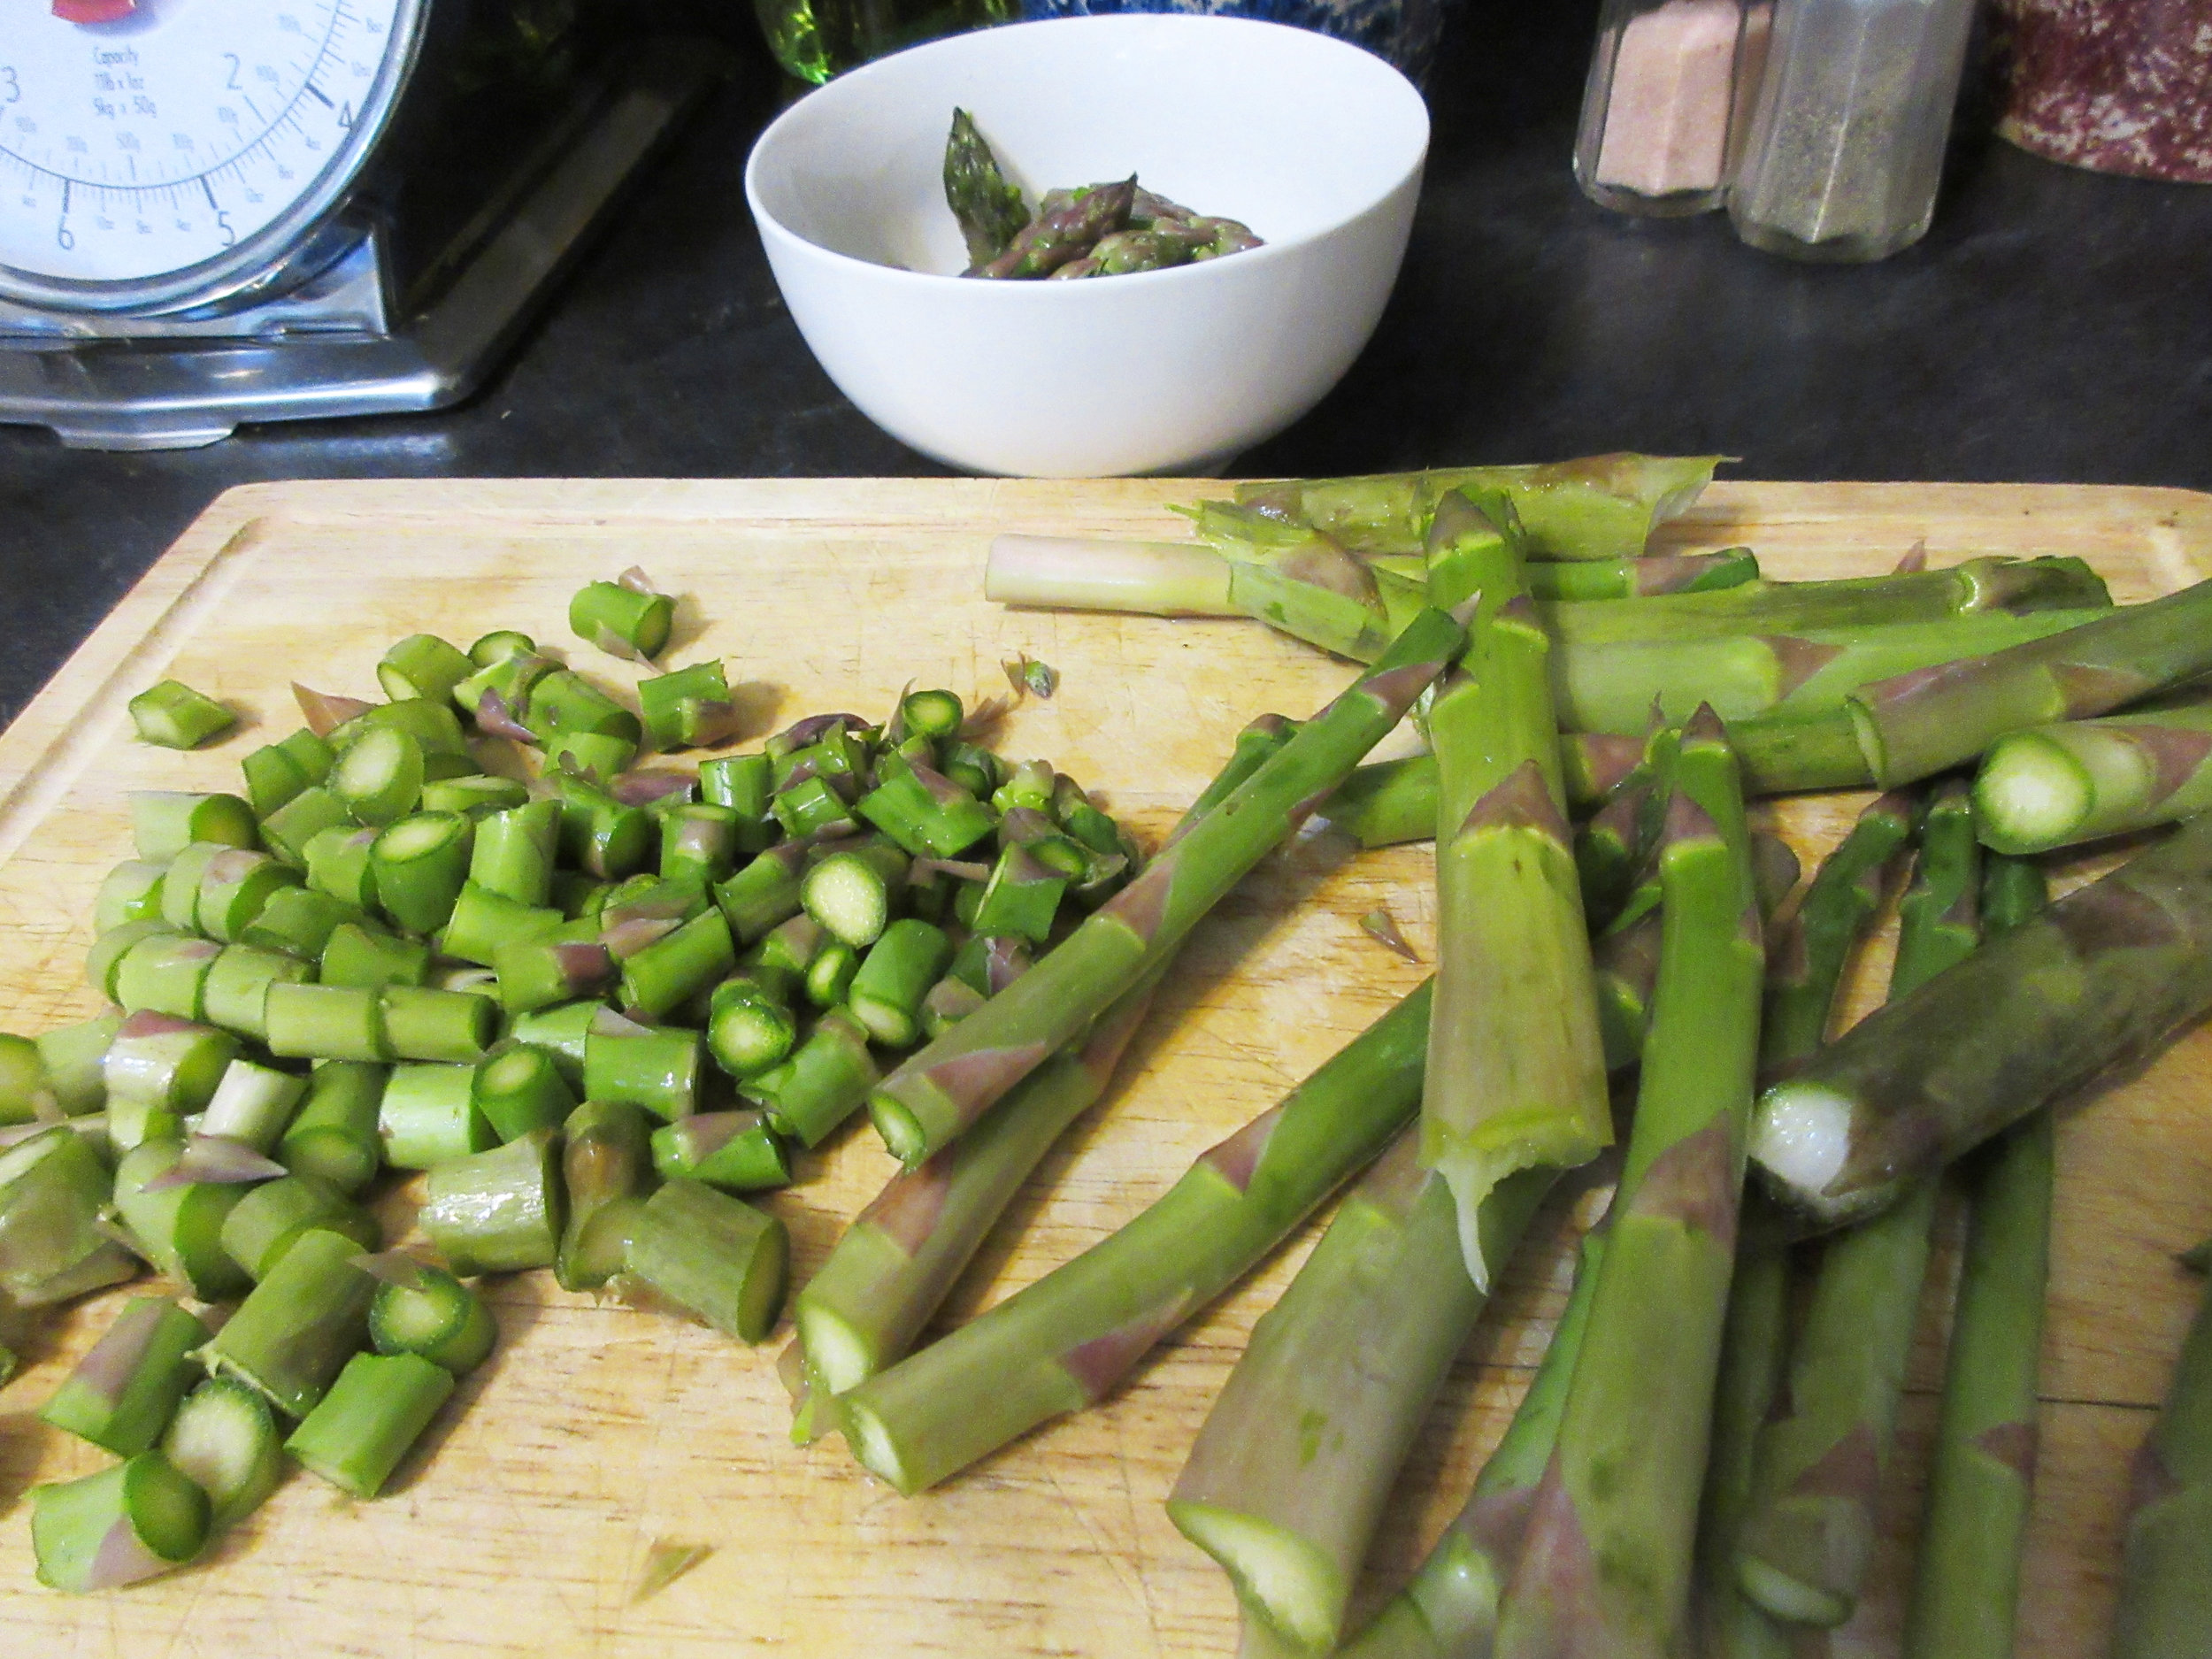
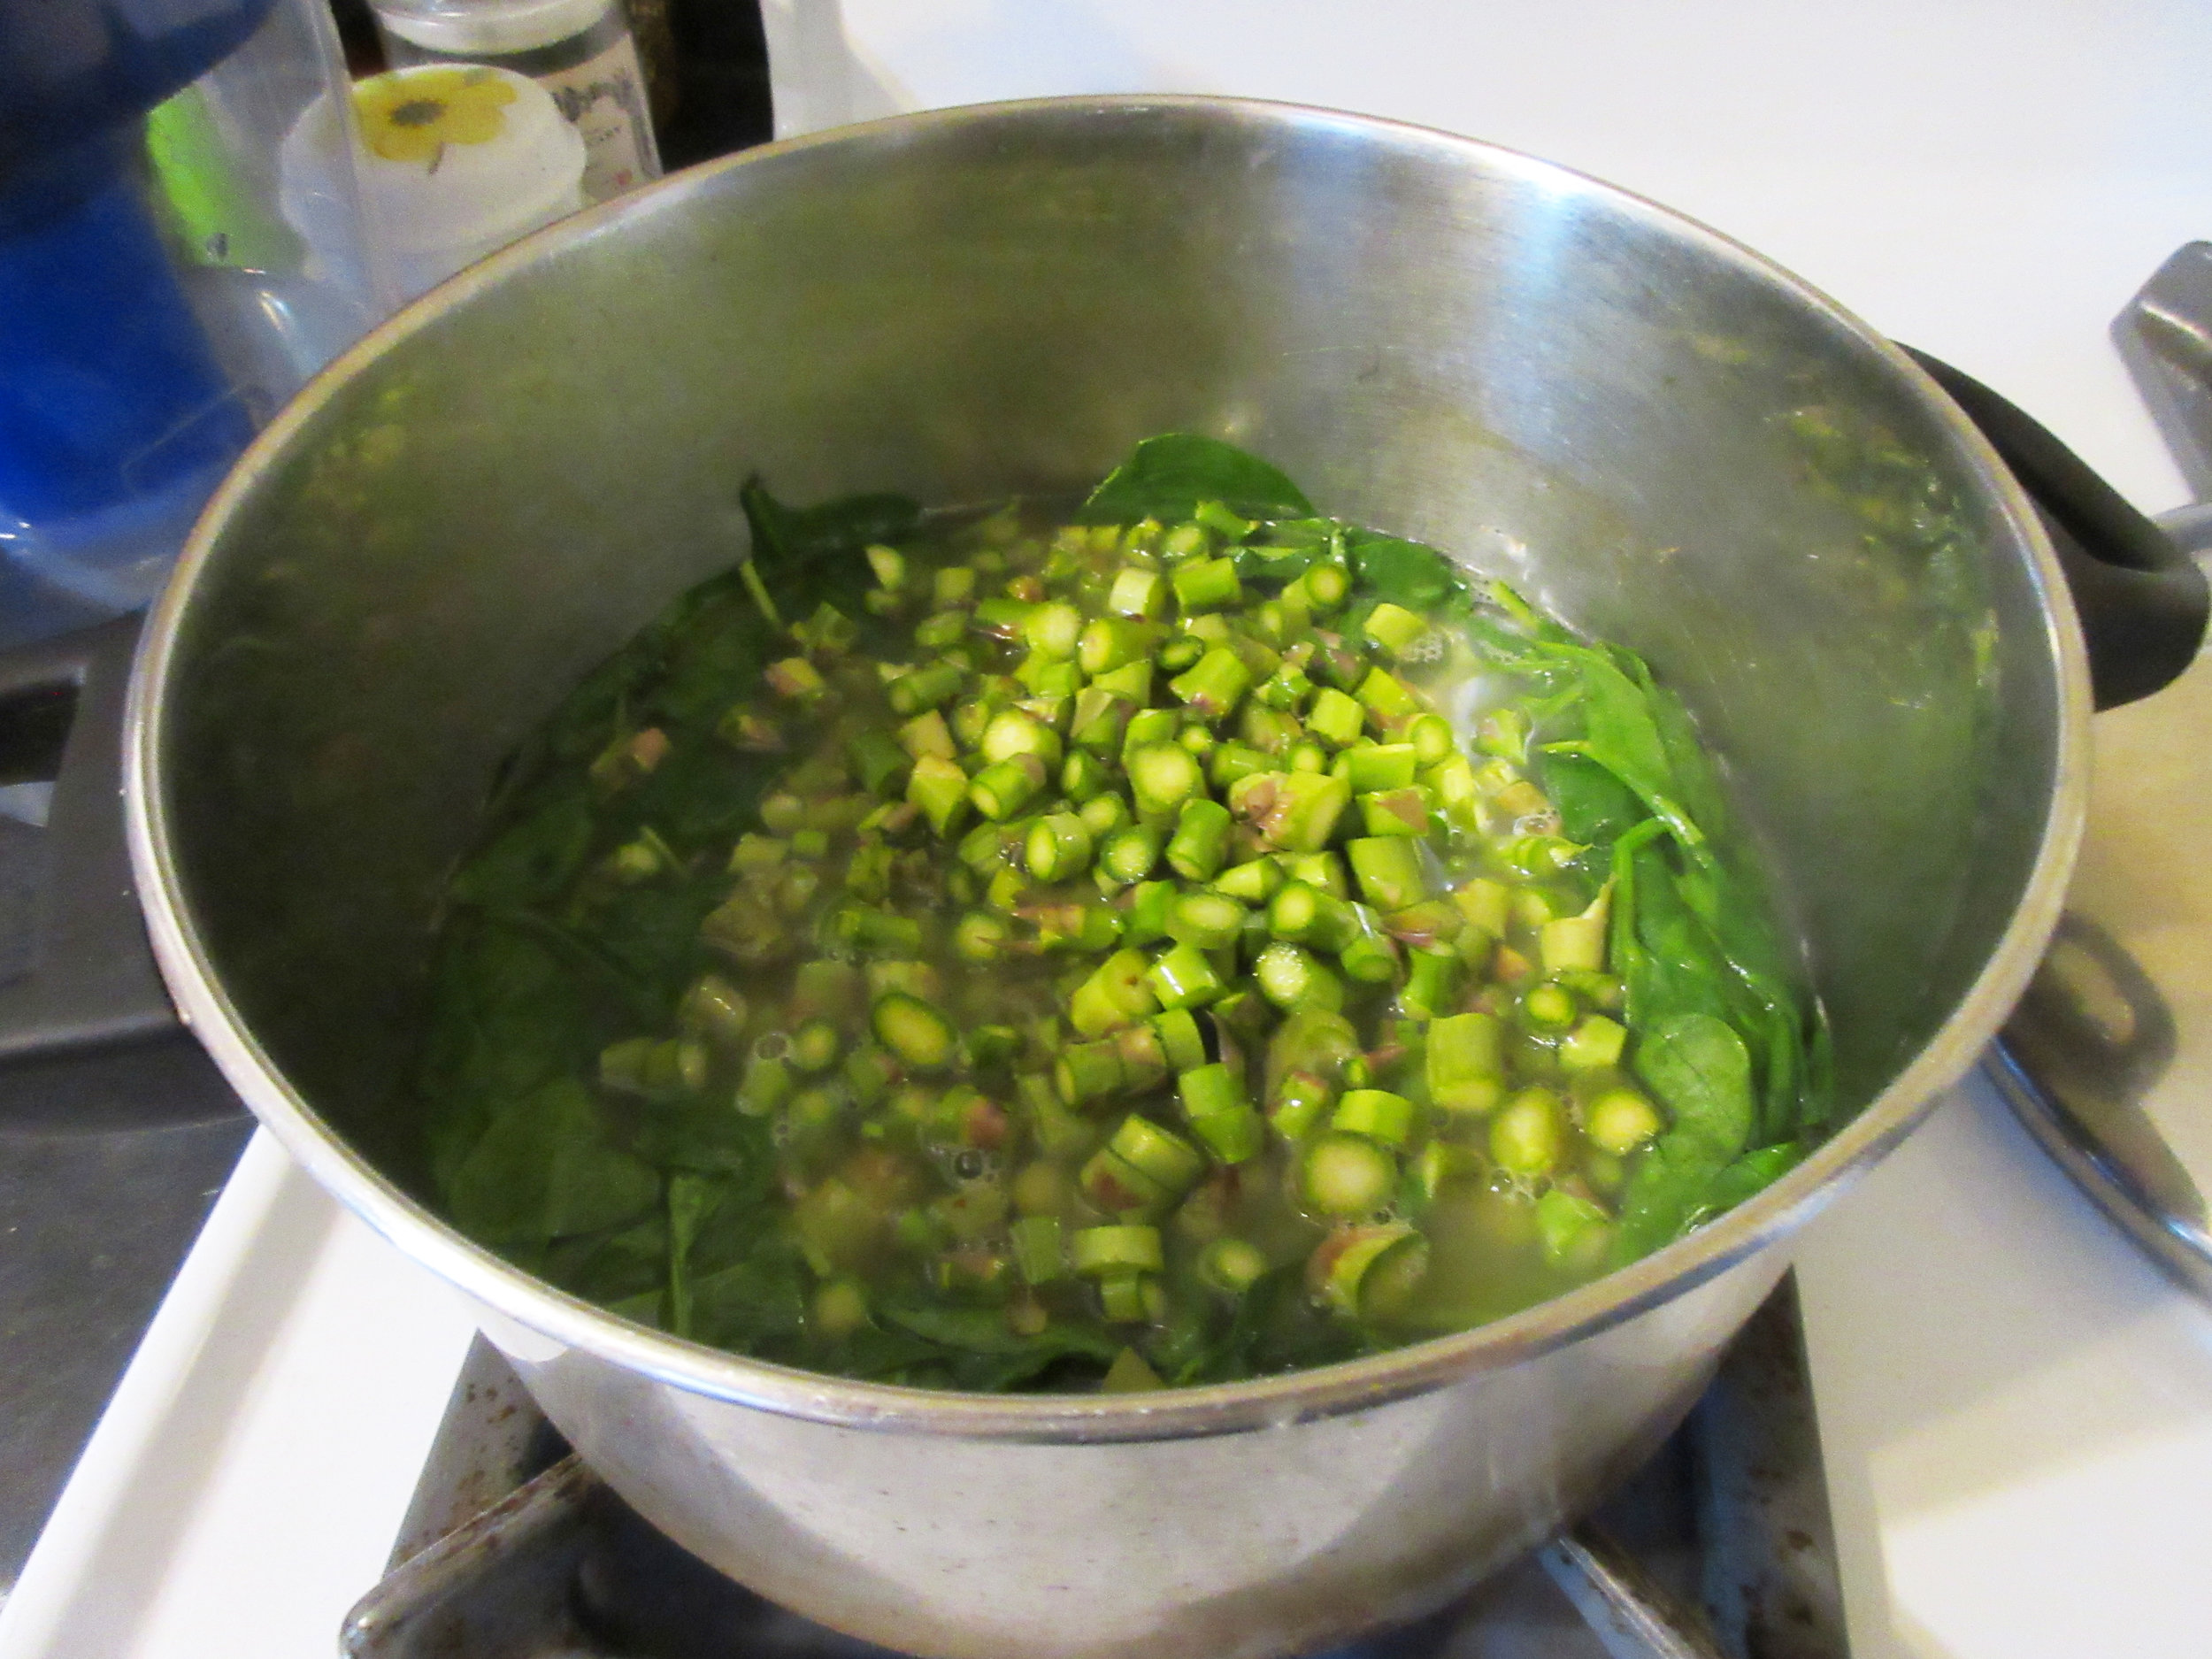
1) Wash the spinach and asparagus. Cut off the asparagus tips and set them aside, then snap off the tough bottoms of the stalks. Chop the remaining asparagus into small pieces. Bring the stock or water to a boil in a large pot, then add the asparagus slices and spinach. Reduce heat and simmer until tender in a covered pot.
2) In the meantime, boil or steam the asparagus tips in a small pot. Drain and set aside when tender.
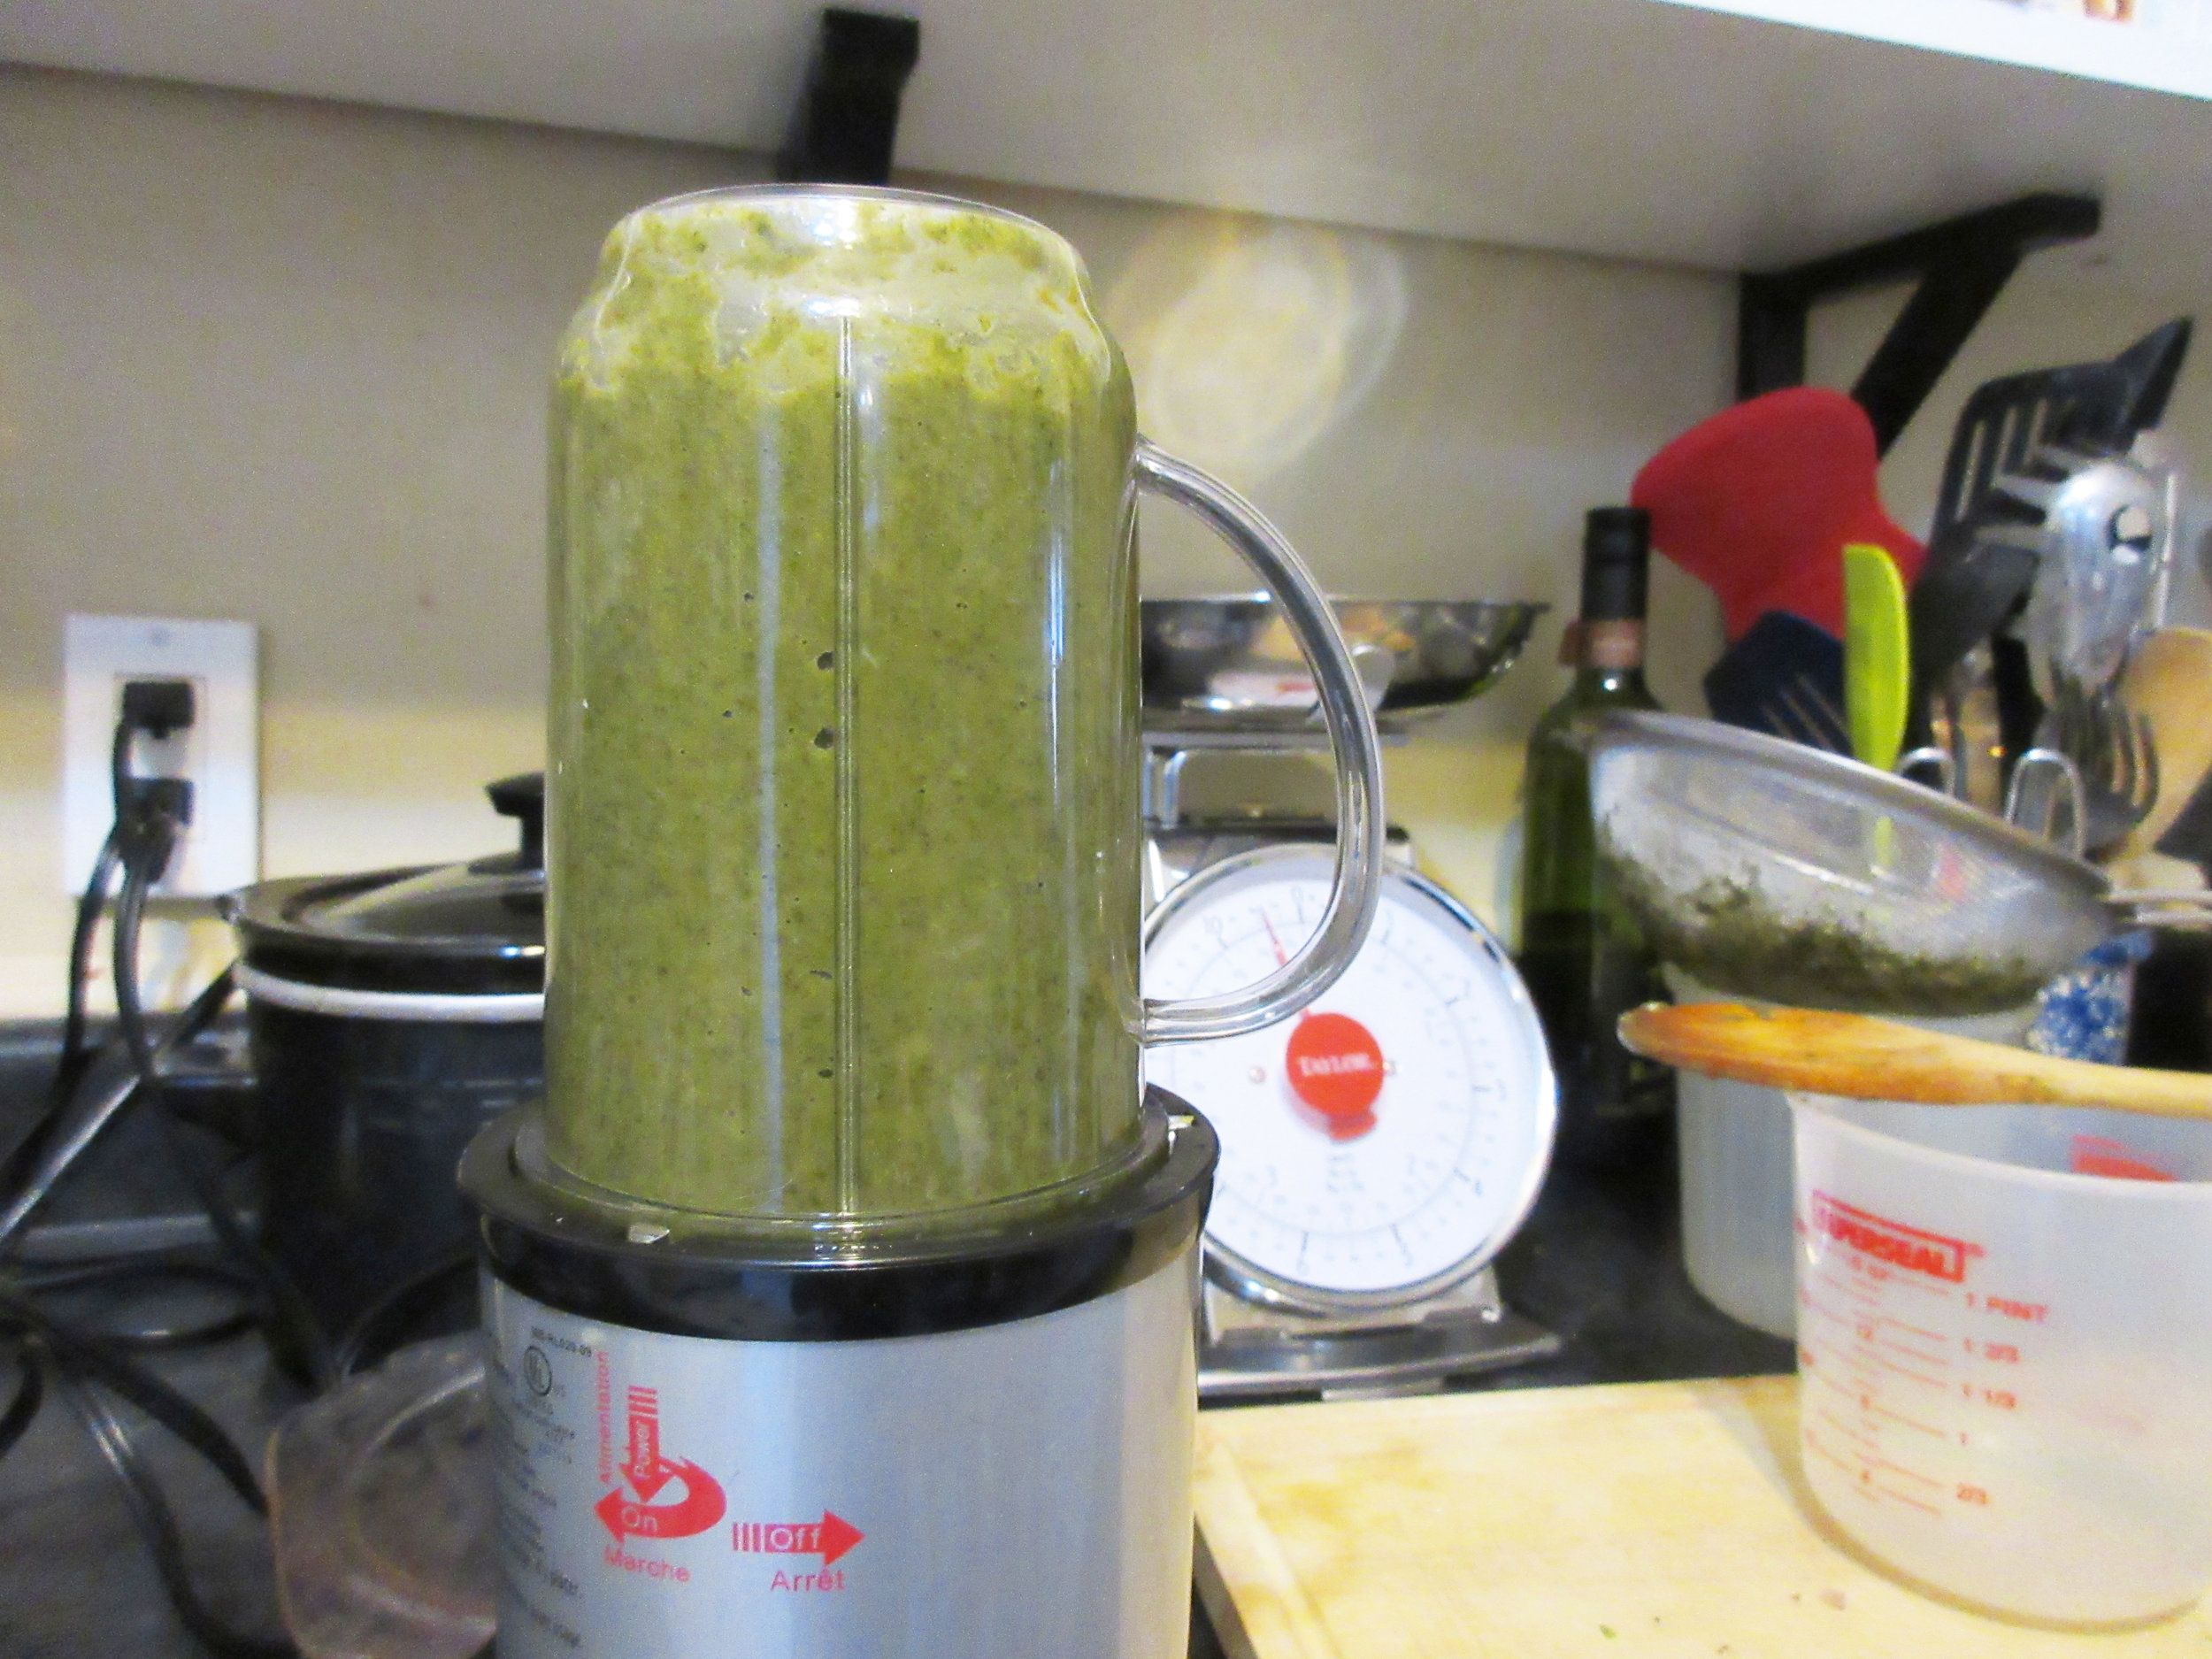
3) Once the spinach and asparagus slices are cooked, transfer these vegetables and the remaining stock or water from the pot to a blender and purée.
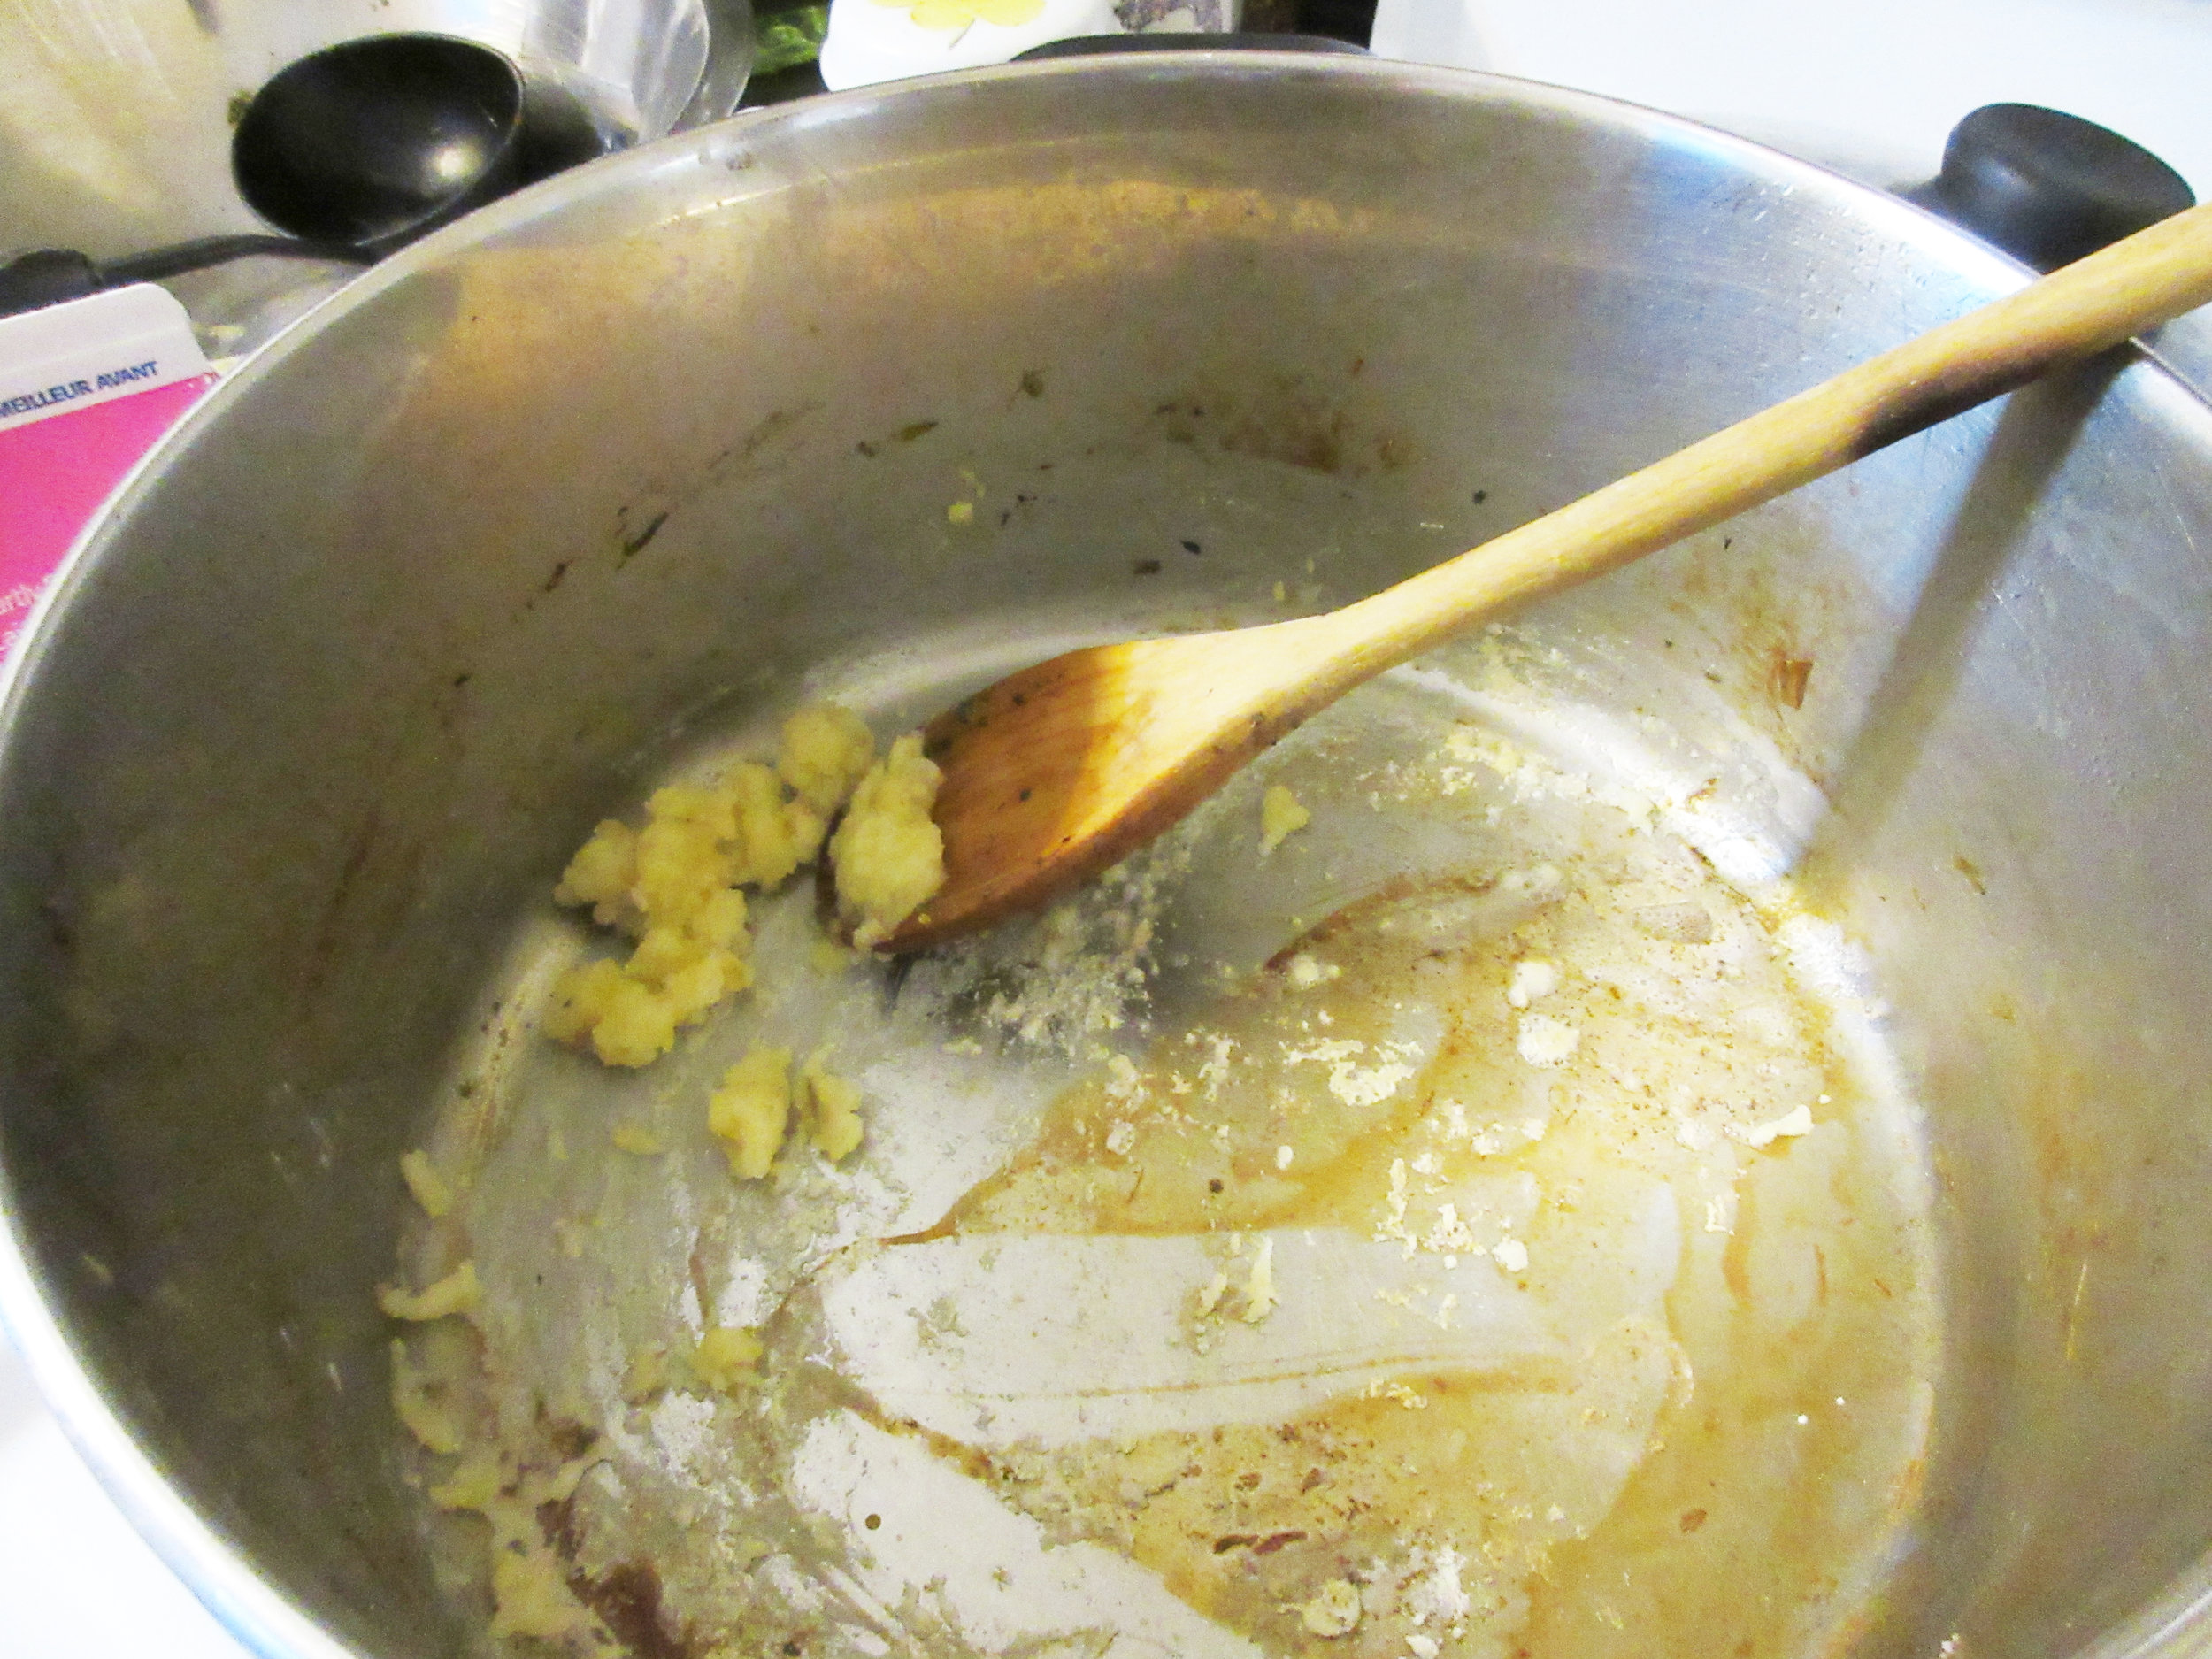
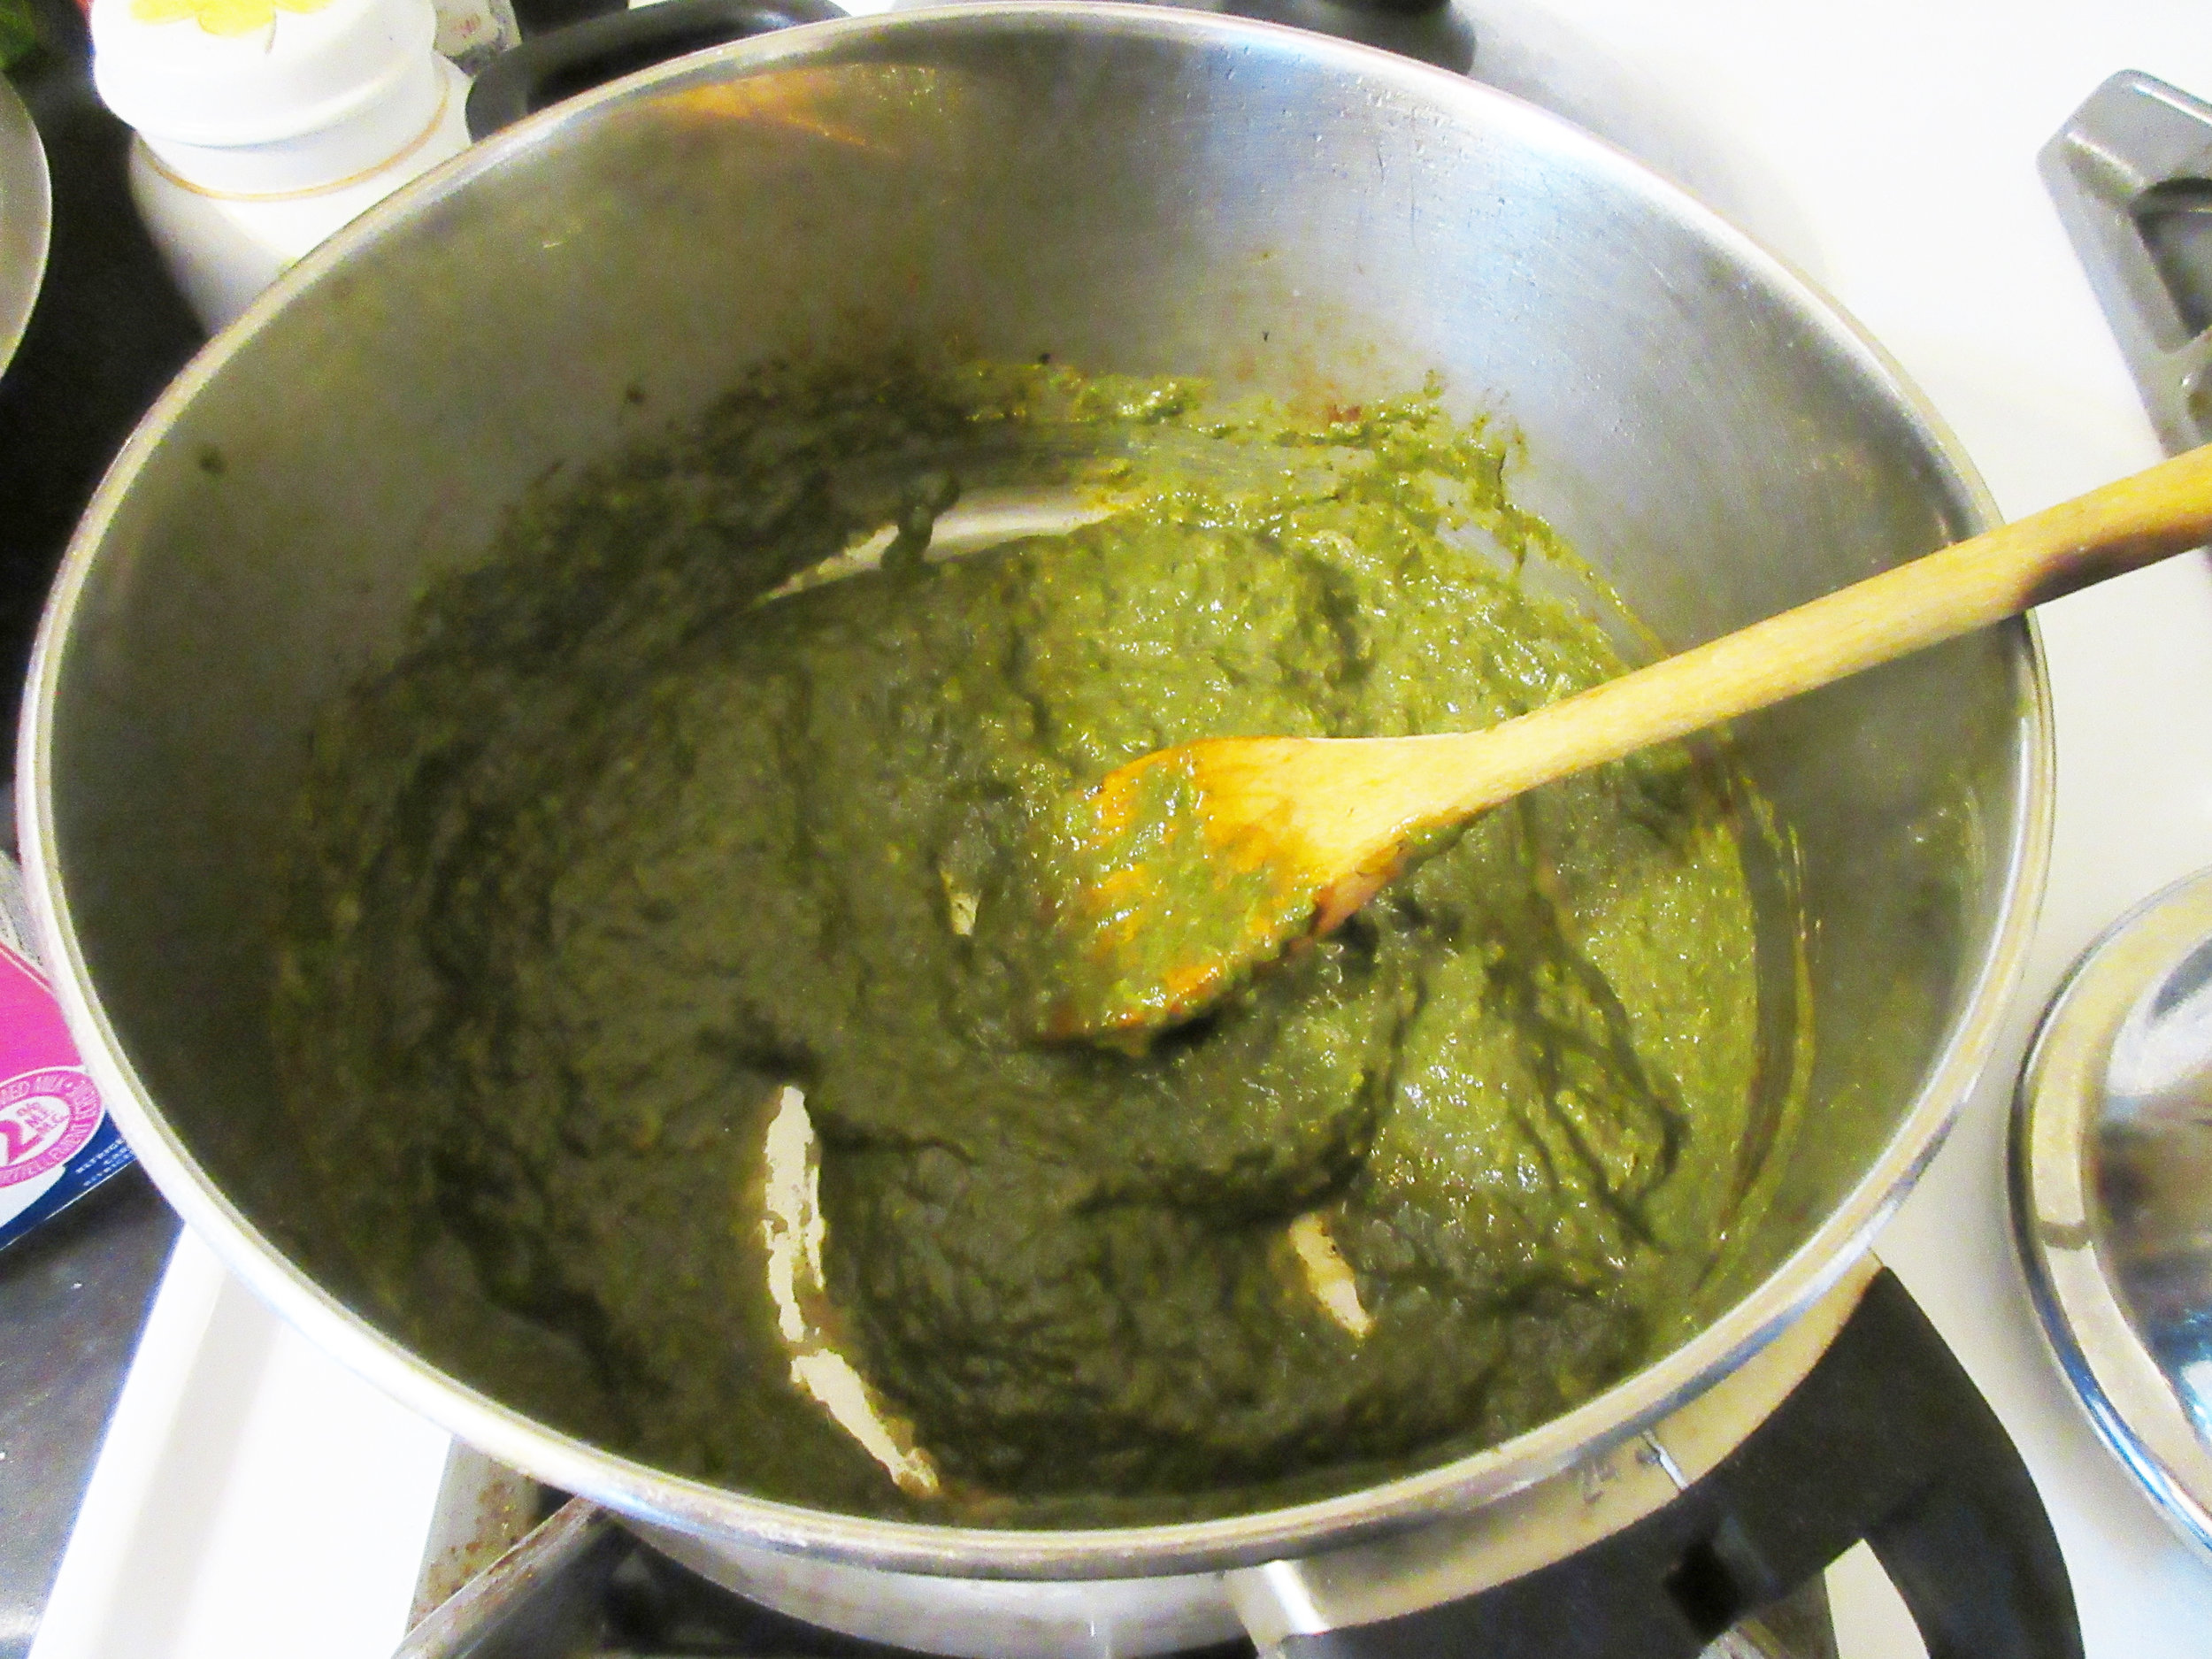
4) Melt the butter in the large pot over low heat, mix in the flour, then stir in 1 tbsp of milk or cream. Slowly add the spinach and asparagus purée, stirring well to avoid flour lumps. Once all the purée has been added to the pot, gradually stir in the milk, then season to taste with salt and pepper.
5) Bring the soup back up to temperature, then serve. If you're serving the soup directly into bowls, you can divvy up the asparagus tips between the bowls, or you can just add the tips to the soup.
My notes: I've made contemporary soup recipes where I pushed cooked vegetables through a sieve, so I followed the historic recipe fairly closely. I boiled the stock, asparagus and spinach for the advised 40 minutes, then tried pushing it through my "fine sieve" with a spatula and wooden spoon. It didn't work very well at all! Most of my vegetables stayed on the inside of the sieve and only a green liquid passed through. Maybe my fine sieve is finer than sieves of the 1920s? I thought it was a huge waste of nutrients and flavour to only use the green liquid, so I opted for blenderizing the vegetables and stock instead.
The spinach in this soup provides the vibrant green colour, but most of the flavour comes from the asparagus. Having the tender asparagus tips floating in the puréed soup provides a nice variety in the texture and a flavour pop to boost. The original recipe states that it makes enough soup for 4 or 5 people, but I'd say that it makes enough soup for you and a couple of friends to enjoy a soup course before your meal.
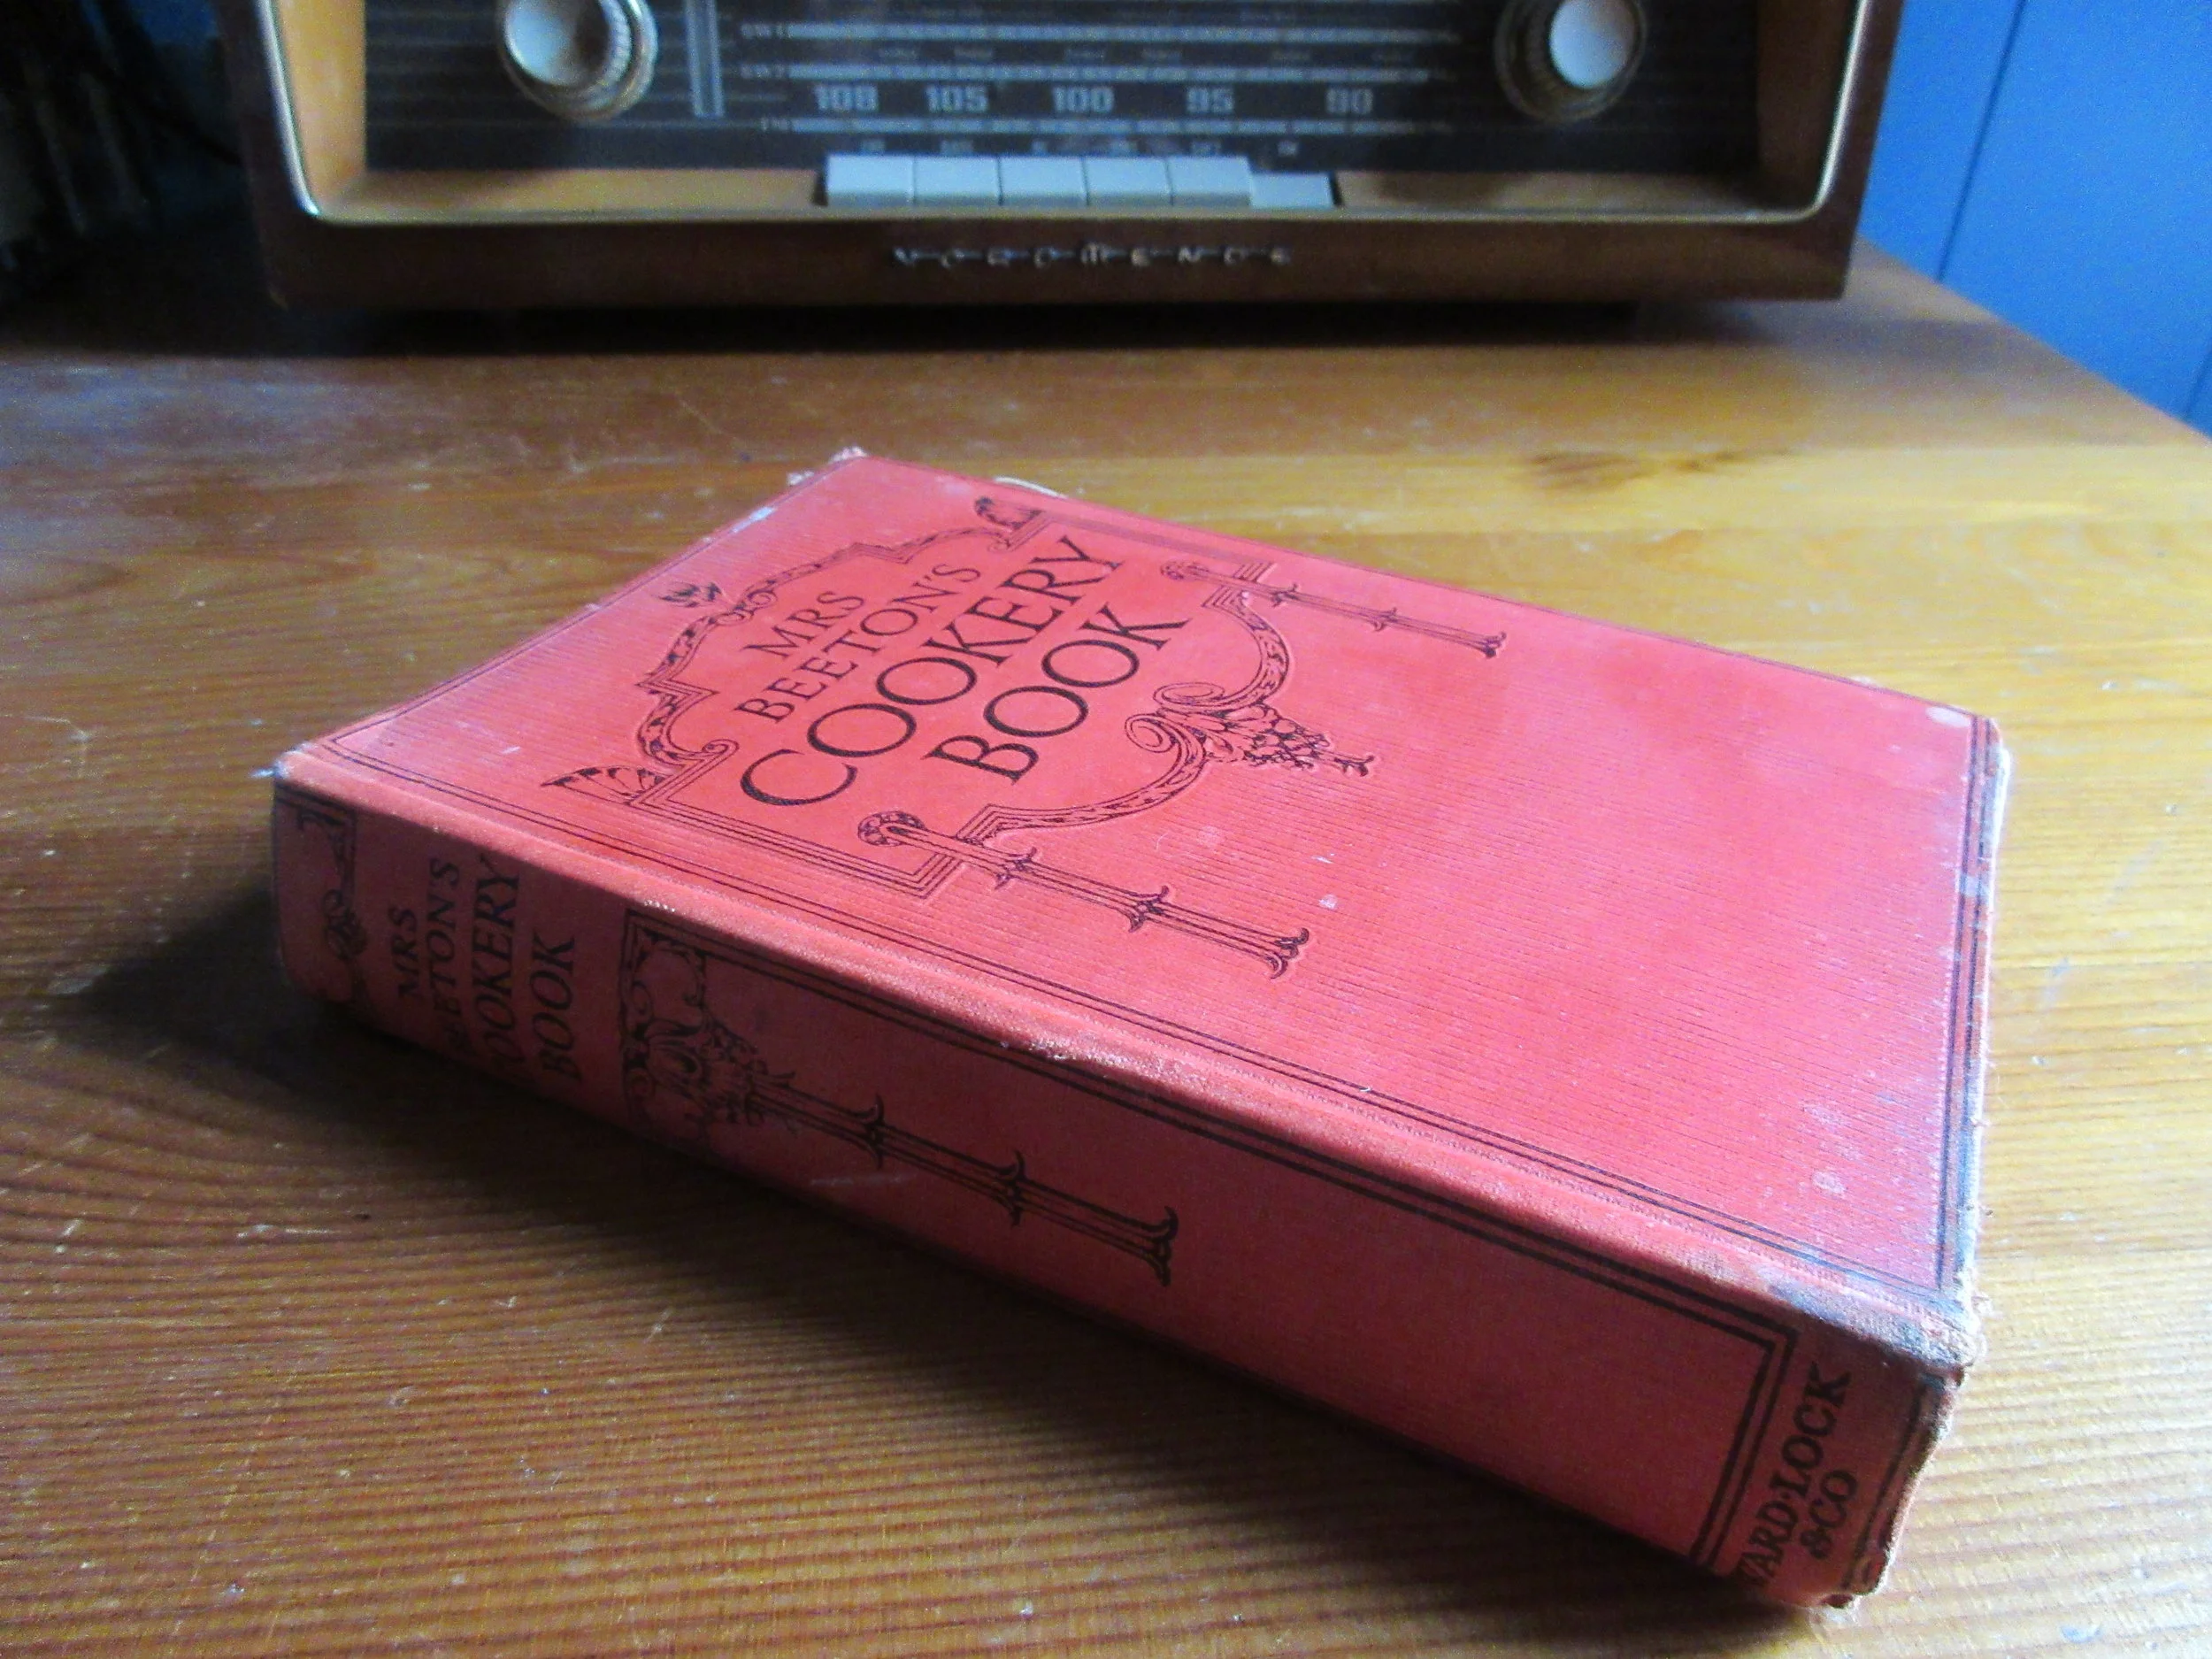
The strange thing about this edition of Mrs. Beeton's Cookery Book is there's no publication date printed inside! The internet mostly agrees that my copy is from the 1920s, generally either 1923 or 1925. Asparagus Soup is on page 69.
Read the Cookbook:
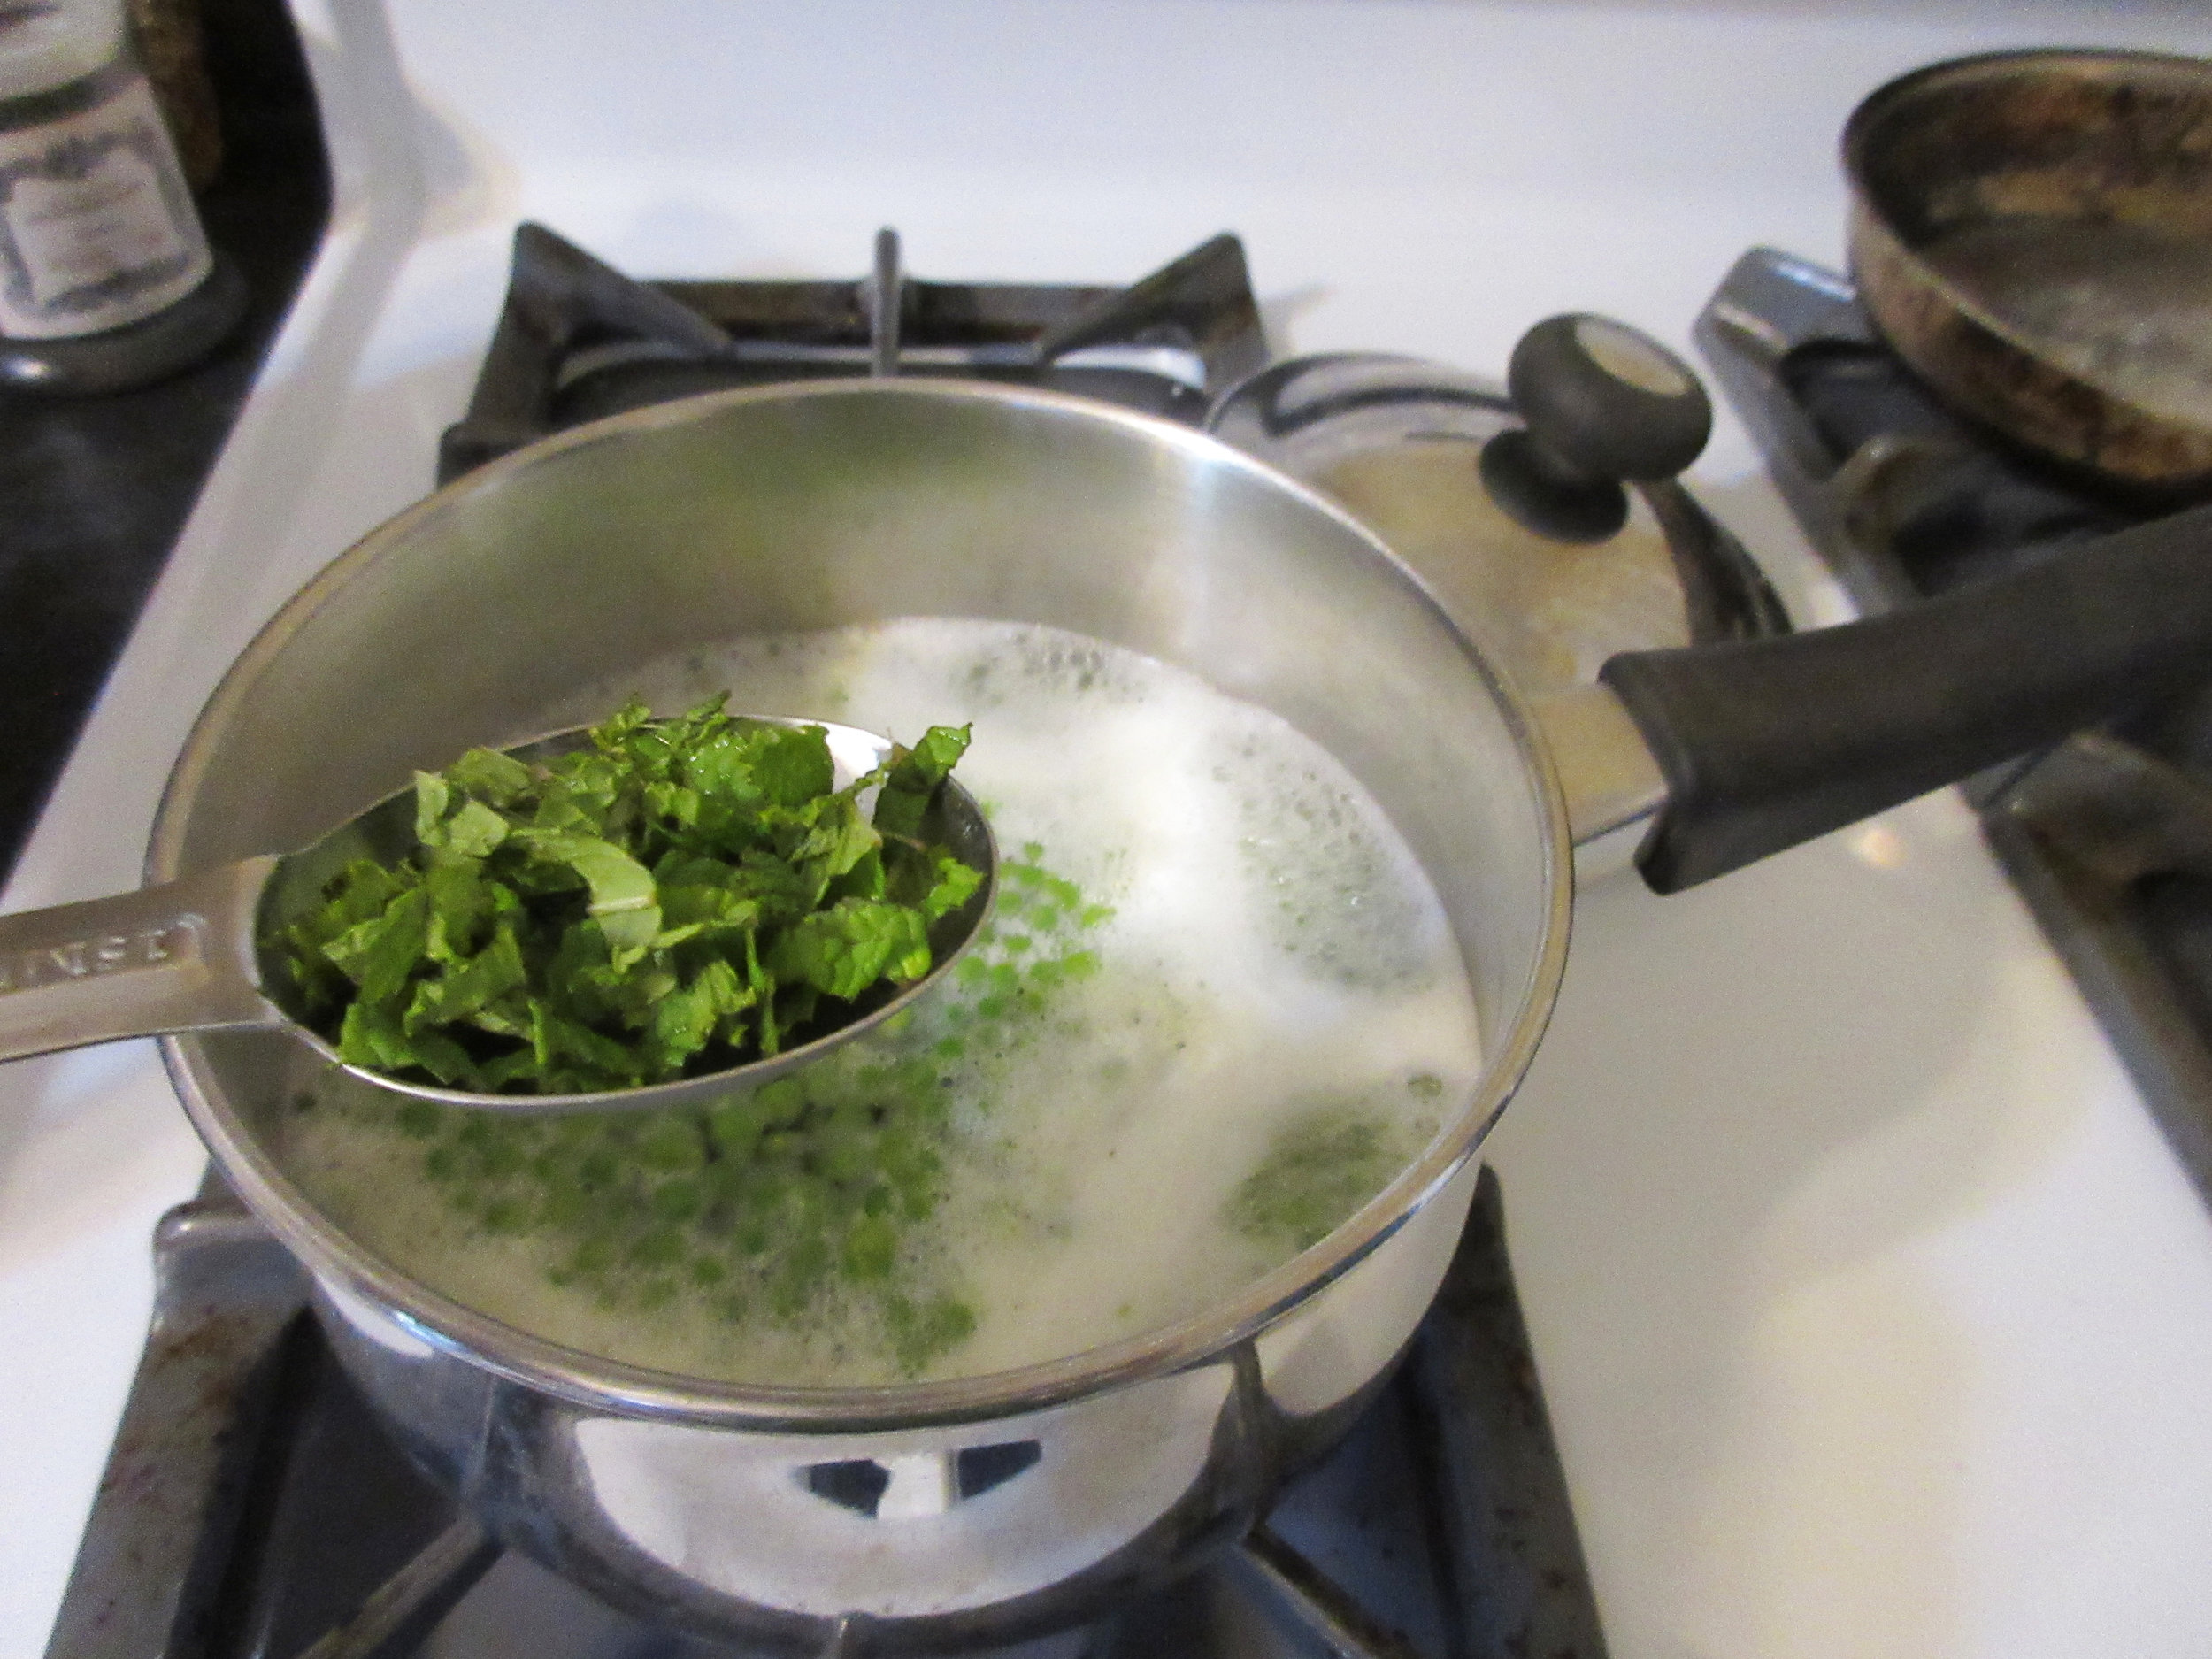
To boil green Peas
I agree, the name of this recipe doesn't sound very exciting. To boil green Peas? Really, what you end up with is green peas, with a touch of fresh mint, butter and salt. It's a simple, yet flavourful recipe that you'll find in American Cookery from 1796. Our authoress is Amelia Simmons (who has the tagline "An American Orphan" added to her name on the title page) and American Cookery is the first cookbook that was both written and published in the United States.

You'll find this recipe in:
American Cookery
By: Amelia Simmons
Hartford, Connecticut
1796
The Original Recipe:
To boil green Peas.
When your peas are ſhelled and the water boils which ſhould not be much more than will cover them, put them in with a few leaves of mint, as ſoon as they boil put in a piece of butter as big as a walnut, and ſtir them about, when they are done enough, ſtrain them off, and ſprinkle in a little ſalt, ſhake them till the water drains off, ſend them hot to the table with melted butter in a cup or boat.
My Recipe:
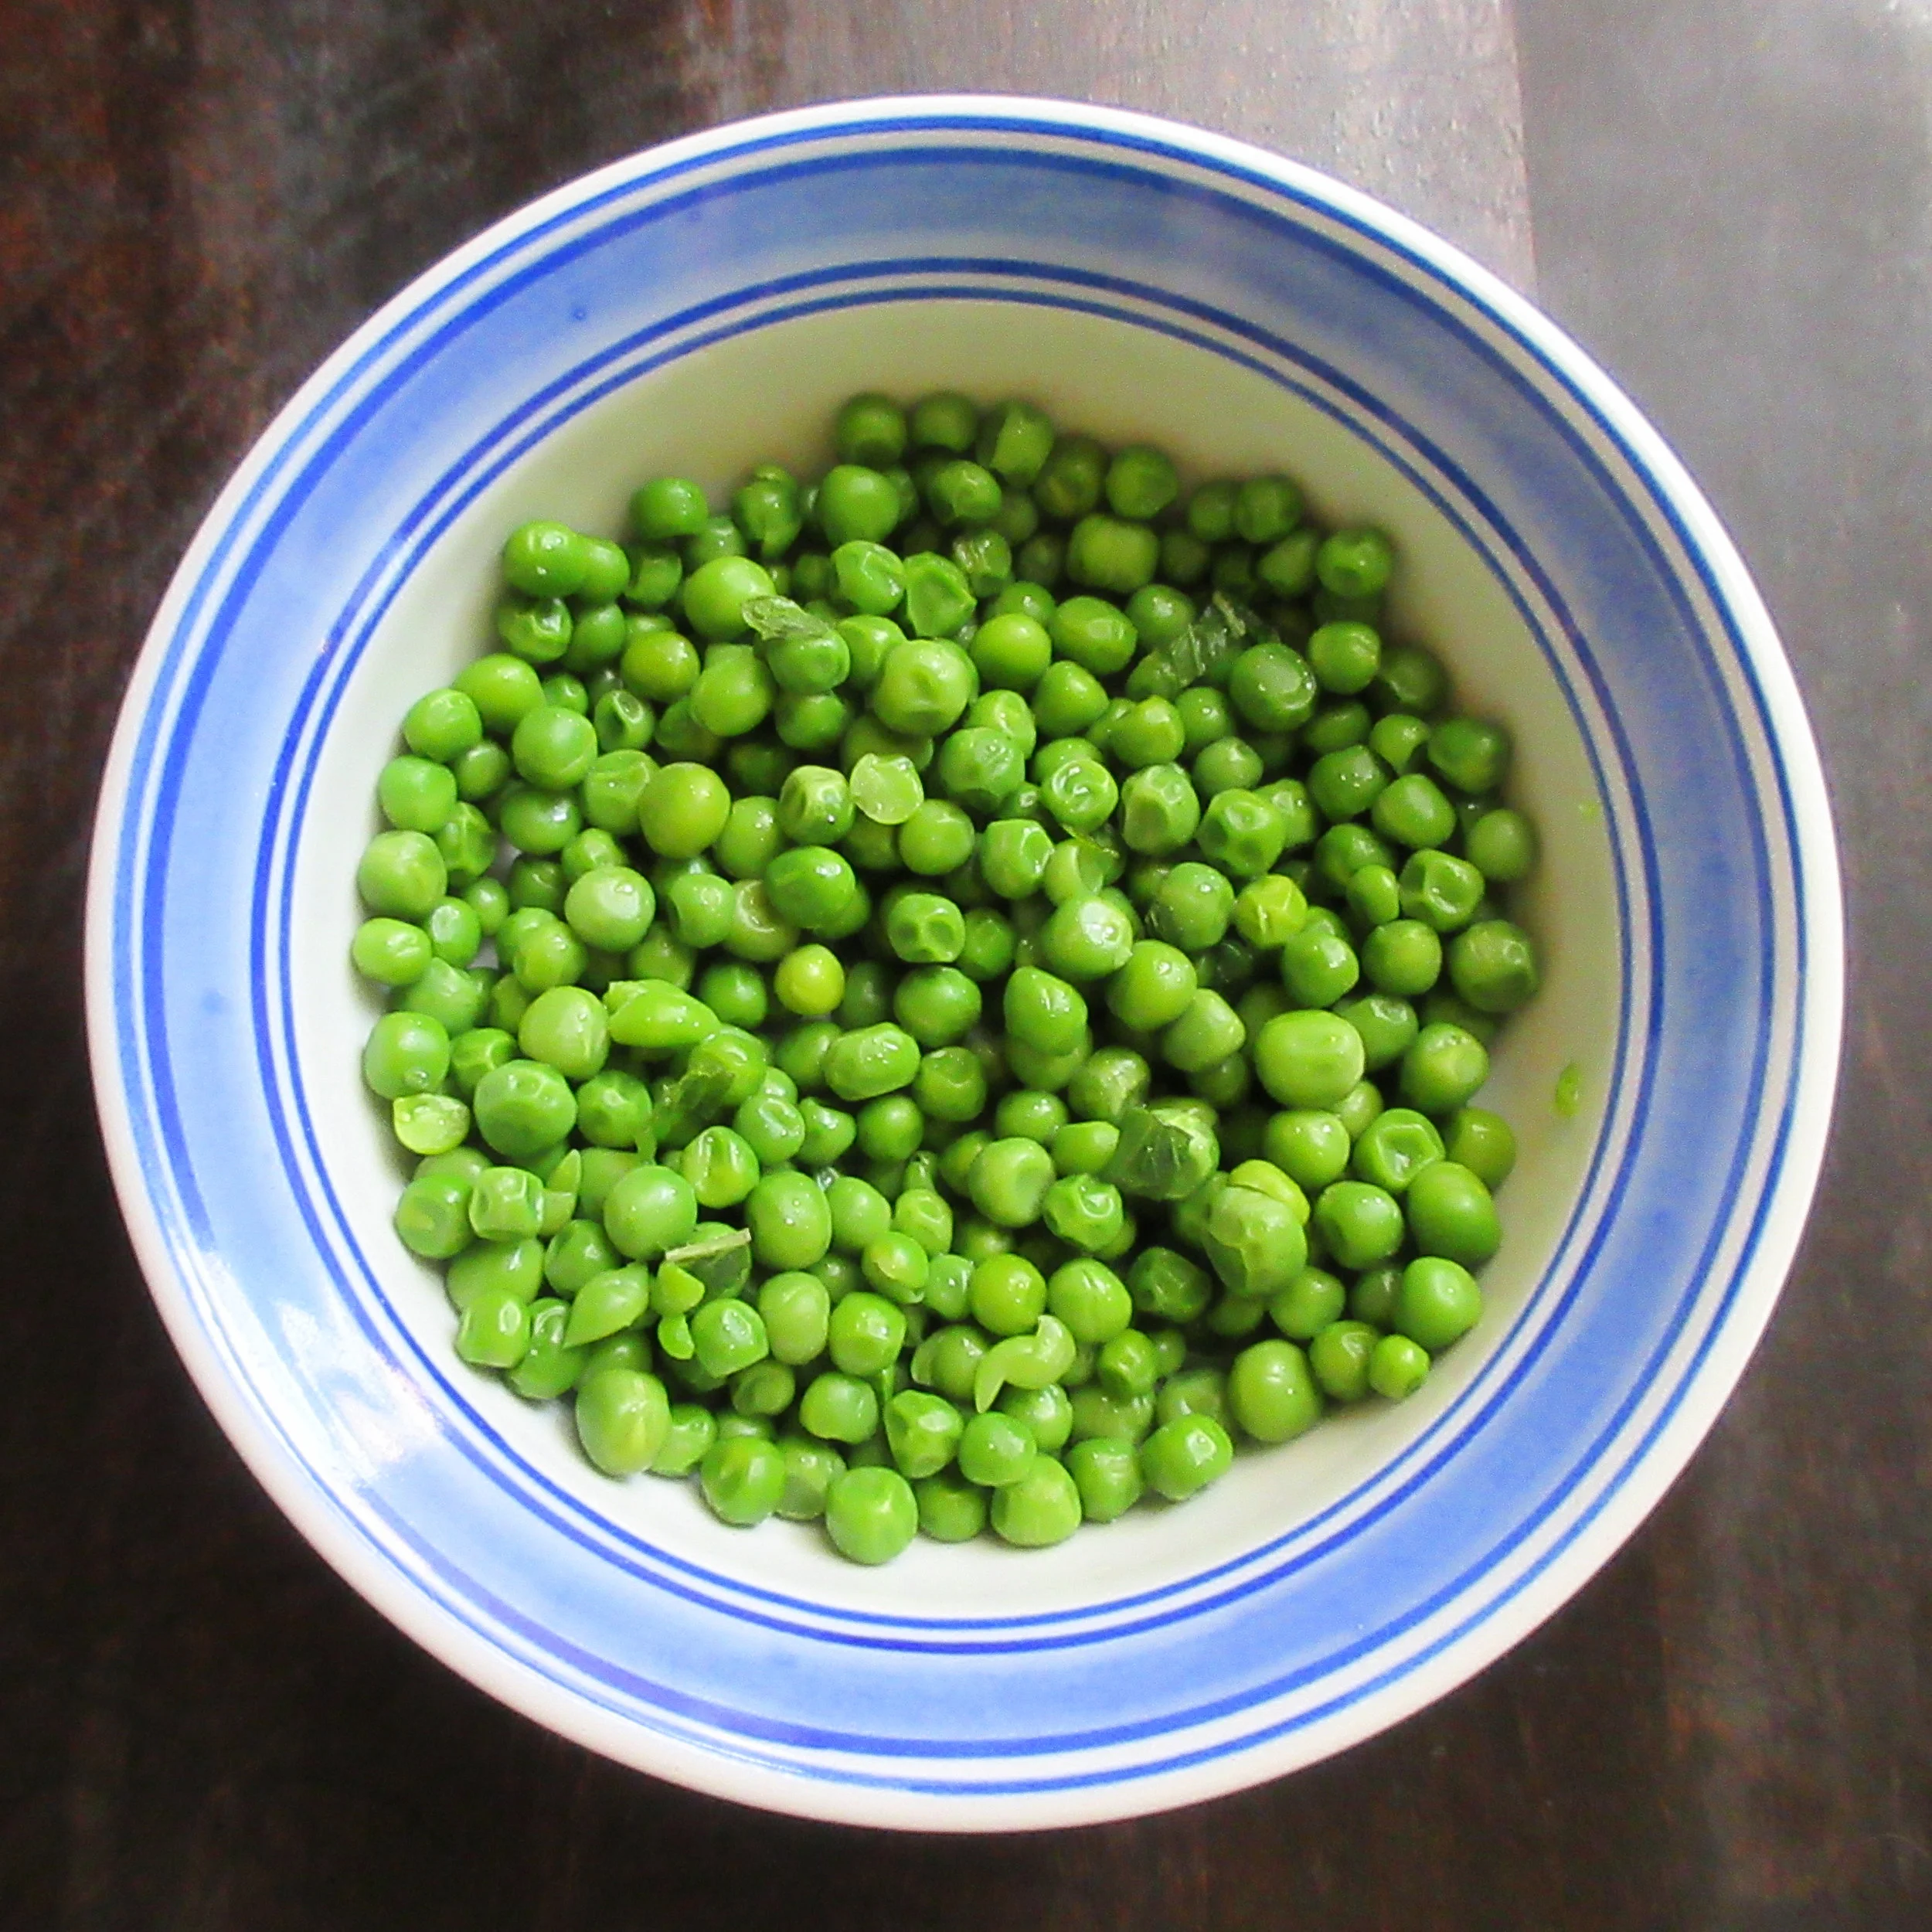
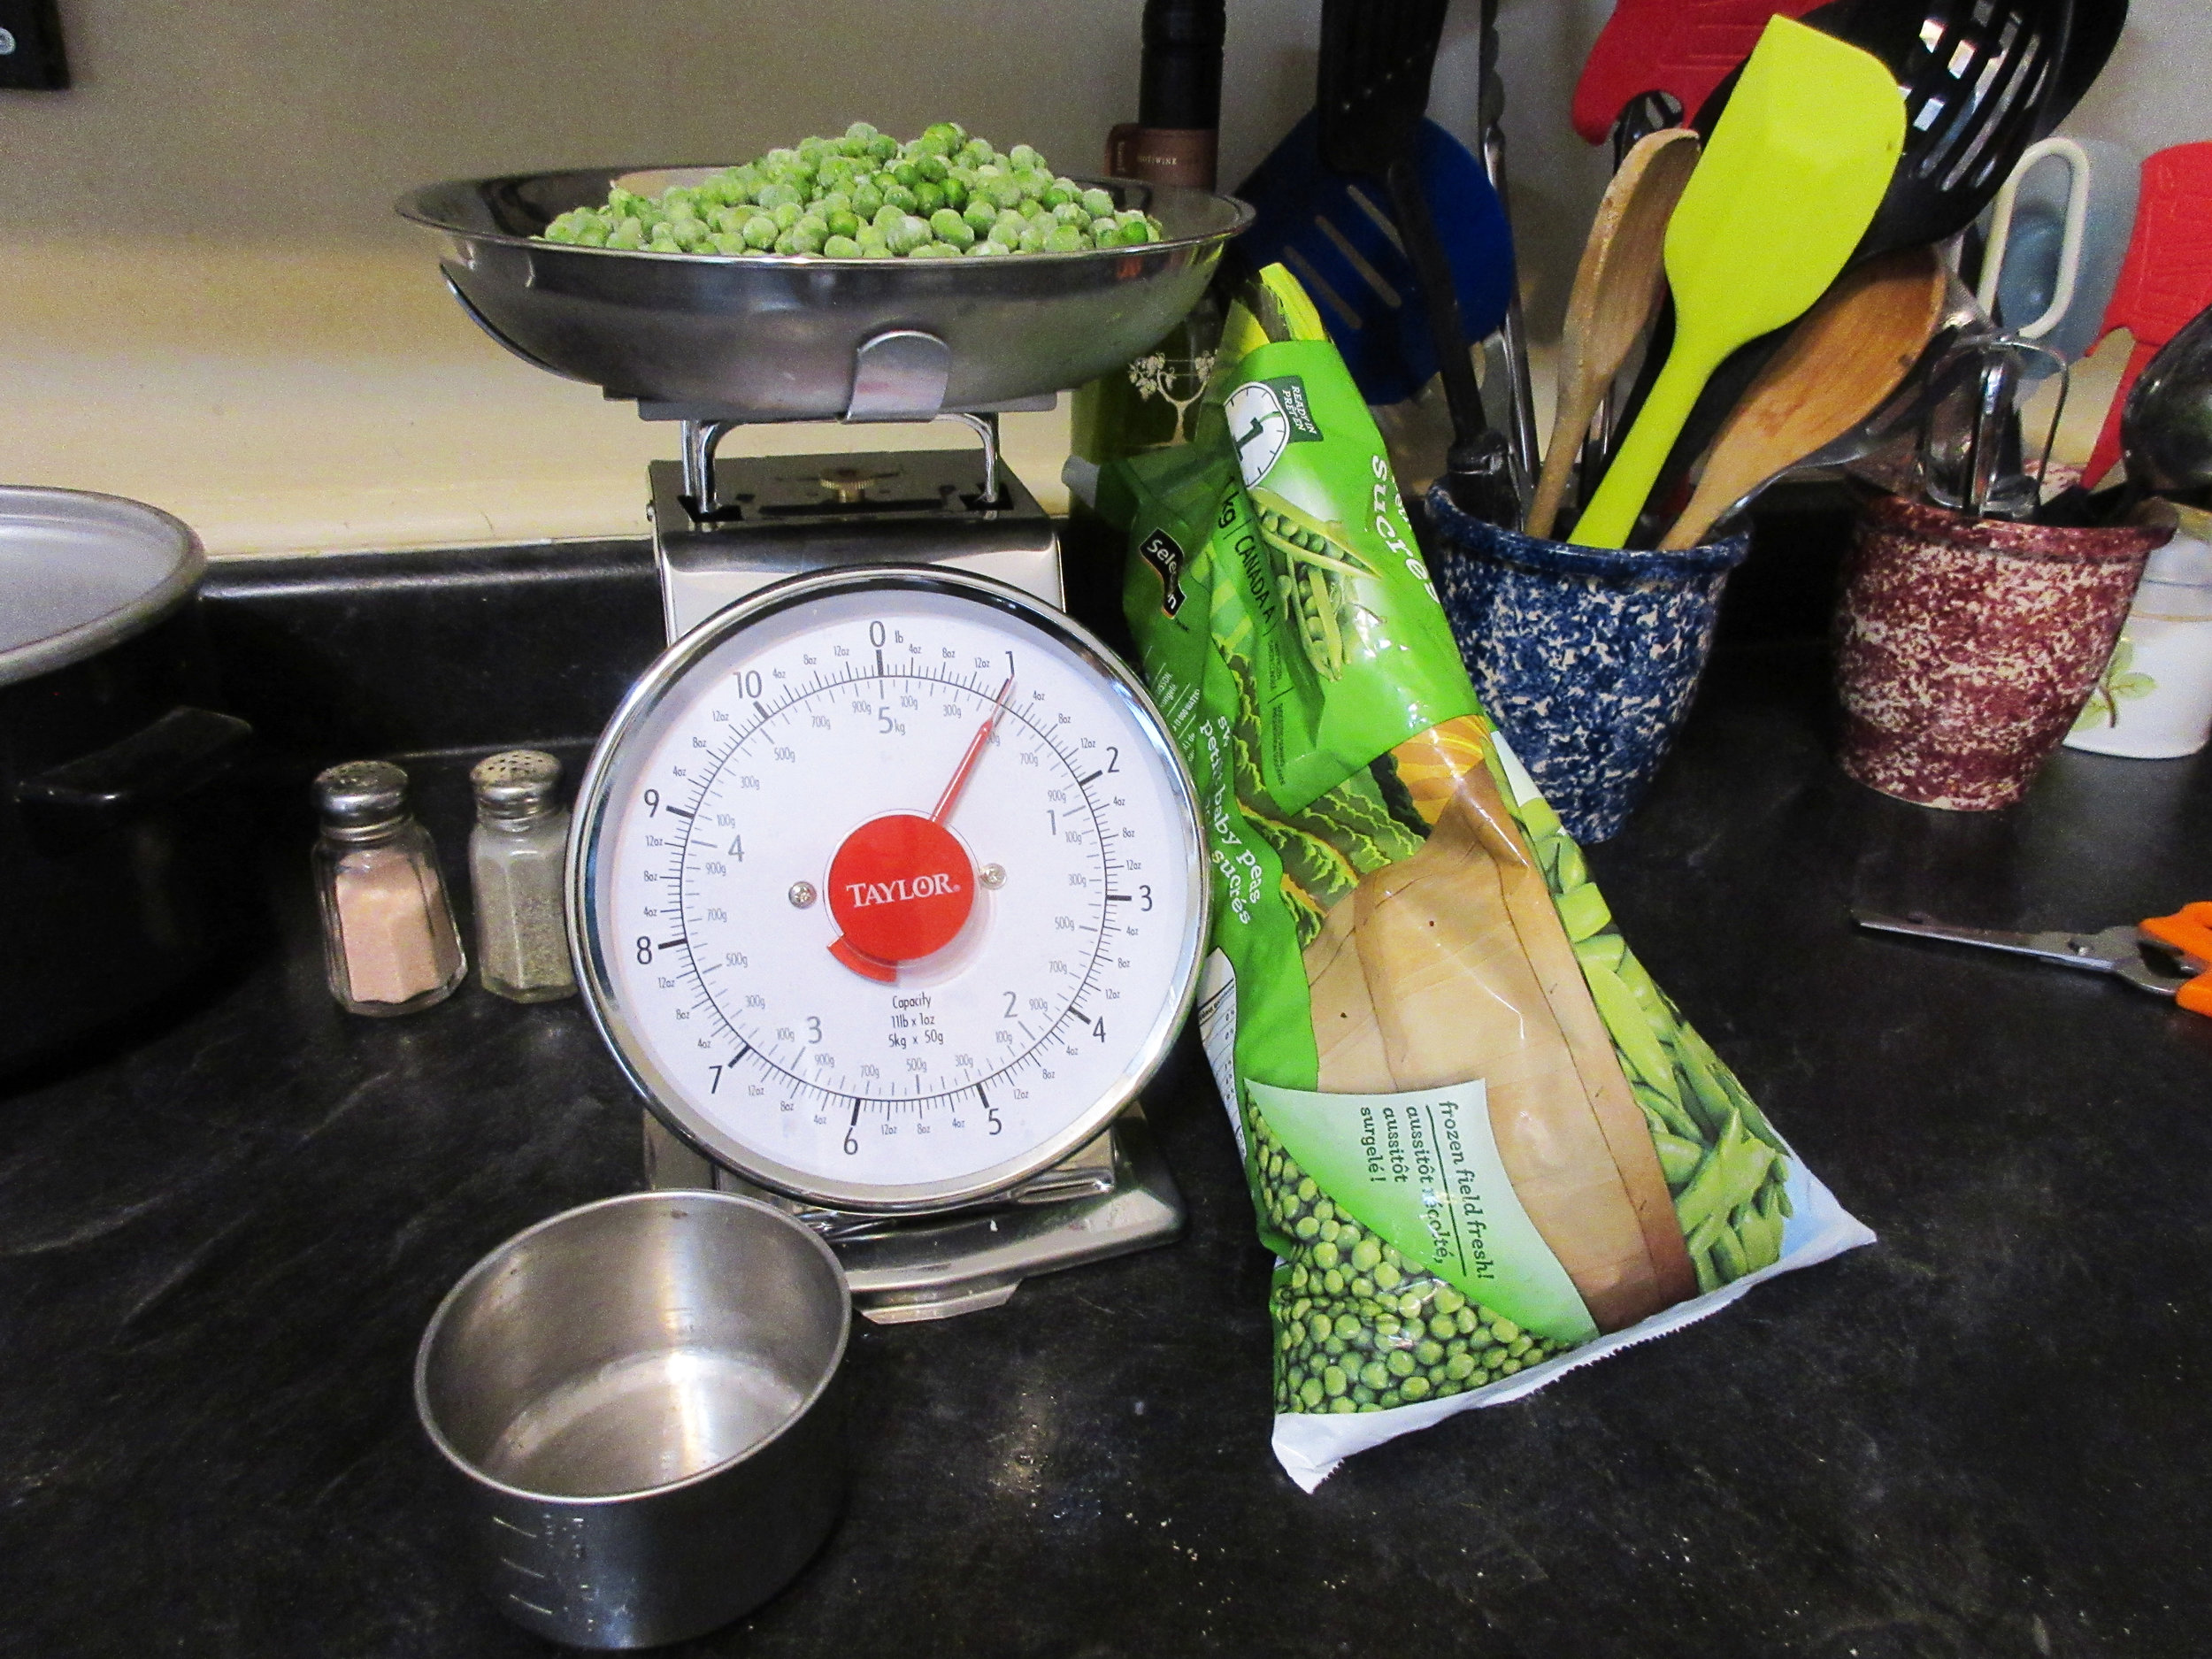
3 cups frozen green peas – 450 g
Chopped fresh mint (I used 1 tbsp, but would try more next time)
Butter
Salt
Boil the peas and mint in enough water to cover them, and continue simmering until cooked. Drain and transfer to a dish. Add butter and salt to taste.
The mint: Since this recipe doesn't specify how many peas to use, using "a few leaves of mint" isn't altogether clear either. I picked 3 cups of peas because it seemed like a family-sized amount to serve for a meal, which is probably what Amelia Simmons had in mind. A few leaves amounted to1 tbsp of chopped mint, so that's what I put in the pot. With 1 tablespoon of mint in this amount of peas, I tasted a subtle minty flavour every one or two bites. Next time, I'd try at least 2 tablespoons.
The recipe also doesn't give the instructions to chop the mint, but often recipes of this era leave information out because the author assumes that you already know. Simmons is quite clear about all the other steps in this recipe, though. I debated whether to put the mint in the boiling water whole or not, because perhaps she intended the mint to only flavour the peas & butter. In the end I thought it would be tastier with small pieces of mint nestled in with the peas, so I chopped it.
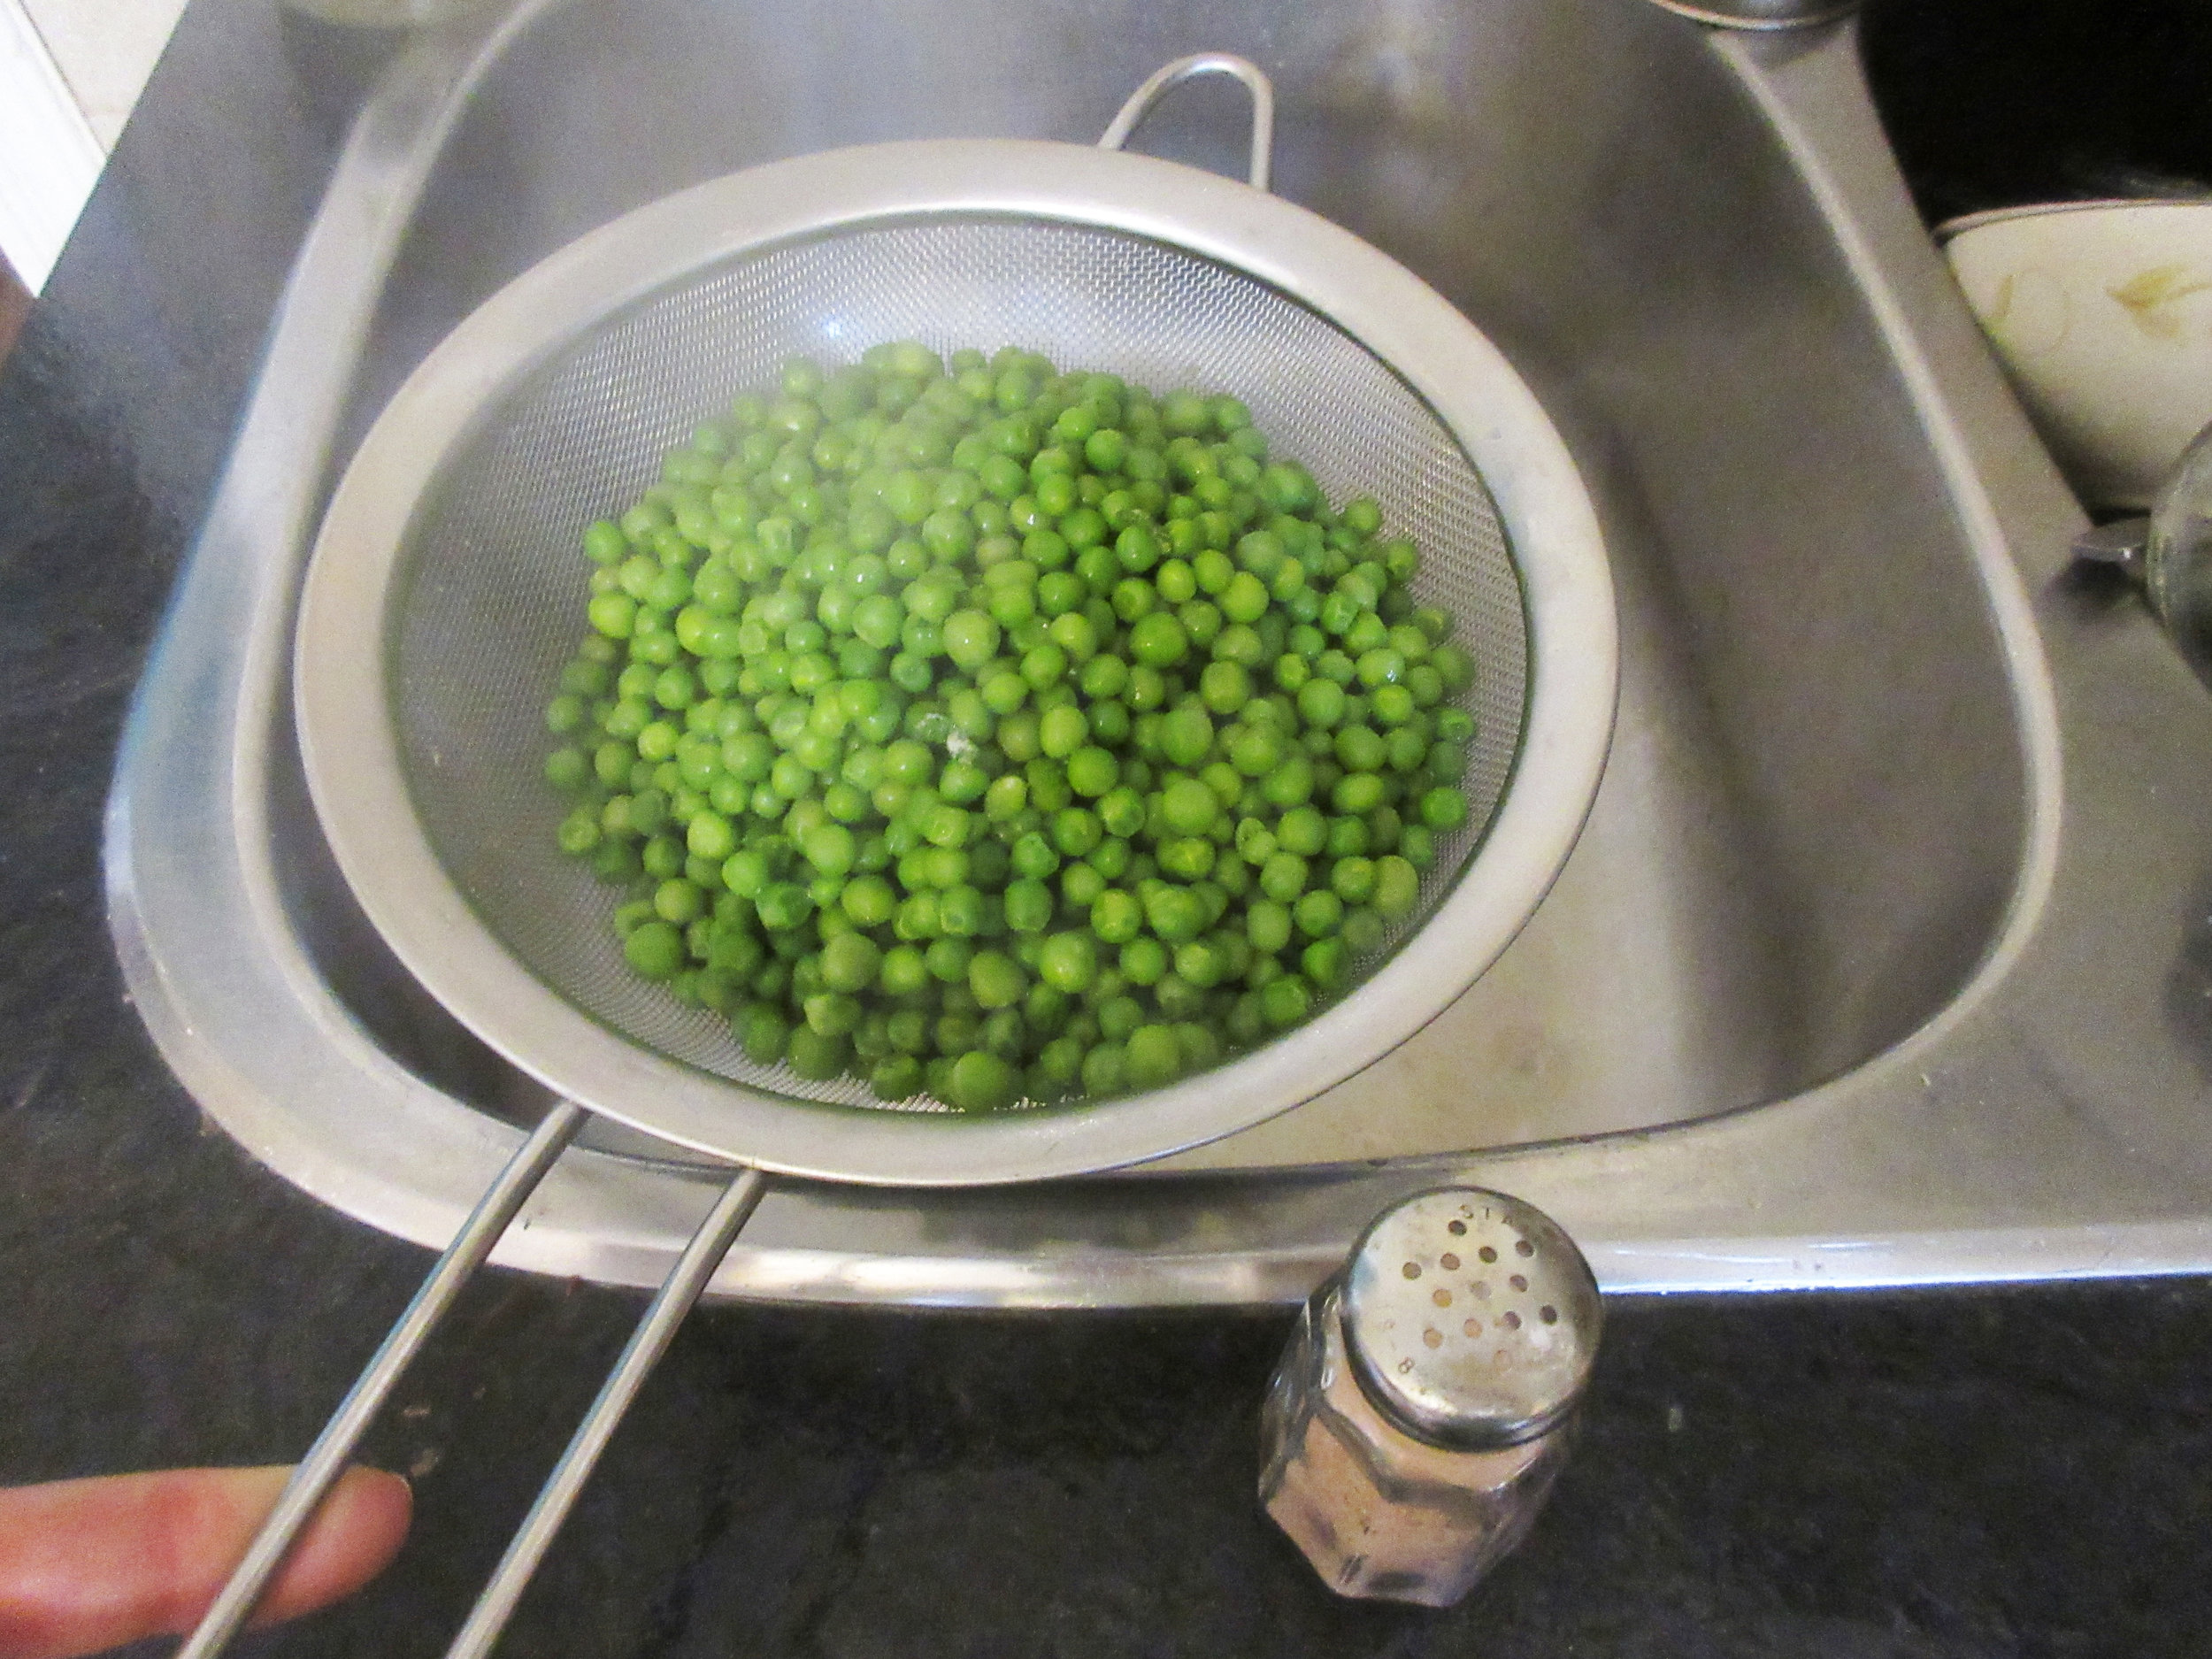
The butter: If you read the original recipe, Simmons instructs putting "butter as big as a walnut" into the boiling water with the peas while they are cooking, then straining the buttery water from the peas. This seemed like a huge waste to me, and I thought that I might as well just put most of that butter straight into the garbage.
But in the interest of historical accuracy, I listened to the recipe. As I was straining the peas, I realized that all of that oily water was going down the drain. Not good for my plumbing at all! Keeping her pipes unclogged is probably something that Amelia Simmons didn't have to worry about in 1796, so I suggest straining your peas first, then adding the butter.

I agree, the name of this recipe doesn't sound very exciting. To boil green Peas? Really, what you end up with is green peas, with a touch of fresh mint, butter and salt. It's a simple, yet flavourful recipe that you'll find in American Cookery from 1796. Our authoress is Amelia Simmons (who has the tagline "An American Orphan" added to her name on the title page) and American Cookery is the first cookbook that was both written and published in the United States.
As you read the original recipe above, you may have thought, "What is that strange letter that looks a bit like an 'f' at the beginning of some of those words?" If you did have that thought, meet the Long S or Descending S.

The American Bill of Rights uses the Long S, shown here in the word "Congress"
The roots of the Long S stretch back to Roman Cursive, a script that was used in the first to the third century AD. Up until the eleventh or twelfth century, the Long S was used as an uppercase S, but there was a shift around that time that lasted until the late eighteenth and early nineteenth century – right around the time when American Cookery was published.
The Long S was used when the letter s appeared at the beginning or middle of a word. The letter s that we know today (the Short S or Round S) was used at the end of a word, before an apostrophe and before or after the letter f. If a word has a double S, like in the example 'Congress' above, the first S is a Long S and the second one is a Short S.
Confusing, right? You do get used it with practice, and eventually you'll stop pronouncing ſalt as falt instead of salt. Now I can read documents with the Long S and only occasionally mispronounce words in my head while I'm reading!
The change to our familiar usage of the letter S probably came about due to printers wanting to simplify the typesetting process. Why have two letters that sound exactly the same when you can get the job done with one? For that reason, printed materials changed to only using the Short S around the turn of the nineteenth century. Handwriting is another matter. Humans are creatures of habit, so examples of handwriting using the Long S can be seen well into the 1800s.
P.S. If you're interested in reading very detailed rules for using the Long S (in multiple languages!), you'll want to read what BabelStone has to say on this topic.
Read the Cookbook:
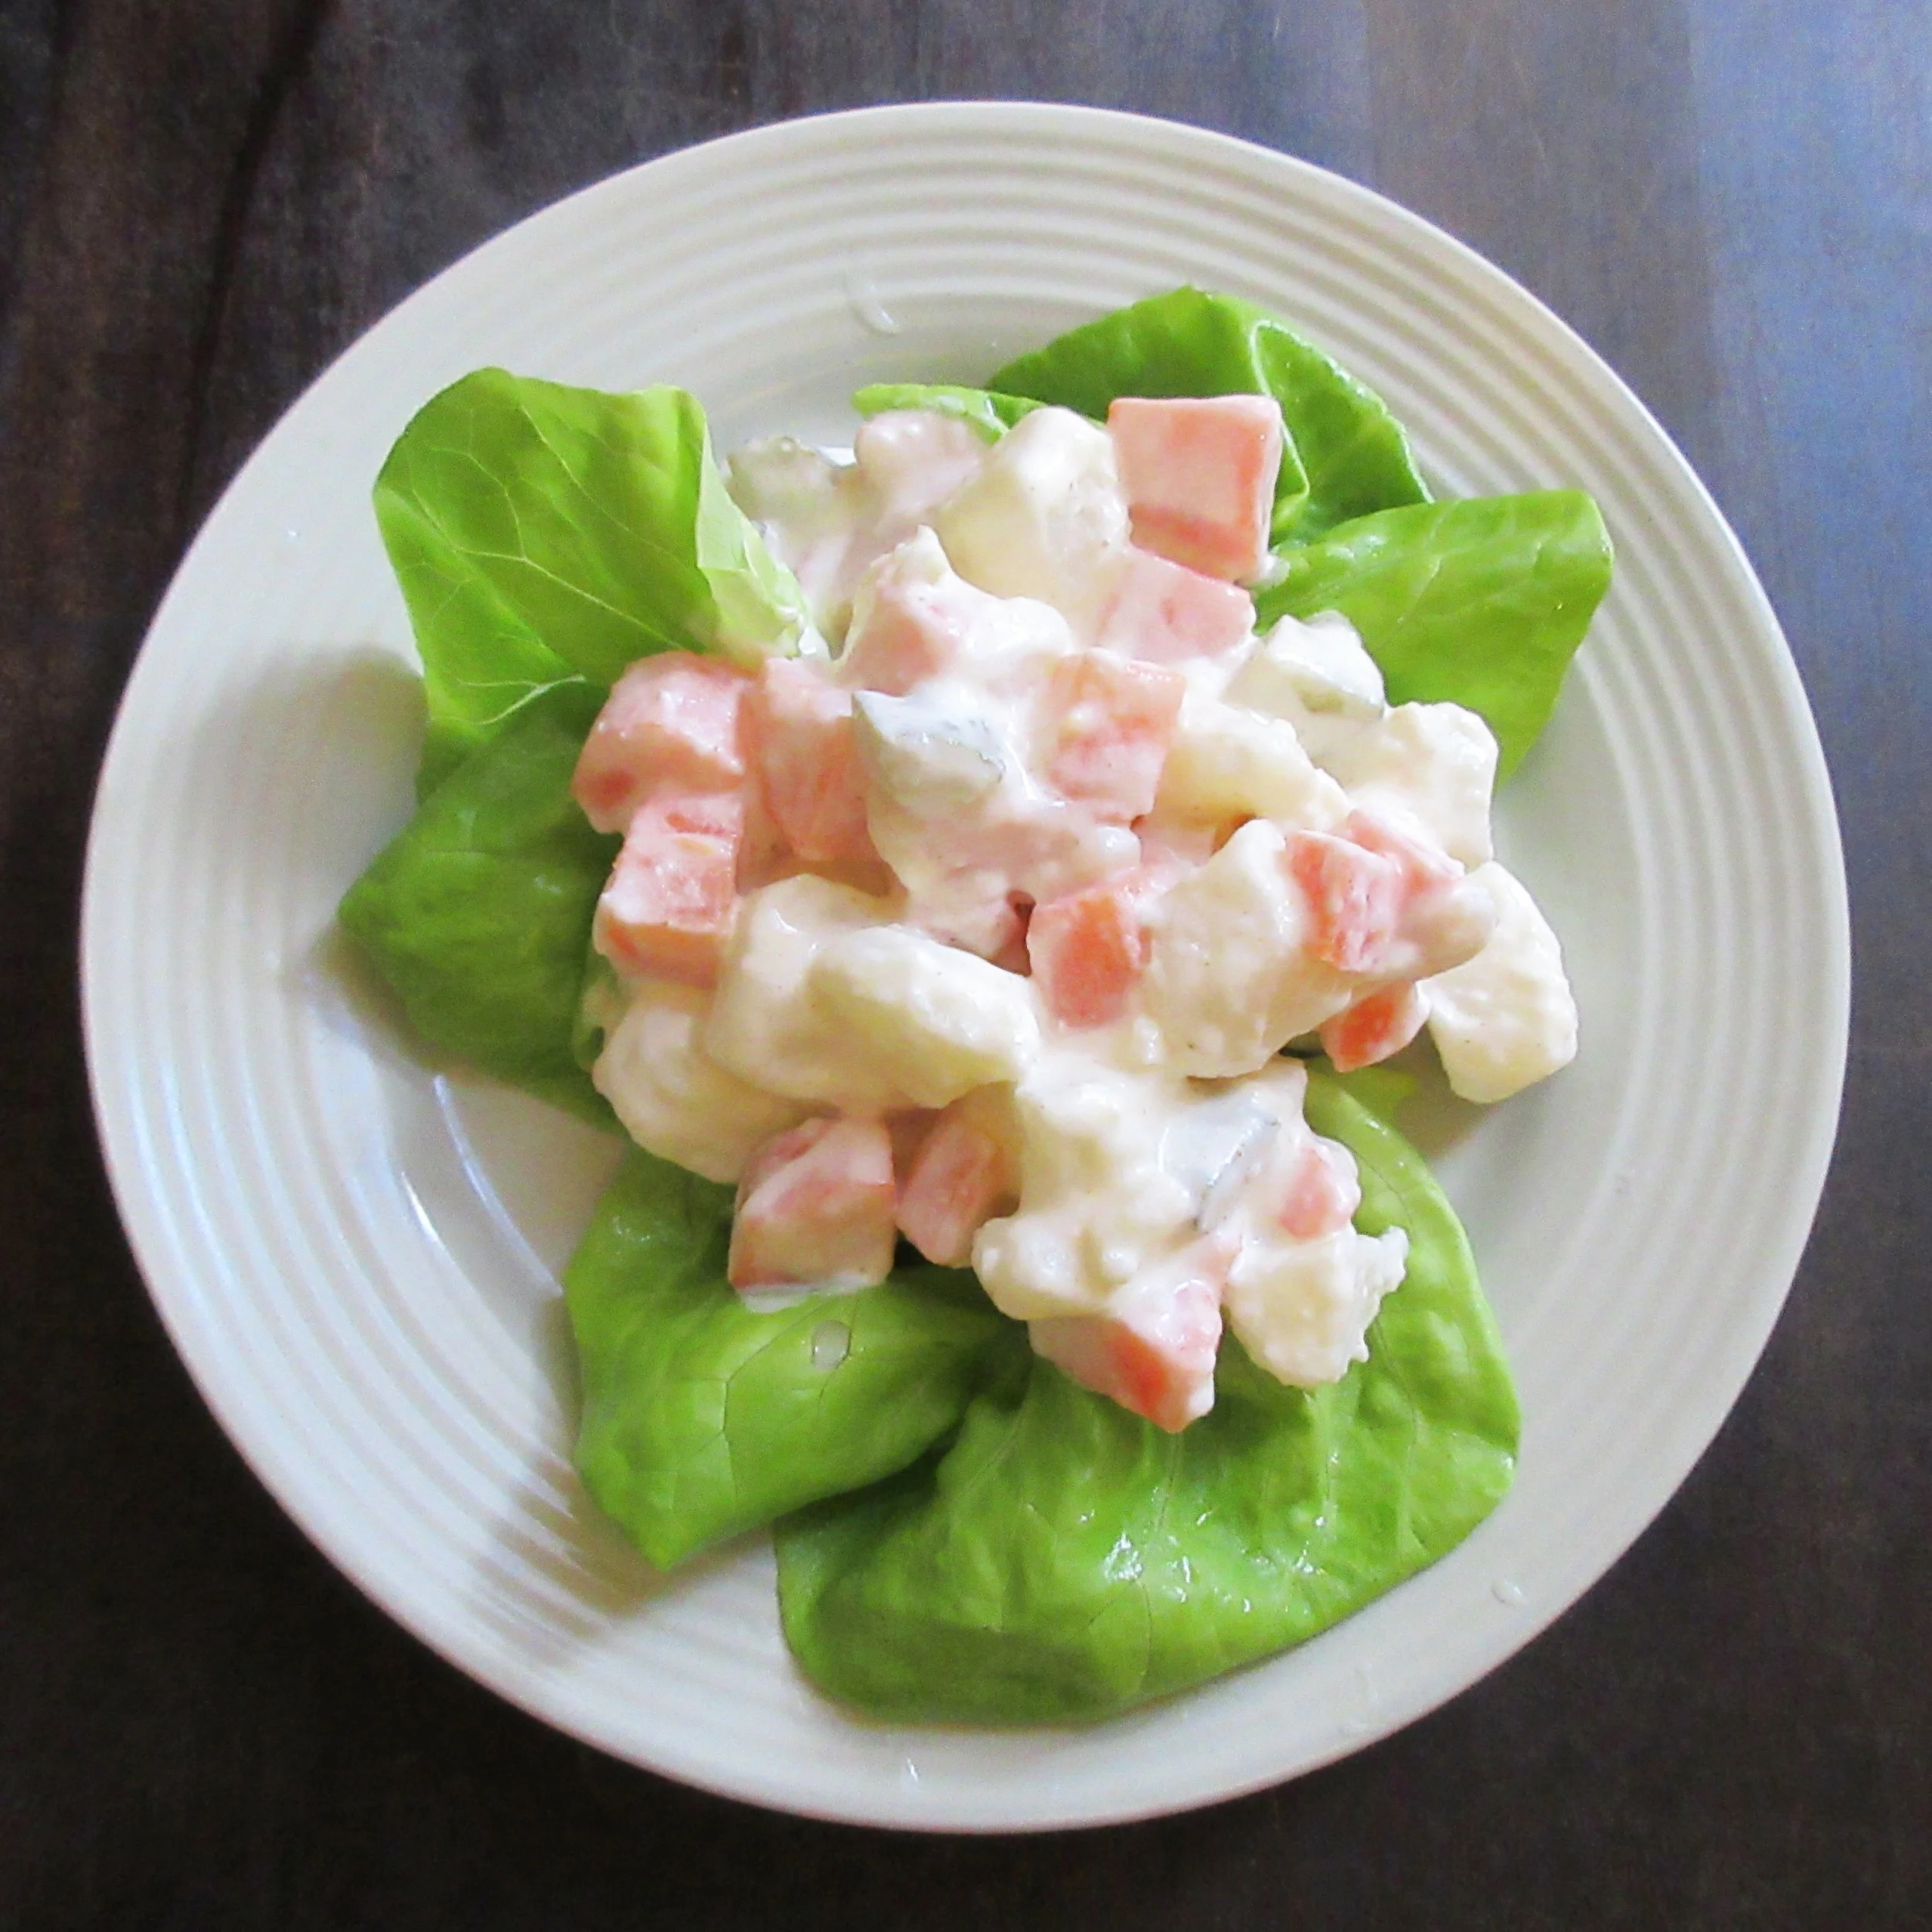
Potato Carrot Salad
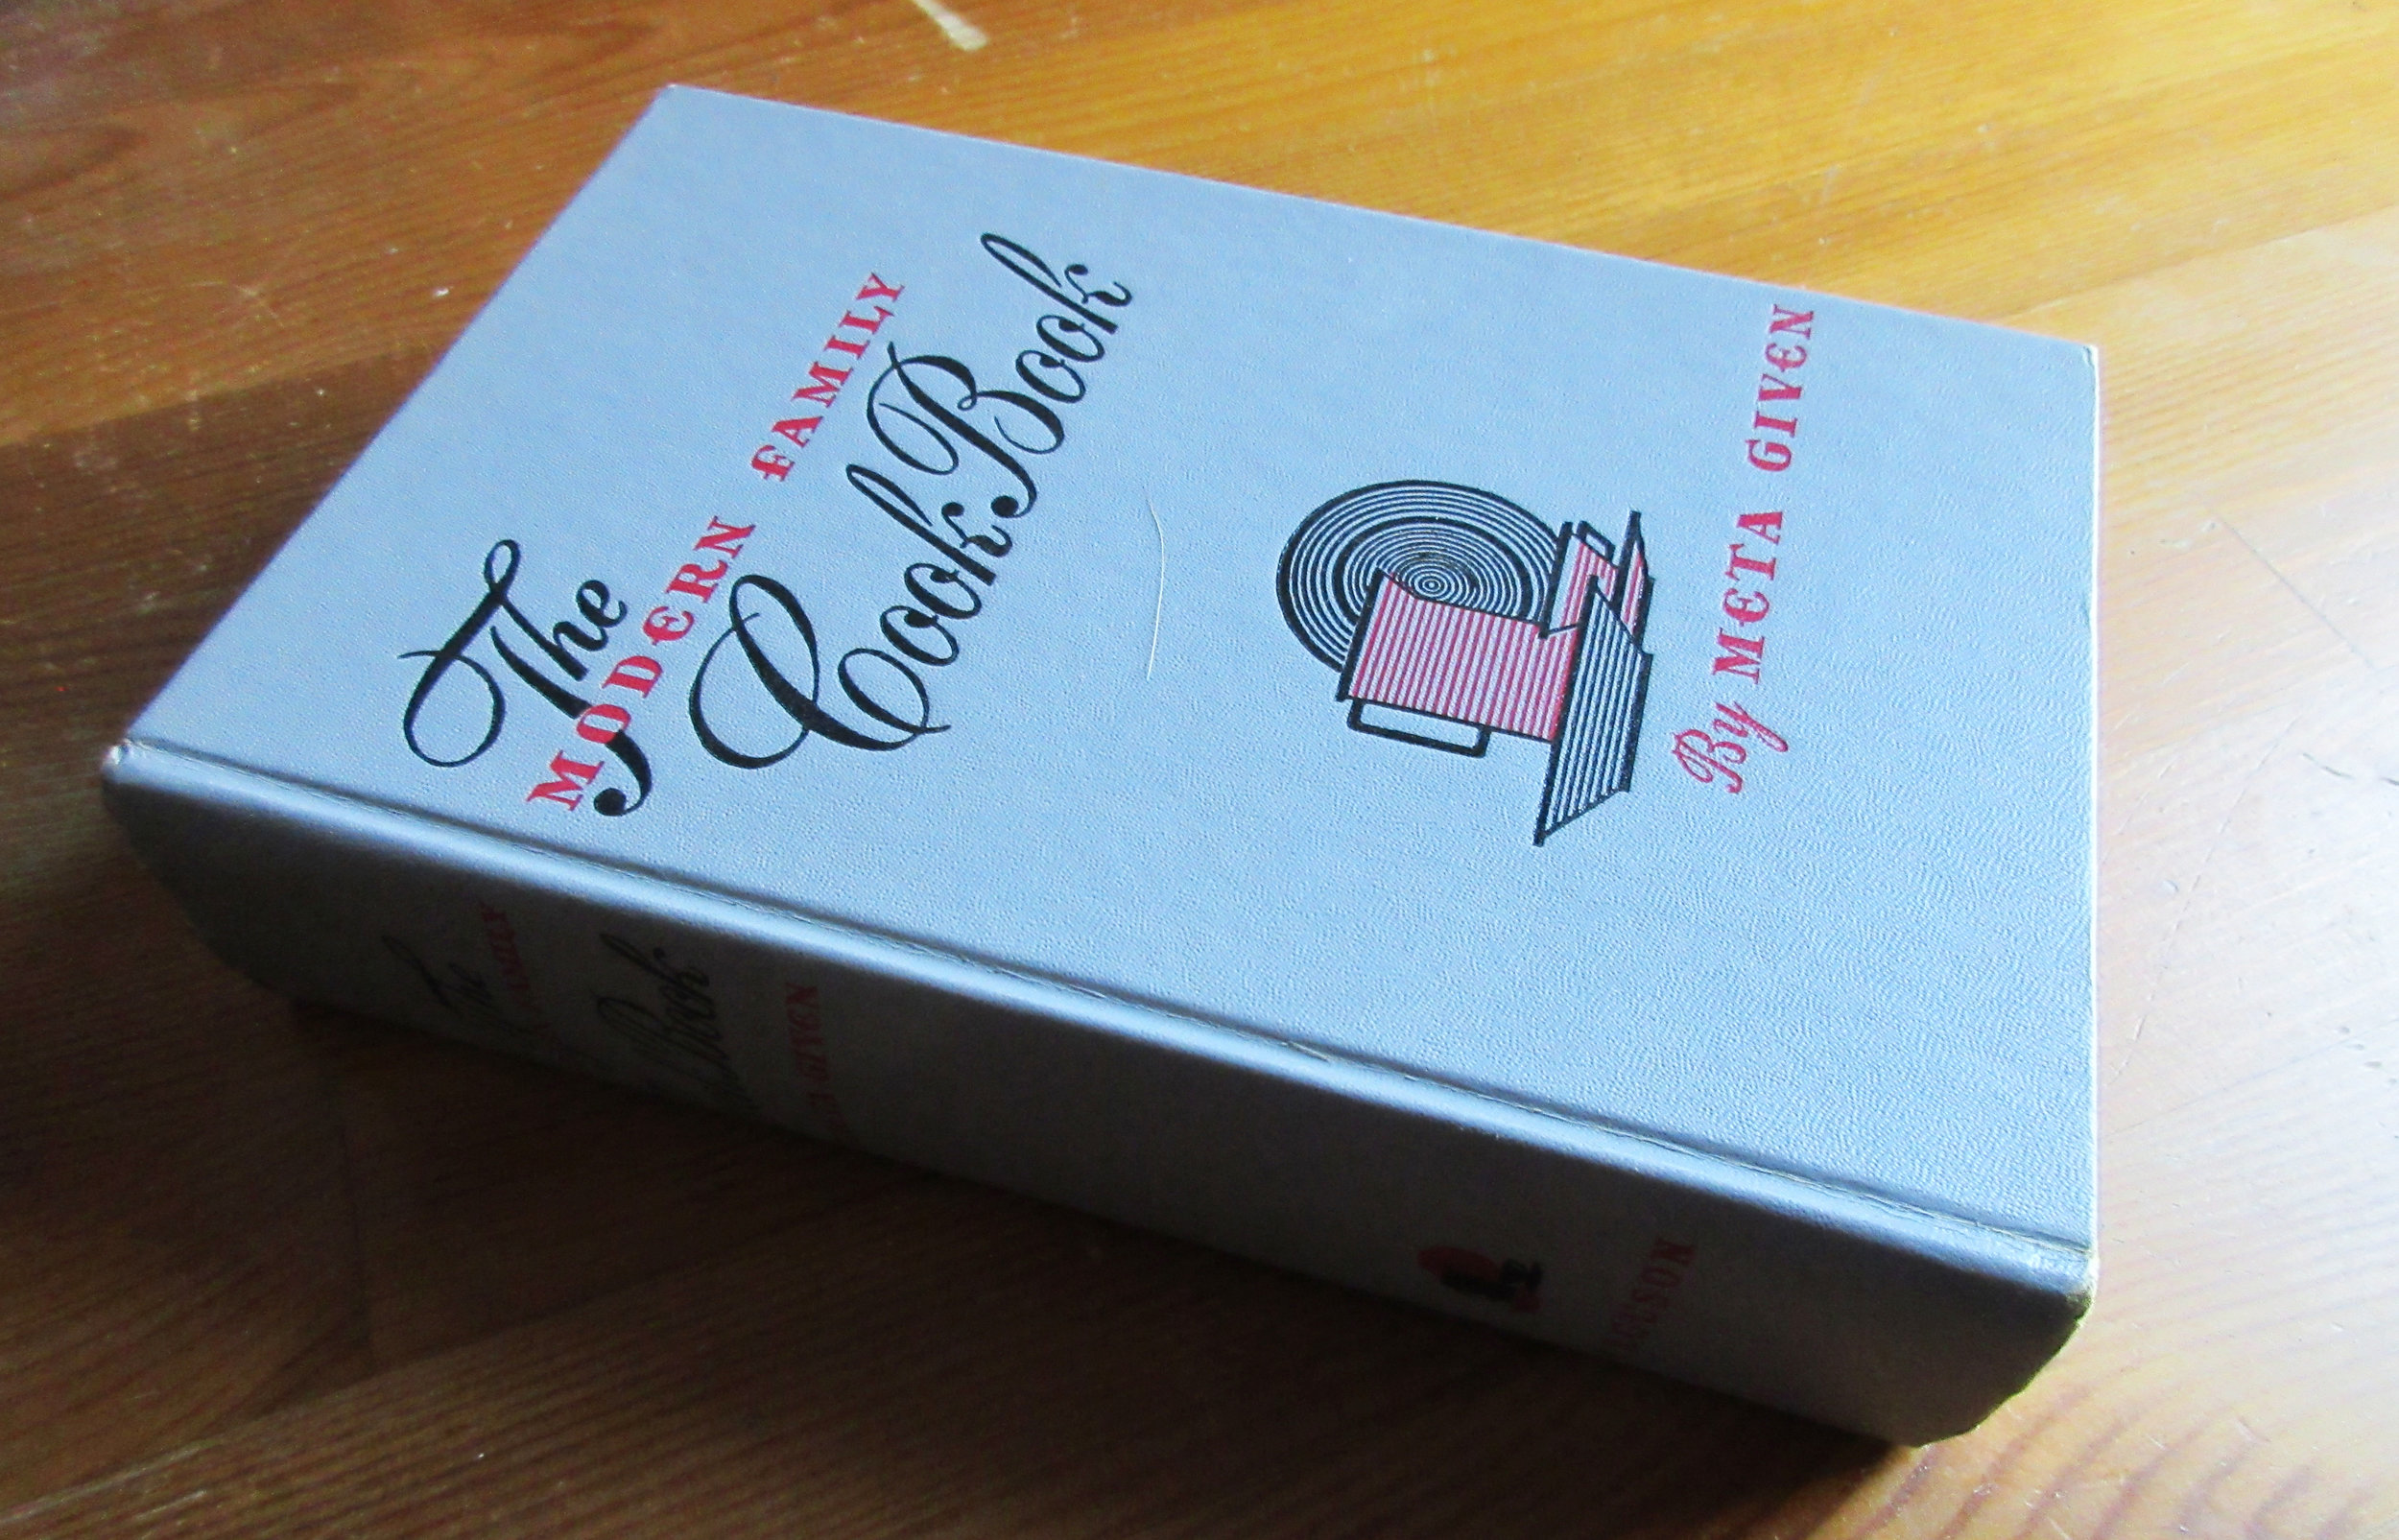
With only three chopped ingredients in the salad, this is a fairly simple but delicious recipe to prepare. The dressing is also rather easy to put together, but is subtly flavourful. This recipe is found in The Modern Family Cook Book from 1953, which was written by Meta Given, who probably has the best cookbook author name in history! When I was growing up, my Mom had her own copy of this cookbook in our kitchen, and I remember loving its design even as a kid. I think it's the most gorgeously designed cookbook in my collection today. Each time I open it, I marvel at the care that went into designing the layout, the illustrations and the attention paid to the tiny details.

You'll find this recipe in:
The Modern Family Cook Book
By: Meta Given
Chicago, 1953
The Original Recipe:
POTATO CARROT SALAD
3 cups diced cooked potatoes
2 1/4 cups diced cooked carrots
2/3 cups chopped dill pickle
1/2 cup mayonnaise
3 tablespoons pickle juice
1/2 teaspoon celery salt
1 teaspoon grated onion
Combine diced, cooked potatoes with carrots and pickle. Mix mayonnaise with pickle juice and add celery salt and grated onion, blending well. Add seasoned dressing to vegetable mixture, toss lightly and chill to blend flavors. Serve on lettuce arranged on individual plates or turn into a lettuce-lined salad bowl. 5 servings.


My Experience:
With only three chopped ingredients in the salad, this is a fairly simple but delicious recipe to prepare. The dressing is also rather easy to put together, but is subtly flavourful. The only issue is that I'd describe this salad as having a mayonnaise sauce, not a dressing. Next time, I'll either make less dressing or use more veggies for a more balanced salad. I was surprised that I enjoyed the addition of the lettuce leaves, though. Not only did it make my plate look beautiful, but the lettuce added a splash of freshness to the potato salad and cut the heaviness of all that mayonnaise.
I popped the vegetables onto my kitchen scale after I chopped them, so if you're accustomed to measuring via weight, you'll need approximately 450 g/1 lb of chopped uncooked potatoes, 300 g/11 oz of chopped uncooked carrots & 100 g/4 oz of chopped pickles.
I made this salad to bring along to an early Mother's Day work bee at my Mom's house. At 85 years old, my Mom lives alone in the country with a large backyard & kitchen garden to tend to. When I was a child, most of our evenings in the warm weather were spent outside in the garden and doing yard work, and I remember my Mom as a practical & seemingly tireless worker. She still has her "get 'er done" attitude, but these days she needs more help than she used to in order to actually get 'er done.
When I was growing up, my Mom had her own copy of the 1953 edition of The Modern Family Cook Book, and I remember loving its design even as a kid. I think it's the most gorgeously designed cookbook in my collection today. Each time I open it, I marvel at the care that went into designing the layout, the illustrations and the attention paid to the tiny details. My Mom was an elementary school teacher when she was in her late teens until her late 20s, and this cookbook was published around when she moved out on her own.
I was born when both my parents were in their 40s, so I had a different experience at home than most of my friends with younger parents. My Mom and Dad both grew up on farms and they also retained many of the values of the generations before them. My Dad could basically repair anything and we lived by the ideology of fixing, not replacing. My Ken doll was able to live an extended life thanks to a screw that held his head onto his neck, so he always wore a metallic kippah with a Phillip's head design!
My Mom preserved fruits and vegetables by canning them and filling our large chest freezer. Our washing machine was a ringer washer, and getting the weekly laundry done was a day-long process. When all my friends had a collection of Cabbage Patch Dolls, my Mom made me a Baby Miss Piggy doll with a hand-made "couture" wardrobe. We didn't have a dryer, microwave or computer until the 1990s.
I did find some of these differences embarrassing, and sometimes difficult to explain to my friends. As an adult, I really appreciate my slightly unusual upbringing and it's probably the main reason why I've found my passion as a Historical Interpreter & Historic Cook. I appreciate that I work in environments that were built to last for generations and not be discarded & replaced by the next-best-thing in a handful of years. Not only did my upbringing prepare me for some of the practical aspects of my duties, but I think my work life keeps me a bit more connected to the slower pace of my childhood, when the rest of my life seems to run faster as time goes on.
I certainly live a different lifestyle than my parents when they were my age, but I've never been afraid to live life my way thanks to their example. Happy Mother's Day, Mom! And to the rest of you – Keep It Weird.

This picture was taken about a year ago, when I was showing my Mom how to take a selfie on my new cell phone
Read the Cookbook:

Taheeni
This Taheeni recipe isn't a Tahini recipe, simply because its main ingredient is eggplant and not sesame seeds. I'd describe Taheeni as basically Baba Ganoush, ironically without the tahini! I found this recipe in The Blender Cookbook by Ann Seranne & Eileen Gaden from 1961 in the International Specialties chapter under "The Near East". Today, I'm able to walk into almost any grocery store and buy myself a container of tahini or baba ganoush, but this was likely not the case in 1961. I'll chalk up the name to something getting lost in translation, but whatever it's called, my tastebuds give this this dip two thumbs up.

You'll find this recipe in:
The Blender Cookbook
By: Ann Seranne and Eileen Gaden
New York, 1961
The Original Recipe:
Taheeni
(A Favorite Cocktail Dip in Lebanon)
Cut a thin slice from bottom and top of 1 medium eggplant and backe in a 350˚ F. oven for about 1½ hours, or until tender. Split and remove pulp. Into container put
1 cup eggplant pulp
3 tablespoons lemon juice
3 tablespoons olive or sesame oil
1 clove garlic
1 teaspoon salt
Cover and blend on high speed for 1 minute, or until very smooth and creamy. Pour into a bowl and fold in 1 tablespoon sesame seeds and 1 tablespoon chopped parsley. Serve with vegetable sticks or crackers. Makes about 1½ cups.


My Experience:
This dip recipe is delicious and very straightforward, although I'm kicking myself for not remembering to pop the eggplant on the scale to find out its weight for those of you who aren't in North America. Hopefully this will be an edit I make later on the next time I make a baked eggplant dish. It was a tad on the salty side for my palette, so next time I make this (and there will be a next time, it's really tasty!), I'll probably start with half a teaspoon of salt.

You've probably realized by now that this Taheeni recipe isn't a Tahini recipe, simply because its main ingredient is eggplant and not sesame seeds. I'd describe Taheeni as basically Baba Ganoush, ironically without the tahini!
Taheeni is found in the International Specialties chapter of The Blender Cookbook under "The Near East". Today, I'm able to walk into almost any grocery store and buy myself a container of tahini or baba ganoush, but this was likely not the case in 1961. I'll chalk up the name to something getting lost in translation, but whatever it's called, my tastebuds give this this dip two thumbs up.
I grew up with a copy of The Blender Cookbook on the cookbook shelf in the kitchen, so I jumped at the opportunity to pick up my own copy when I saw it at Bibles for Missions, which is my favourite place to pick up historic/vintage cookbooks here in my hometown of Hamilton, Ontario. I lucked out that I happened to be in the store on a day when books were half price, so I invested an entire 75₵ to add it to my library.
We're in a blenderizing boom these days, thanks to the popularity of green smoothies and make-your-own nut milks. In their Introduction, Ann Seranne and Eileen Gaden urge housewives to get their blenders out of storage and into regular rotation:
If you have only used your blender to mix drinks and make soups, you will find within these pages exciting new ideas, short cuts, and magic recipes that will take the drudgery out of cooking and make it a pleasure. If you own an electric blender and have it stored away on a top shelf, get it down! You don't know the treasure you are hiding! Attach it to the handiest electric outlet and keep it there. And begin, right away, to make some of the easy and quick recipes – all delicious – in this book. Soon you will find that you will use your blender many times every day in the preparation of your daily meals, to grind, grate, crumb, purée, chop, aerate, and homogenize. Your entire cooking habits will become revolutionized almost overnight. You'll find yourself relegating much of your obsolete, old-fashioned kitchen equipment to that top shelf!
I selected this recipe because I was searching for a historic recipe that followed the guidelines of the Cleanse program that I was taking part in last week, but I plan on asking my Mom what her favourite recipes are from the book and trying them out. I actually don't have a childhood memory of her referencing The Blender Cookbook, so she may not have used it very often (or I just didn't notice because I was a kid with bigger fish to fry). My Mom is also one of those cooks who uses a recipe as a starting point, creates her own version and makes the hybrid recipe often from memory. Who knows - perhaps a dish that appeared regularly on our kitchen table has its roots in this book?
